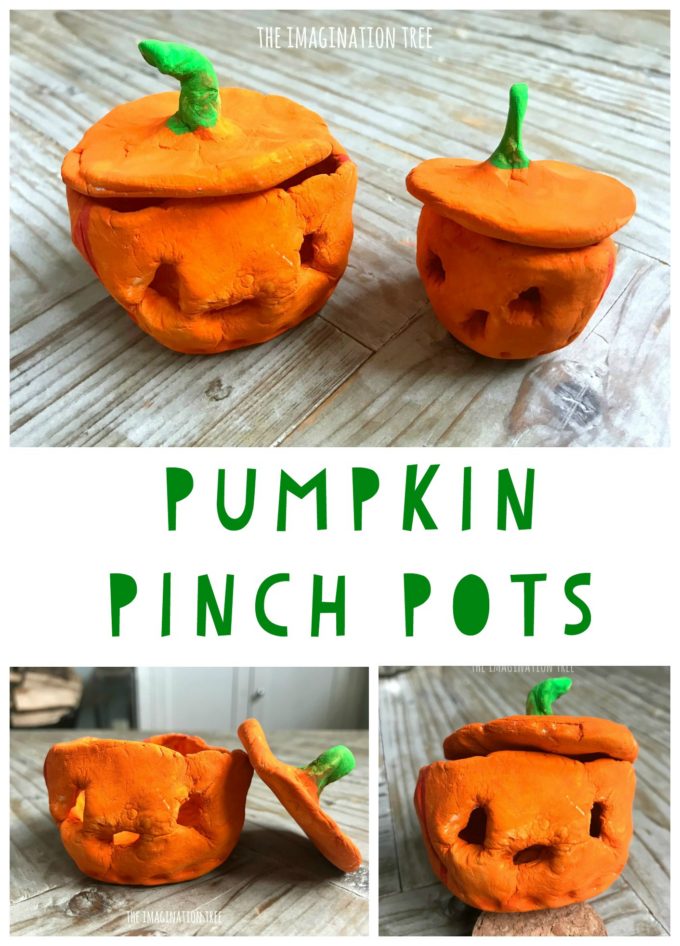
Make some gorgeous pumpkin pinch pots from clay for an art activity to suit school aged kids after school or in craft club! The finished piece makes a wonderful candle holder or secret space to store little treasures, and can even be filled with sweet treats for a gift!
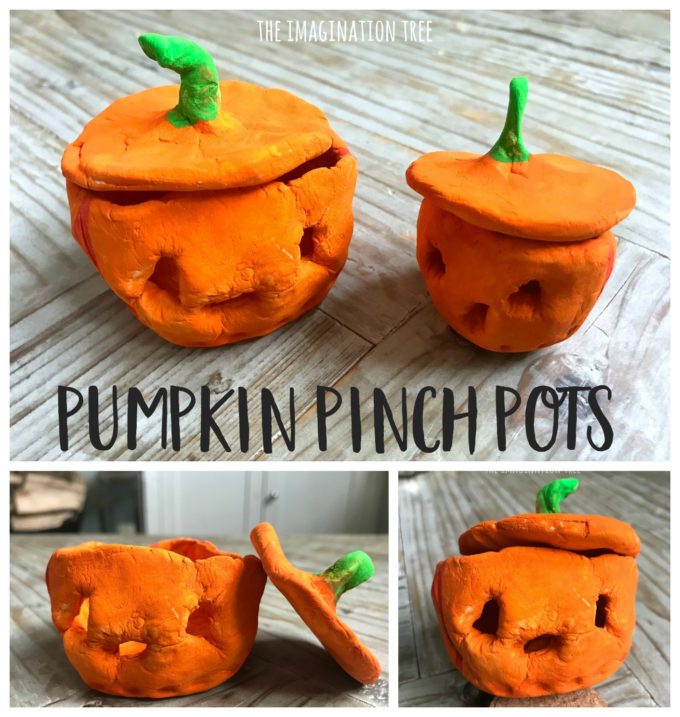
We are big fans of after school art projects for a fun wind down time in the afternoon. Clay is one of our favourite ways to create as it takes time to work and shape it, turning it into a slow and enjoyable creating time. We just made these clay leaf print dishes, check them out!
We have made pinch pots a number of times and often they are the best place to start as they work on fine motor skills and are a basic introduction to clay modelling. Adding details and lids takes them onto the next level and keeps them interesting for more experienced kids too!
(Check out our Christmas Tree Pinch Pots here- LOVE them!)
These clay coil pots are another awesome first clay project.
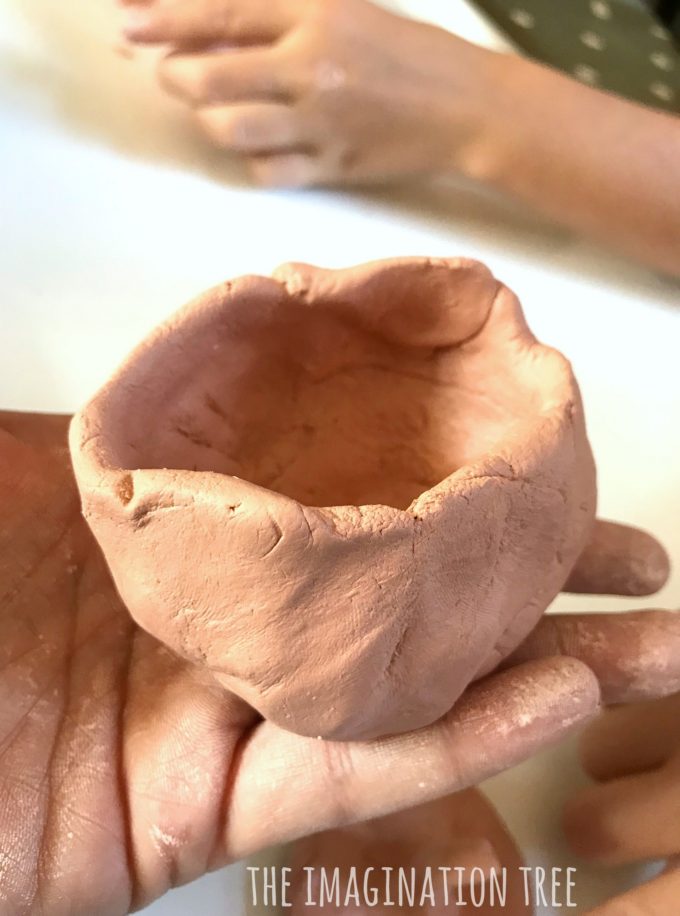
How to make pumpkin pinch pots
You need:
LED tea-light candles (optional extra!)
clay glaze (optional)
[Amazon affiliate links]
Method:
Give each child a fistful of clay and ask them to work it for at least 5 minutes, setting a timer if necessary. This stage is really important, often resulting in dry and cracking clay id skipped. The clay should quickly soften when worked in warm hands. Knead it, roll it, squish and squeeze until its malleable and ready!
Give each child a small pot of water and some clay tools to share.
They should dip their fingertips into the water every 5 minutes or so to keep the clay workable.
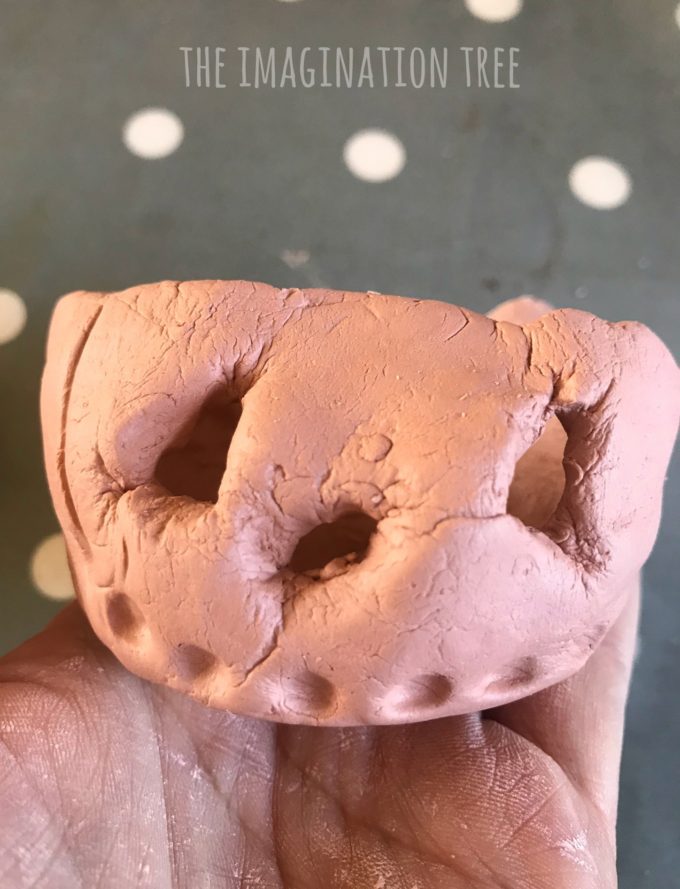
Ask your child to break off a small amount of the clay which will become the lid. With the remaining amount, roll it into a ball between two flat hands and then stick the two thumbs into the centre, squeezing down and pulling back at the same time until a bowl shape is made.
Push the thumbs further down and squeeze back, turning the pot until all of the edges are equal thickness.
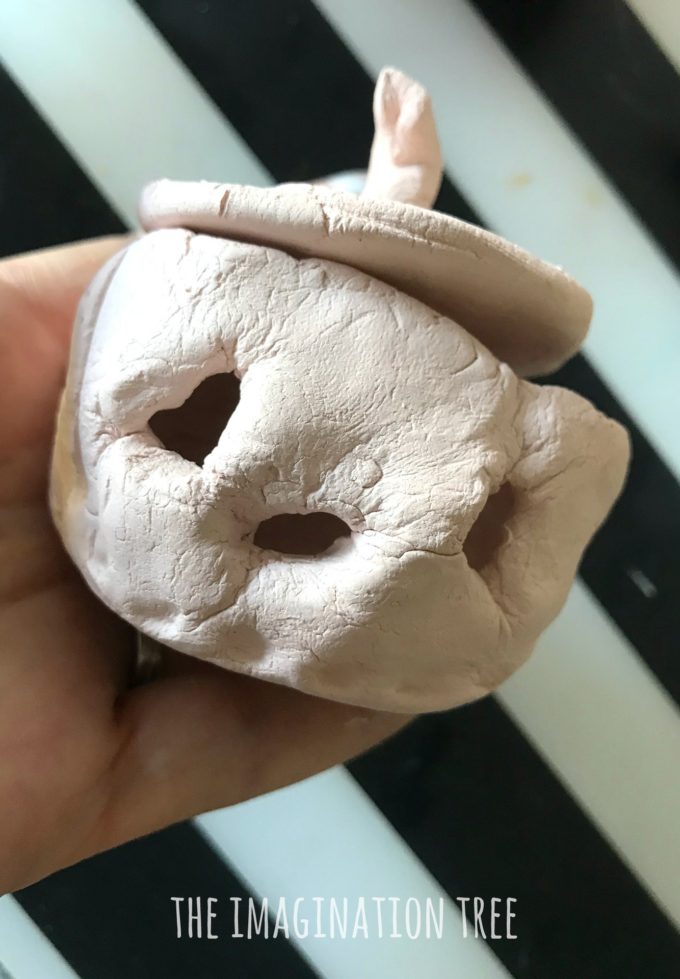
Once this has been done, use a clay tool to poke eyes and a nose to make a face. Use the blunt end of an implement to make dots for the smily mouth (or else push those through too but be careful as it may become delicate!)
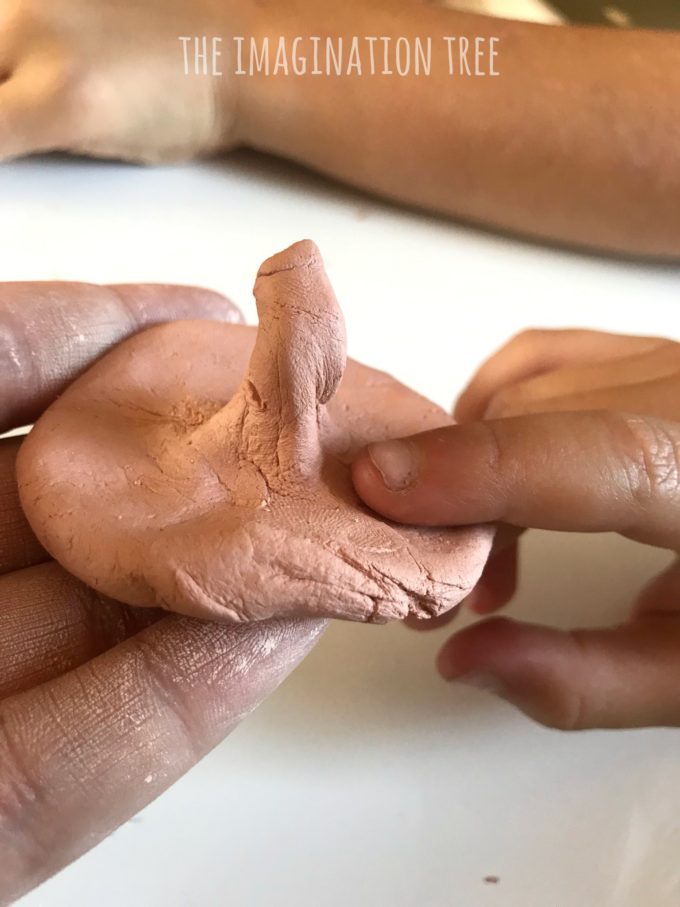
Now work on the lid. Roll it flat and round, measuring to see if it will fit on top of the pot. Then pinch a stem in the middle.
Leave all to dry overnight.
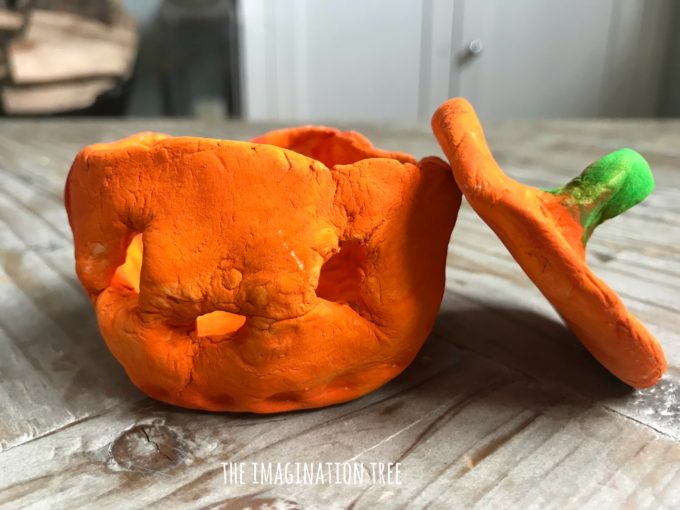
Use orange and green acrylic paints to decorate once completely dry. Use two to three layers to be sure of good coverage.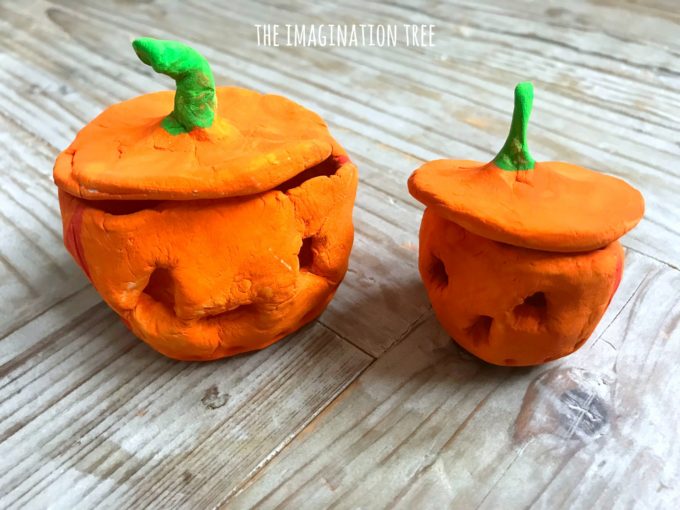
At this stage you could also add a clay glaze to seal the pumpkin pinch pots too. We left ours unvarnished but both ways look good!
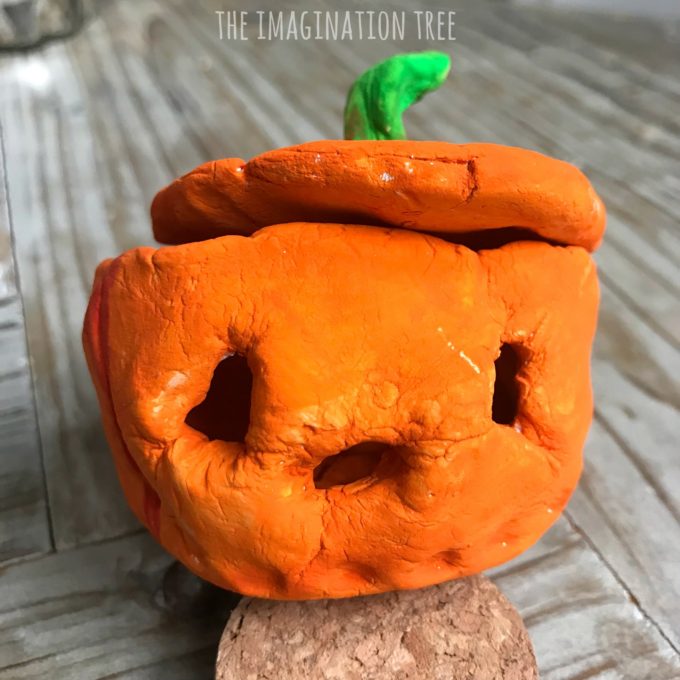
Now choose what to do with them!
Pop an LED tea-light candle inside and then turn the lid on to see a fun effect of flickering lights in the dark!
Fill them with sweets as a gift for Halloween.
Hide special treasures inside!
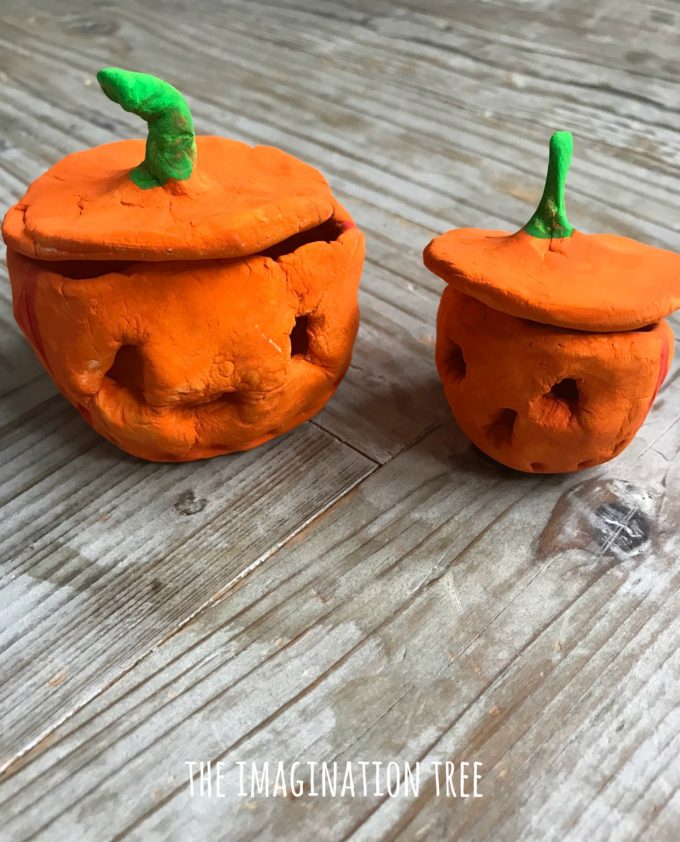
I can’t wait to share the Egyptian themed pinch pots my biggest girls made recently too! I will be sure to link them here once I’ve written about them.
If you love these Pumpkin Pinch Pots then please do share on social media and let me know if you try them too!
You may also love to see our other CLAY IDEAS and SALT DOUGH ACTIVITIES too!
And here’s all the AUTUMN PLAY & LEARNING IDEAS in the archives to browse.
[This post contains Amazon affiliate links which means I may earn a small commission from purchases made via them, at no cost to you. Thanks for supporting me in this way!]
These are very cute! My girls love working with playdough but we’ve never tried actual clay – I bet they’d really enjoy it. Thanks for the idea!
And someone else really liked this idea too because they chose to share it with everyone at the #blogcrush linky. Hurray! Feel free to grab your “I’ve been featured” blog badge 🙂 #blogcrush