Make some clay snake coil pots as a fun art activity for kids which can turn into a keepsake or a little gift! Fantastic for fine motor skills and creativity, and as satisfying first clay work project for small hands.
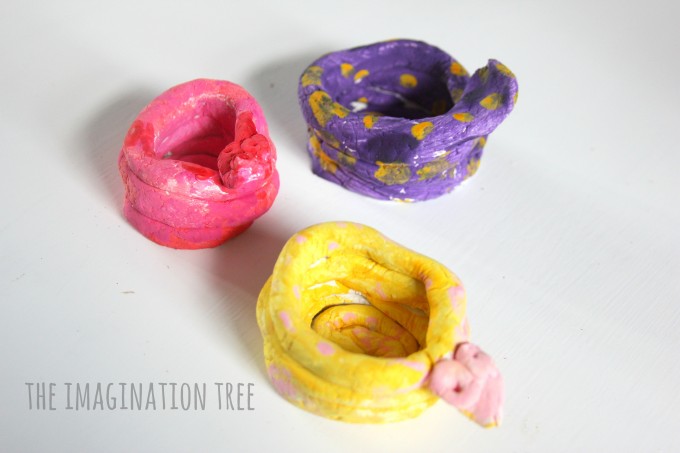
We have been making more projects with clay recently, which as a former art teacher, I am very happy about! Clay is a fantastic medium for strengthening hands and preparing them for writing. It is hard to warm up and soften at first, and takes some working to get it malleable enough to work with, which is a great thing! Offering kids a large block of clay and letting them create freely with it is a great addition to the classroom for motor skills and creativity and should happen often.
We have made pinch pots and small shapes before and on this next occasion we decided to try the classic coil pots, but turning them into snakes for a fun twist!
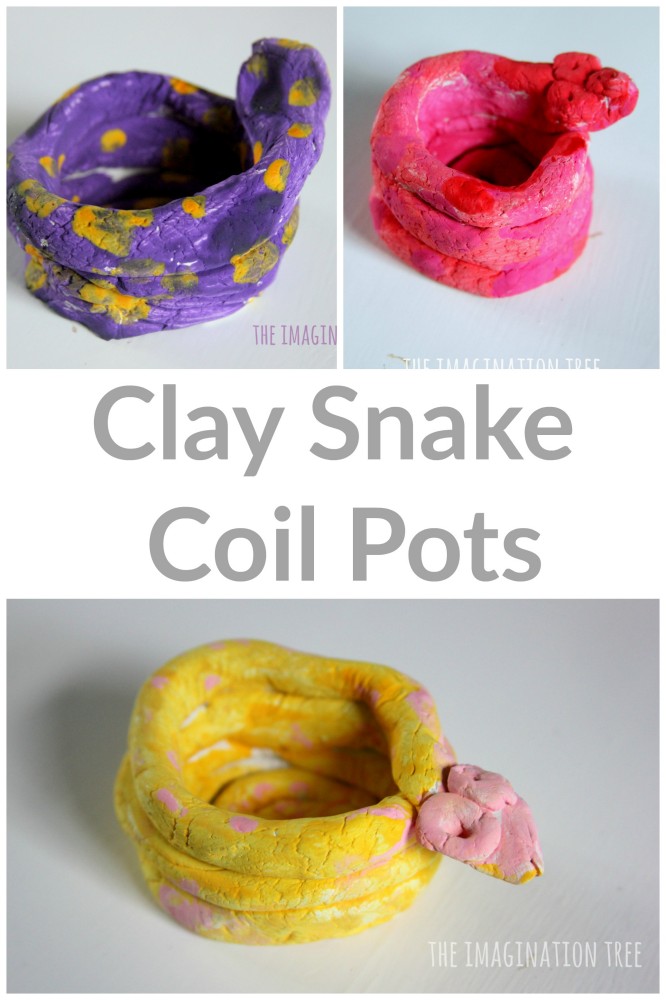
Clay snake coil pots
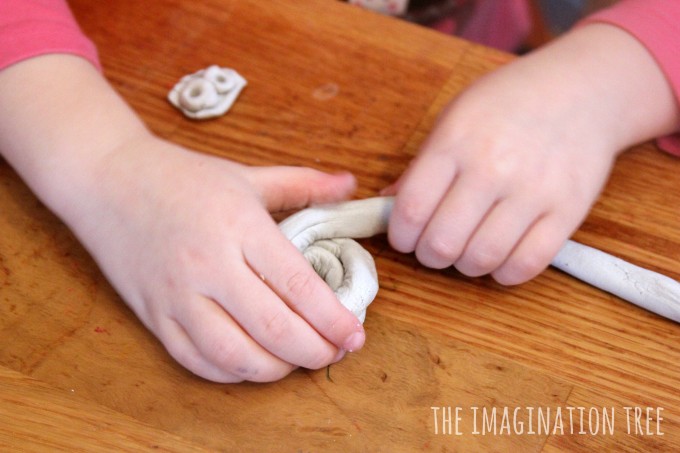
They each had a small lump of clay and started working on it by pushing, squeezing, rolling and warming it up with their hands. When it was soft enough, they began to roll it out under their palms using two flat hands, to make long “sausages.” It’s important that the clay has been worked enough first, or else it is likely dry and crack.
When they had rolled out a thin, long and even roll of clay, they began to wind it up into a bowl shape. They wound tightly so that the edges touched , then began to build it up at the sides, which they needed some help with. We also dipped our fingers into a bowl of water and added a little around the coils as they joined together, to seal them more smoothly. Water acts a little like glue when used with clay and is also great for using to smooth over small cracks too. I usually suggest smoothing over the whole clay creation with a little water once it is completed as it really improves the finish.
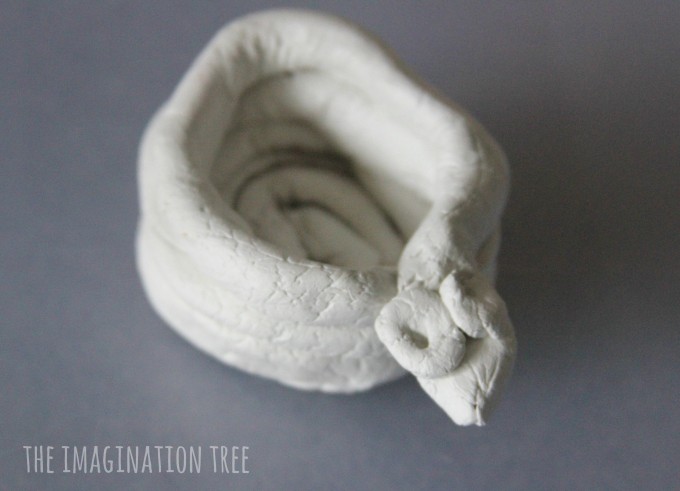
By pinching the end of the coil they were able to make snake heads, onto which they added a small piece of thinly rolled clay to create eyes. They joined these pieces using water. You could also poke eyes into the clay using a pencil instead.
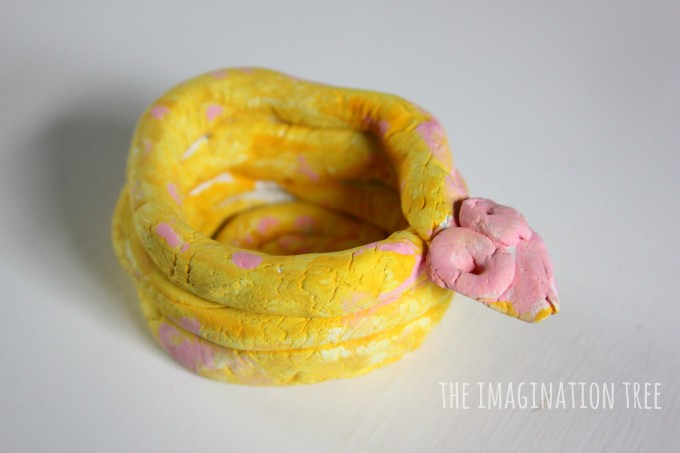
We left them to dry overnight as clay takes a while for all of the moisture to escape. Putting them near the radiator or in an airing cupboard helps speed up the process!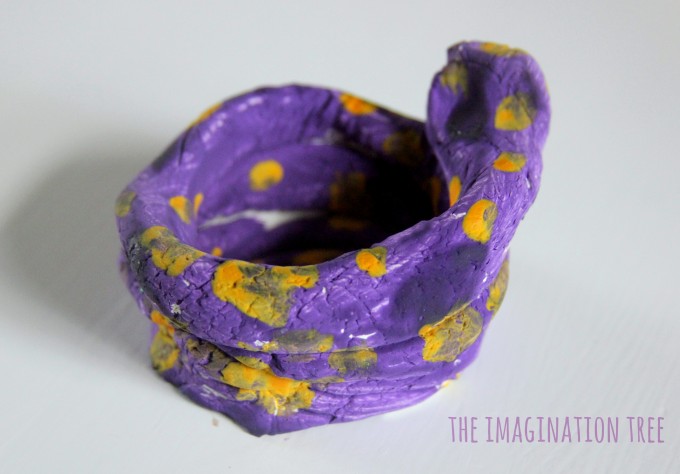
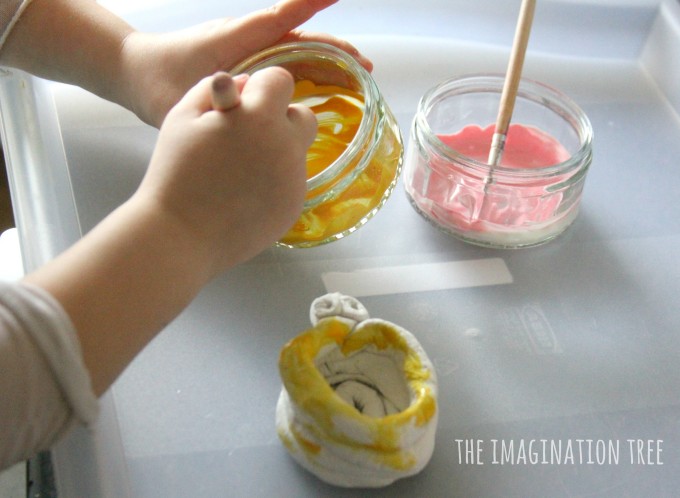
Then they painted them using ordinary washable paints and added some details and markings too. We will seal these with a clay glaze to protect them and keep the paint from drying out or chipping off in the future.
And now the girls are using these to store little bits and bobs in, and are very pleased with their creations! 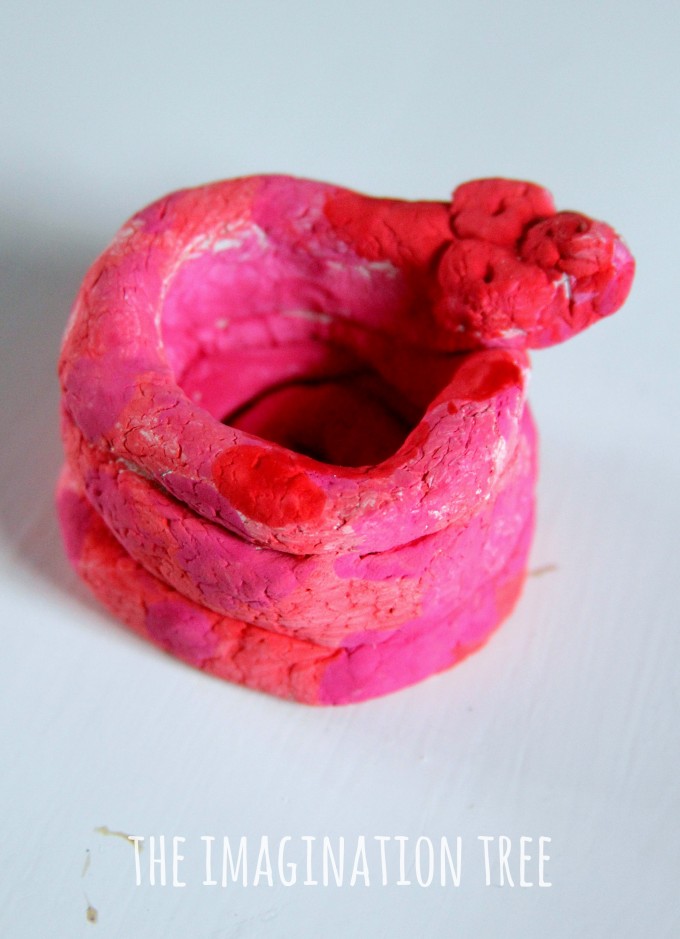
Here are our DIY CLAY RECIPES for something a little different to try!
Here are all our other ART and CRAFT projects to inspire you!
incredible work these are very beautiful. i like it.