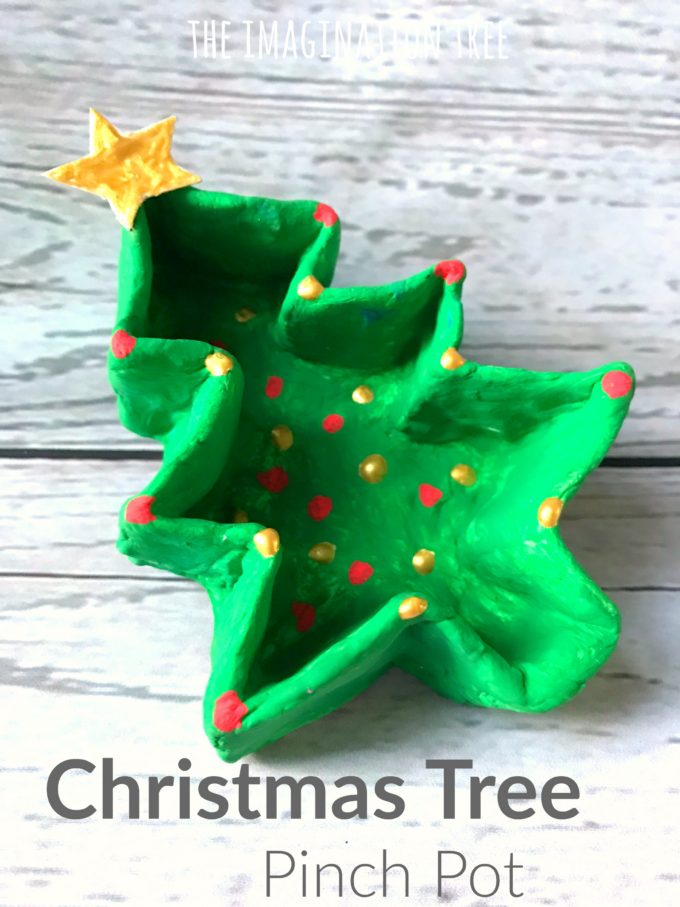
Make an adorable Christmas Tree Pinch Pot from clay as a perfect Christmas craft activity for kids this season! Perfect as a DIY gift for kids to make for teachers and friends, or as a project to do together to store trinkets and keepsakes in at home too!
I’ve always loved using air-dry clay with kids for the magic of making models, sculptures and pots with relative ease. The results are so satisfying, especially when painted and sealed and the possibilities for what to create are endless!
We’ve made some heart and bowl shaped pinch pots in the past, as well as some coil snake pots which are particularly effective and great as a first clay project. Pinch pots are a timeless favourite because of how easy they are to shape and form, without the dreaded bits falling off symptom that sometimes happens with clay projects!
We decided to try another shaped pinch pot after our heart creations from a couple of years ago. This time we worked on Christmas Tree Pinch Pot which can be made into easy DIY Christmas gifts for teachers and friends. They would be perfect when filled with mini wrapped treats!
How to make a Christmas Tree Pinch Pot
Like all pinch pots, these are super simple. There is a little more shaping required but once they get the hang of it it’s easy peasy!
We use this DAS air dry clay and I love the size of the packets it arrives in as it’s generally just enough for my kids to make one decent size model each, plus a little extra for me to play too!
First, work and work and work the clay until it is warm, soft and pliable. This stage is crucial as it helps avoid the clay drying out or crumbling later. It’s a brilliant had exercise too so make it fun and get them to do it along to funky music! They should also have a small dipping bowl of water to keep their fingertips wet when working.
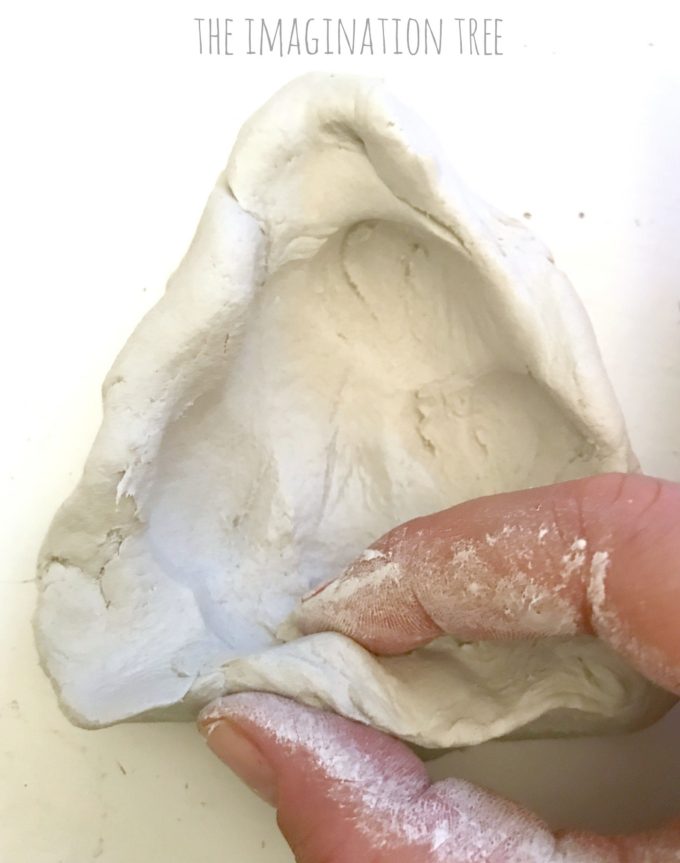
First, form a basic triangle shape with the clay and start to push thumbs into the centre of it, pulling back the sides until there’s an edge all the way around.
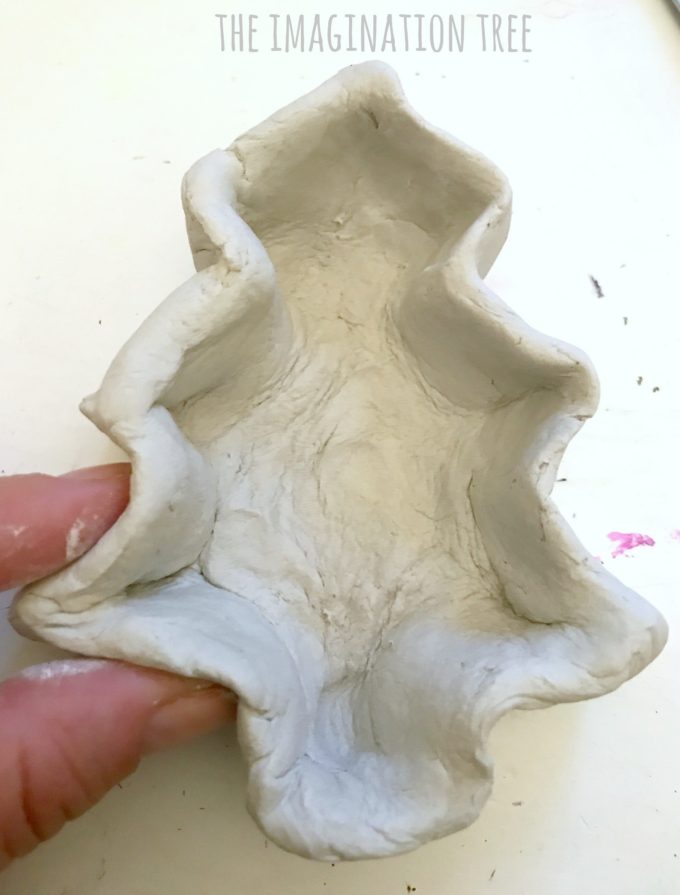
Next, pinch one third of the way down each side into a point, and repeat this until there are three Christmas tree branches pointing out on each side. Using thumbs again, pull down a tree trunk and straighten off the bottom (kids can push against a flat edge to do this if it helps.)
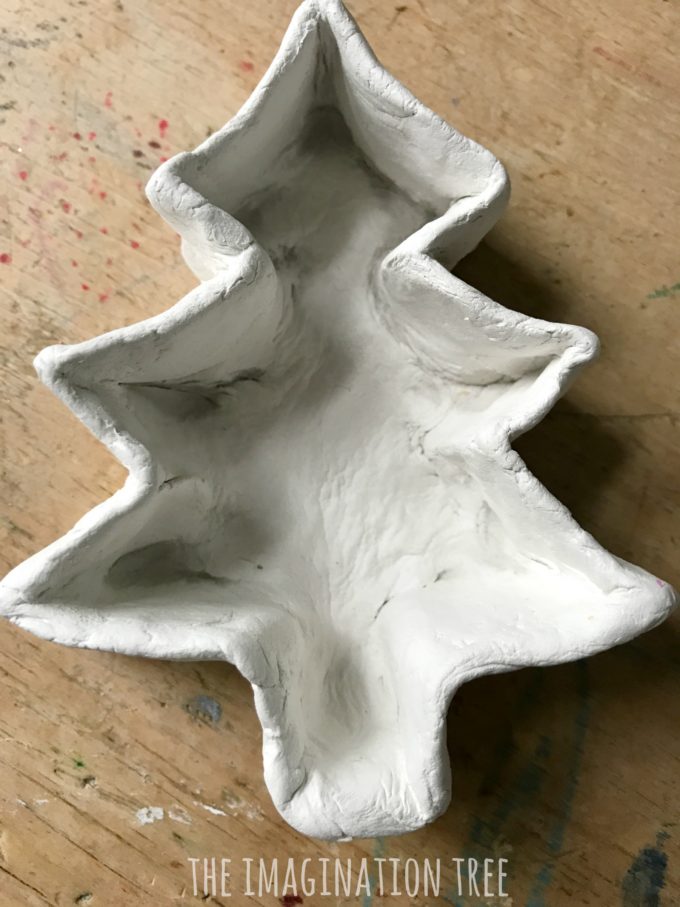
Now leave it to dry until the whole thing has lightened in colour, then all of the moisture will be gone and it will be ready to paint! We sped up the process by putting it on the radiator on the second day.
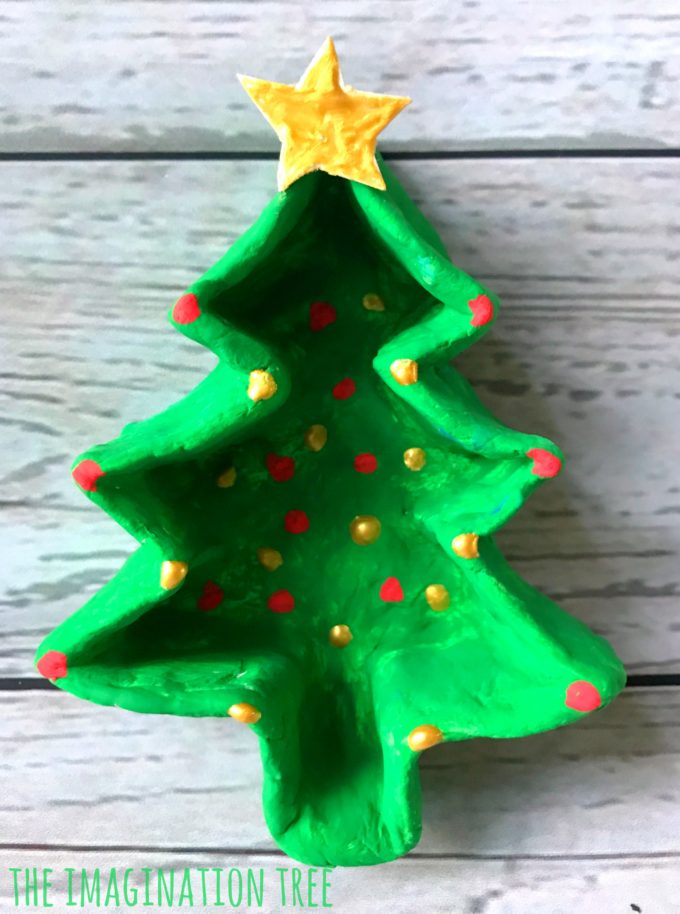
Use green acrylic paint to cover the whole pot and then add a second coat over the top. The acrylic paint will adhere nicely to the clay and also serves as a sealant, but you can still seal over the top with a clay glaze if you wish for a shiny finish.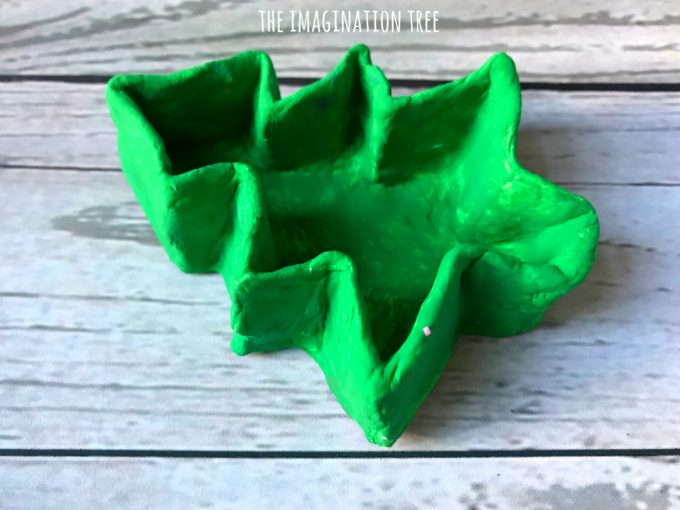
Then decorate using other colours to create baubles and other tree decorations! We simply used red and gold dipped at the very tip of the paintbrush. We also cute some card and glued on a gold painted star for the top, although you could add this with clay too.
When the paint has dried you can choose someone to give it to! Or put it on display in your own home instead to admire throughout Christmas!
If you loved this Christmas Tree Pinch Pot post then please do share it! It is so helpful for me if you can spread the word and send others over to visit my site and I’m so grateful.
If you liked this you will love this adorable APPLE PINCH POT from my good pal Red Ted Art too! Hop over to check it out!
You may also love to browse the SALT DOUGH and CLAY archives where there are loads of ideas for seasonal model making projects!
And there are zillions of ideas here in our CHRISTMAS PLAY and CRAFT archives!
[This post contains Amazon affiliate links to help you find products that I love easily. Thanks for your support!]
How many Christmas tree pinch pots can you make from this block of clay? 4?
Hmm, good question! 6 I reckon
Thank you!