While the girls were painting their salt dough footprints the other day I thought I’d get them to make a quick card each to go with their gifts for daddy this Sunday! These took all of 5 minutes to make and are a cute alternative to the usual card.

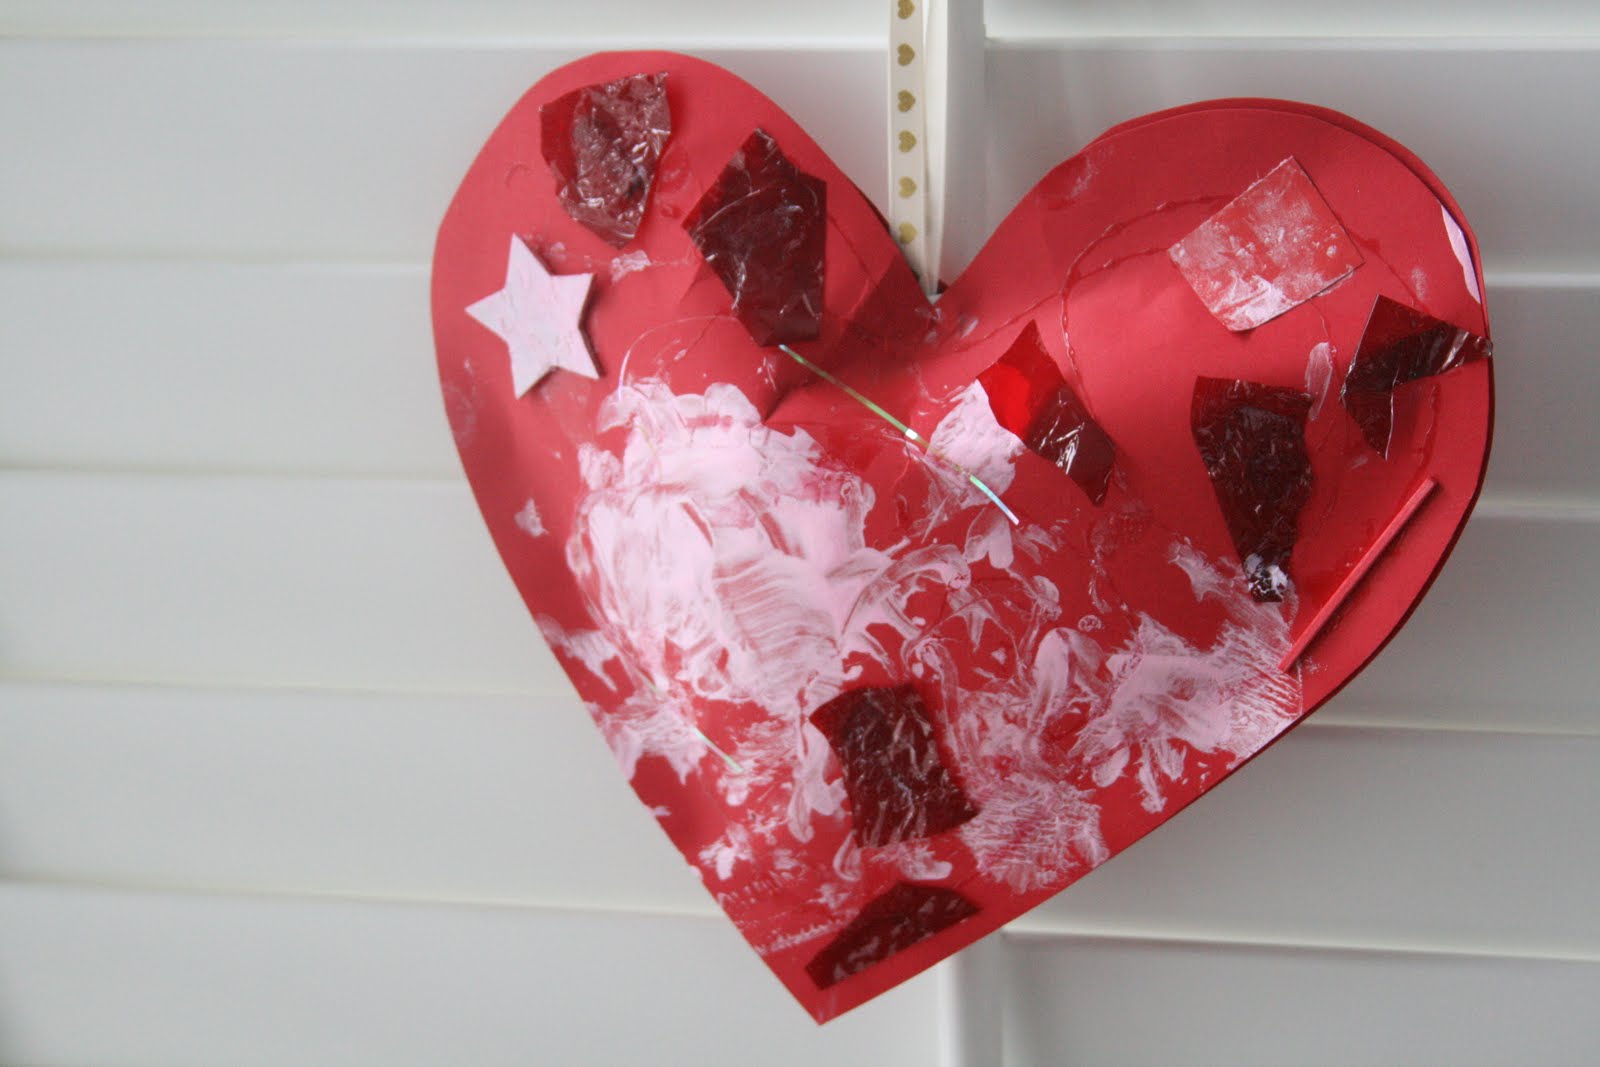
I cut out two heart shapes from purple and two from red, then let them decorate them with bits and pieces from our junk materials jar and the paint they were already using. They picked some sweetie wrappers, textured papers, foam shapes, coloured matchsticks and glittery shredded cellophane and stuck them all over using clear craft glue.

When they were dry I simple stuck the shapes together around the edges, nearly all the way but leaving an opening at th top of each. I should have used a stapler, but I was out of staples!

Then they helped me to scrunch up some newspaper (lots of good motor skill development there, and fun too of course!) I stuffed each heart with some paper and sealed the openings nearly completely, leaving just a tiny gap.
I just looped some ribbon and stuck it down firmly to the card, inside the gap, then closed it tightly.

All finished! On the back I wrote their special messages to daddy and dated them, and now they can hang up somewhere for him to admire them and remember his girls that made them 🙂
This activity is good for:
- creativity: exploring textures/ shapes/ colours/ materials and experimenting with glueing/ sticking/ painting/ colour matching
- maths: describing shapes/ noticing what happens when a shape goes from 2D to 3D
- motor skills: fine motor- pincer grip/ glueing/ sticking/ painting/ scrunching paper
- pshe: working independently
Aww so cute!!
These are gorgeous. You are inspiring me to be more creative with mine 🙂 x
love them! great idea – i might steal it..
I LOVE this project! Cute ribbon you hung them with too :] Might have to try this one out with my class…thanks for sharing :]
p.s. paint on the face is always adorable…so cute!
Cards made with love – adorable. He is one lucky daddy to be getting such precious cards.
YES! I saw a similar stuffed paper heart on another blog and mentioned that I would like to make the background of the hearts different colours … and here they are.(She used brown paper bags with embellishments.) I want to make these in graduated sizes and hang them in a row.
Thanks for co-opting my idea! (yes I know; you didn’t know I had that idea. Maybe that is why ideas should not be copywrited!?)
Blessings.
So sweet, lovely craft idea! Amanda (The Ana Mum Diary)