Make a DIY mirror box for exploring with shapes and symmetrical pattern-making in a creative maths activity!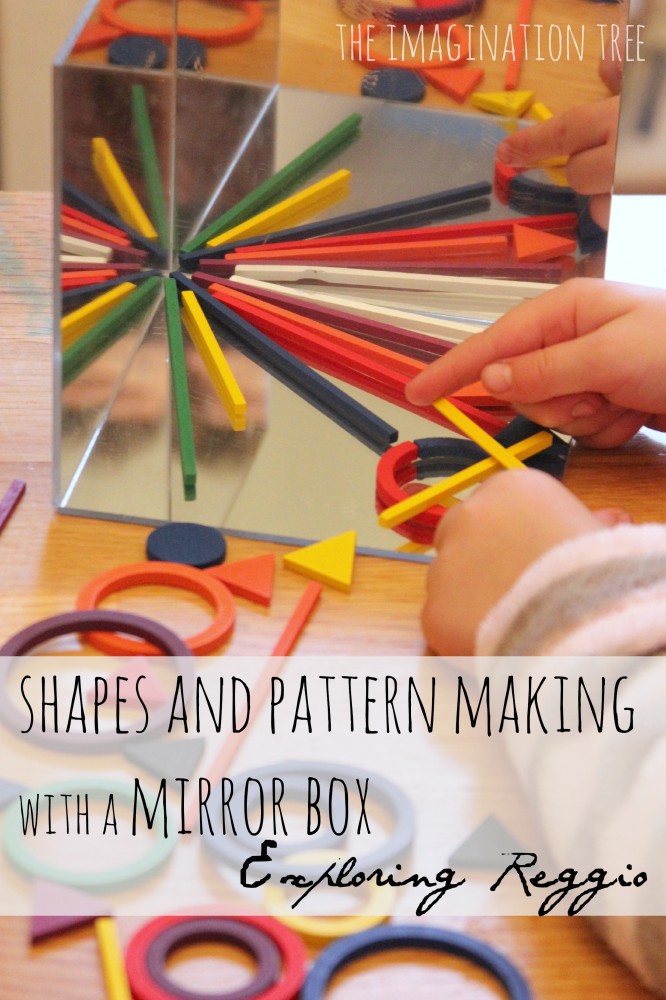
Welcome to the first in our new series about Exploring Reggio philosophies and ideas. This is a bi-weekly, on-going series being published alongside some creative friends and educators who write at the following sites; Learn with play at Home, An Everyday Story, Twodaloo and One Perfect Day. Read our introductory post to the series which explains the thinking behind what we are doing.
For our first focus we are looking at mirror play. Reggio classrooms often use mirrors on the walls and in other places in the environment, including on table tops and in conjunction with light tables and a whole range of open-ended, free materials. They add an extra dimension and increase the learning and exploratory opportunities with objects and faces placed near to them.
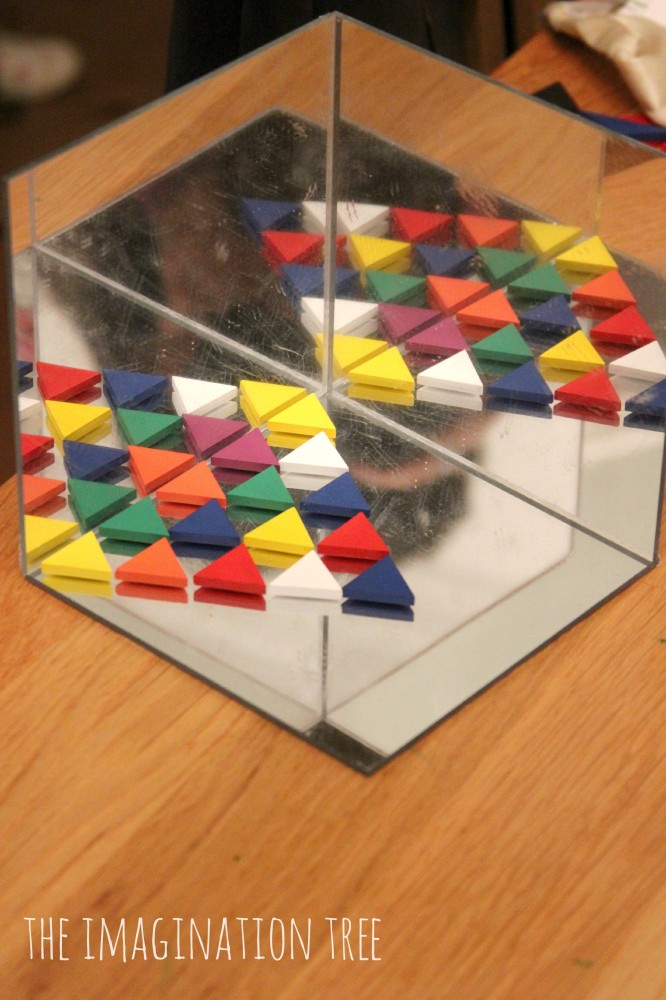
For this activity I used 3 acrylic mirror tiles (see this Reggio inspired baby play post where I give more details about them) and turned them into a simple, DIY mirror box, using strong masking tape to stick them together along the edges.
I set this mirror box out alongside two boxes of our wonderful, open-ended wooden Spielgaben toys, and left them for the girls to explore and use in any way that they chose.
[Read our full review of these fantastic, creative play material here and find out how you can order your own, hand-made set. They are, without question, the best quality and designed educational toys I have come across in my many years of experience in teaching and playing with children!]
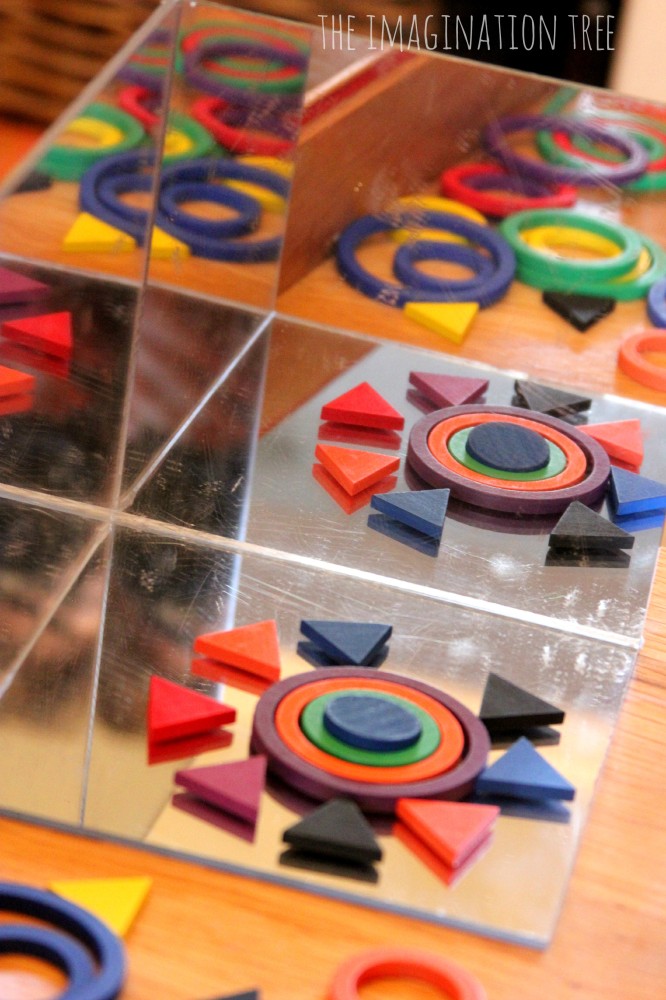
I loved watching their faces as they first placed the shapes onto the bottom mirror tile and saw them reflected not once but twice in the adjacent mirrors. They noticed that there were now more of them, and were keen to count out how many they could make appear each time. They tried moving them to different positions to see if that would make any difference . Counting the real objects was easy, but the challenge arose when they tried to count the reflections, and Cakie realised she had to resort to pointing to what she could see, instead of touching.
She noticed that some shapes could become others if placed right on the mirror line join, such as a semi-circle becoming a circle and small triangle turning into diamonds in the reflection!
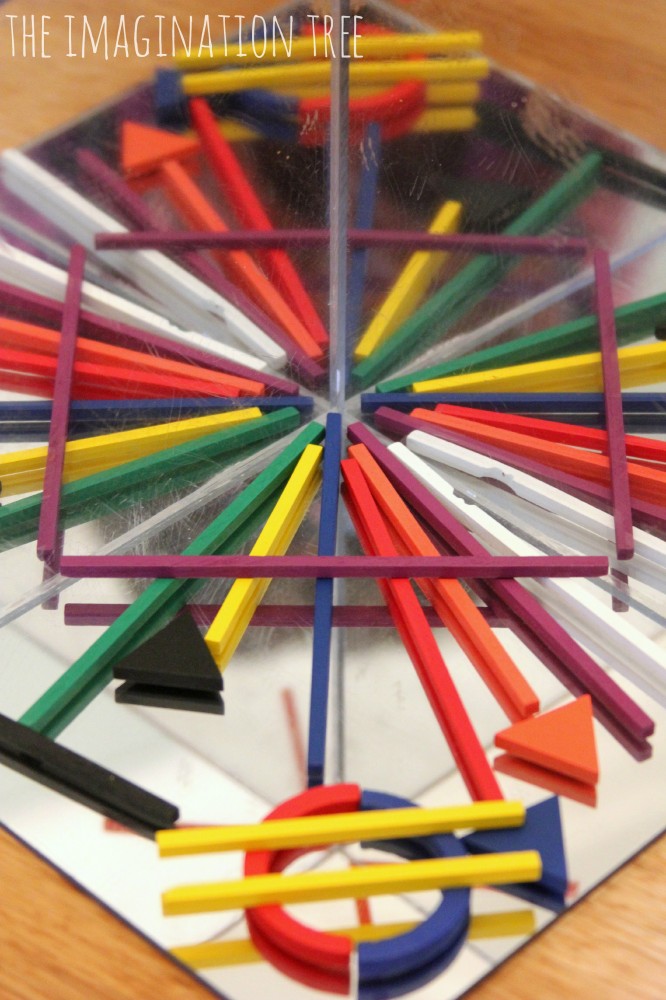
We have already experimented with making symmetrical patterns [in a previous activity using natural materials] so the concept of mirror imaging was familiar to them. By using the mirror box with the extra mirrors, it increased the lines of symmetry and created some unexpected patterns, so proved to be a great next-step activity to build on previous experience. This would be great for older children in a classroom or homeschool context too. I love the idea of using it for practising making multiplications in an extremely visual way!
It was exciting to be able to make 4-sided shapes by using just one rod!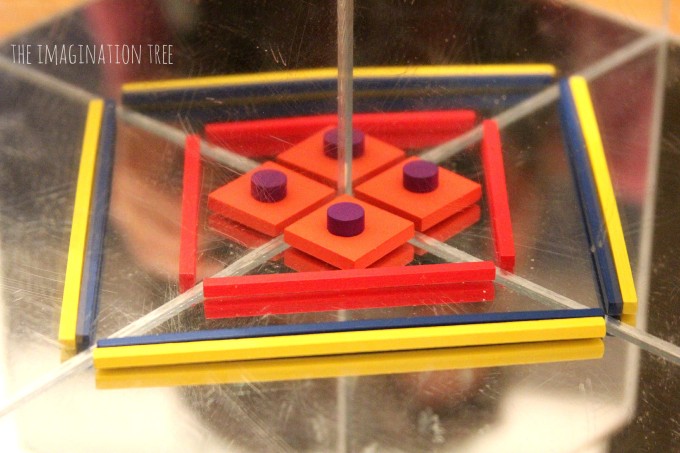
Cakie wanted to make a face so used the different sized circles for eyes, the semi-circles for ears and mouth, triangle for the nose and medium length rods for hair. I love how she positioned it near the centre of the box to create 4 fantastic refections all around. They had a great giggle about this and both made lots of faces for quite a while afterwards.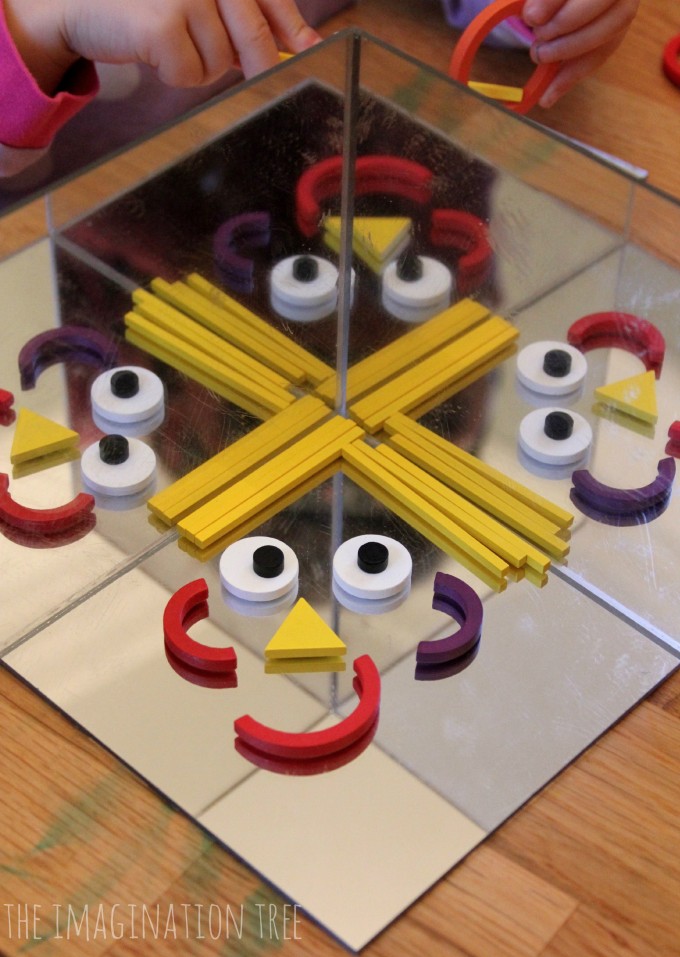
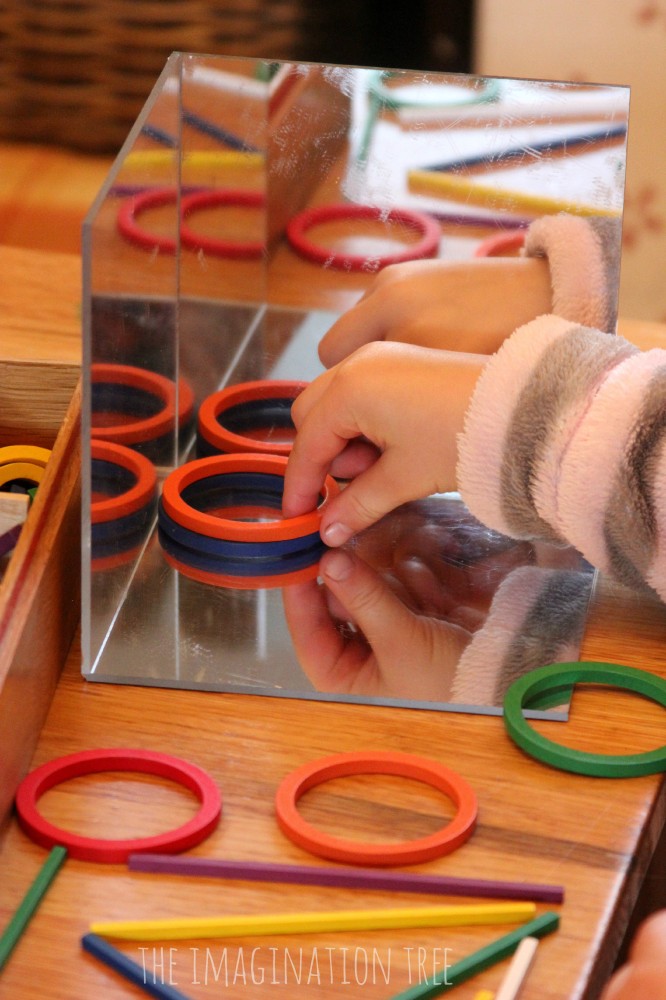
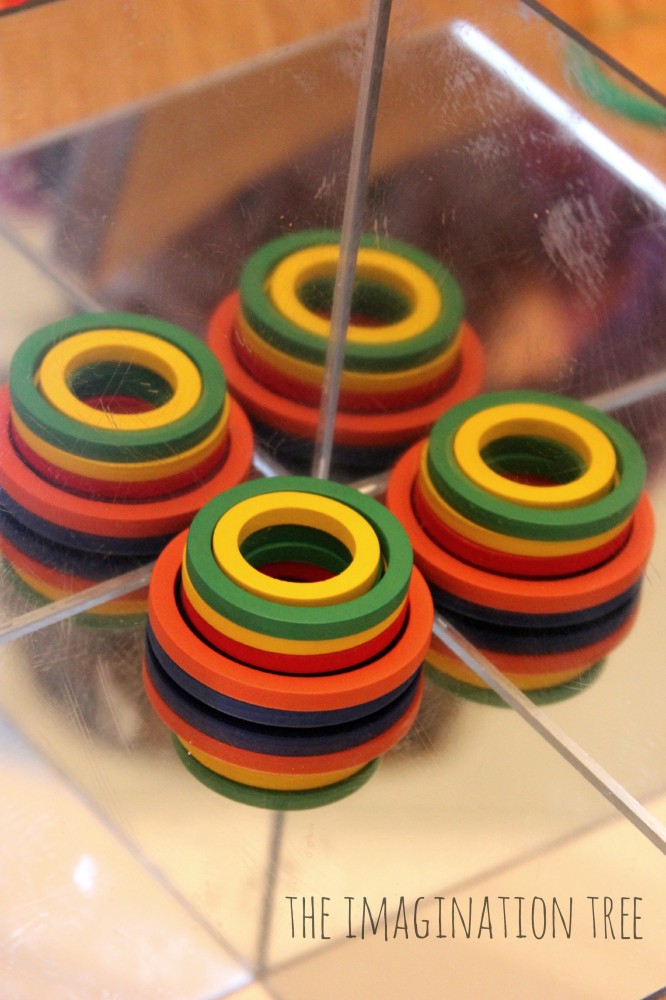
They played with the Spielgaben resources for a long time in the afternoon and returned to it the next day, revisiting the same ideas and adding other objects that interested them. Most of their absorbed periods of play resulted in elaborate collections of pieces, laid next to each other or stacked in towers like blocks, which is one of their favourite ways to play.
Adding a vertical dimension increased the excitement and changed the play even more. It would be great to come back to this using the wooden cubes and spheres to see how the play develops further. I would also like to introduce some natural materials such as shells, pine cones and pebbles.
Cakie: 5.1
Pop: 3.6
Bean: 1.7
Please check out the lovely variety of mirror play prompts on my blog partners’ posts:
Painting on the Mirror, Making Play Dough Self Portraits, Painting a Starry Night on the Mirror, Exploring Symmetry with Blocks
Don’t forget to come back in two weeks time to see the next in our Exploring Reggio series!
[This post contains some references to resources which were sent to us for review]

What an amazing idea! I can just imagine how fascinated my twins would be with this setup. We’ll have to try it soon!
I love this idea! I have three spare tiles, so this would put them to great use. I am saving for the Spielgaben set to use with children in my at home education setting…I can’t wait to finally own them one day!
What a great provocation for exploring shape relationships, reflection and symmetry! My reggio boards on pinterest are filling up fast with the great ideas in this series! 🙂
It’s fascinating to see the reflection of the shapes and color patterns. Kids must think so too!
That is so much fun. We will be receiving the Spielbagen set come december (so exciting). Where do you get the mirror box?
Love this idea. We found a package of three mirrors at a local dollar store and have just been playing with them flat. We will be duct taping them together now. What fun!
I totally have three square acrylic mirrors in my craft desk that I was going to use for some other project, but I am now going to make one of these instead. Thanks for the great idea, Anna!
I love the mirror boxes ! Our three yr. olds would too! I’m going to be looking for acrylic mirrors, do you have suggestions on where I might find them ?
I found some on Ebay! Can’t wait to let me LO explore this. Great idea, thank you!
Anna this is so beautiful. Making a “corner” like this with the mirrors really adds a whole dimension to the play.
So cool! I’m definitely purchasing some mirror tiles! How awesome are those patterns? Was it hard to resist jumping in and making them yourself? haha
I can’t wait to try this. I found some mirrors (with adhesive already attached) at our dollar store. Instead of taping the corners together, I’m going to stick these to the corner of a diaper box for more stability. Then I will cut off the excess cardboard. I LOVE your site, and have tried many, many of your projects. Thank you for all of the inspiration!
Great idea to stick to an existing box! I’m adding mirrors to my wish list too! 🙂
Can I ask what size the mirror tiles are please? Want to buy some but can’t seem to find ones that I think will be big enough thanks
It is really appropriate time for it to generate programs into the future as well as it time for it to feel special. We’ve read through this offered and in case I may just simply I would like to suggest a person several useful things or perhaps strategies. You’ll might generate upcoming posts in regards to this post. I would like to understand a lot more things about them!
I am new to your site and this is imply awesome. Where can I find these mirror tiles? Would love to try it out.
Anna,
Your post was very inspiring. I did create similar mirror setup for my boys and it was interesting to see them playing with it. Here is link to my post: http://earlylearning-eaton.blogspot.com/2014/01/exploration-table.html
Thank you and Happy New Year!
That looks pretty awesome! I may have to make one for my kids. I am sure it would come in handy for lessons on symmetry too!