Make some salt dough leaf print models and colour them to add an extra stage to the creative process! These are so simple to make using everyday ingredients and all members of the family can get involved and make their own special leaf keepsakes.
We are big lovers of the simple, yet wonderful, modelling material salt dough, and have used to to make hand and footprint keepsakes, christmas ornaments, letters of the alphabet and so many more things too! To see our very easy recipe and instructions for making the dough, read this post about our salt dough decorations, where the step-by-step guide is written out.
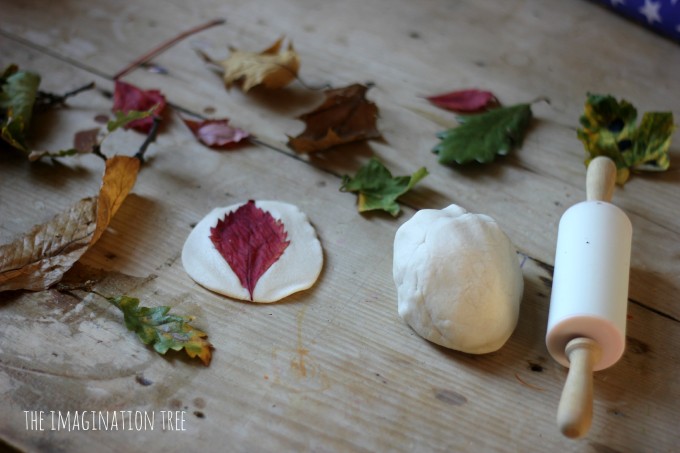
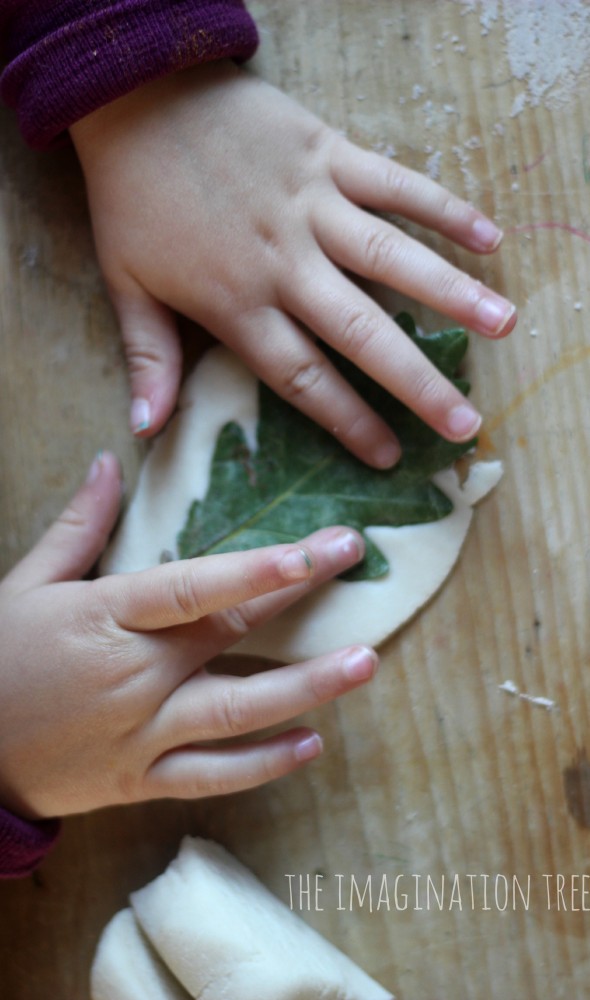
After playing and investigating the leaves and natural materials on the Autumn nature table, we made some salt dough, kneaded it until it was smooth and rolled it out until it was about 1cm thick. Then they chose their favourite leaves and gently pushed them one at a time into the dough.
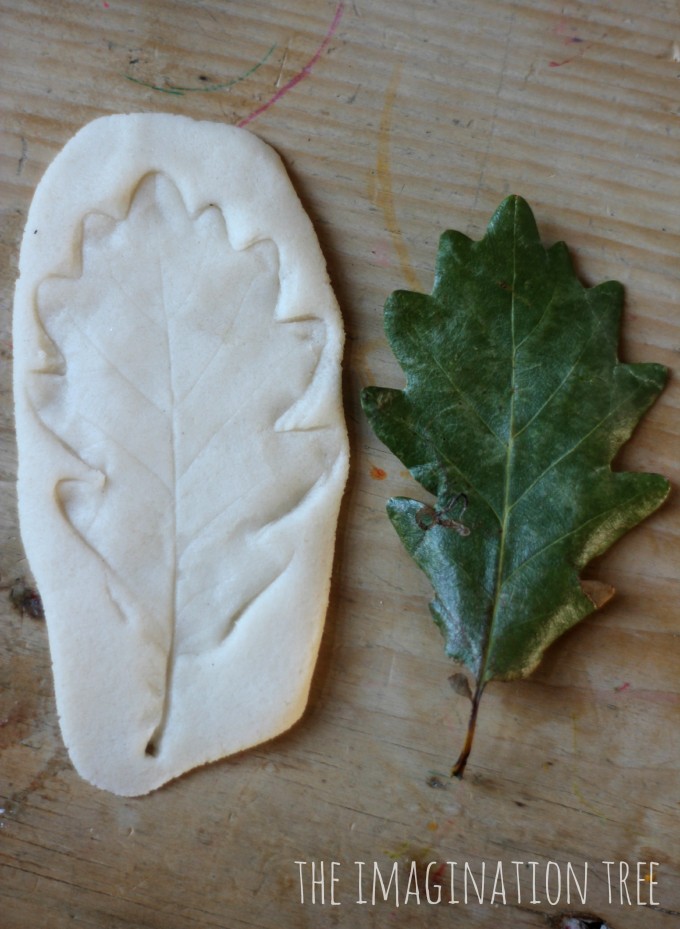
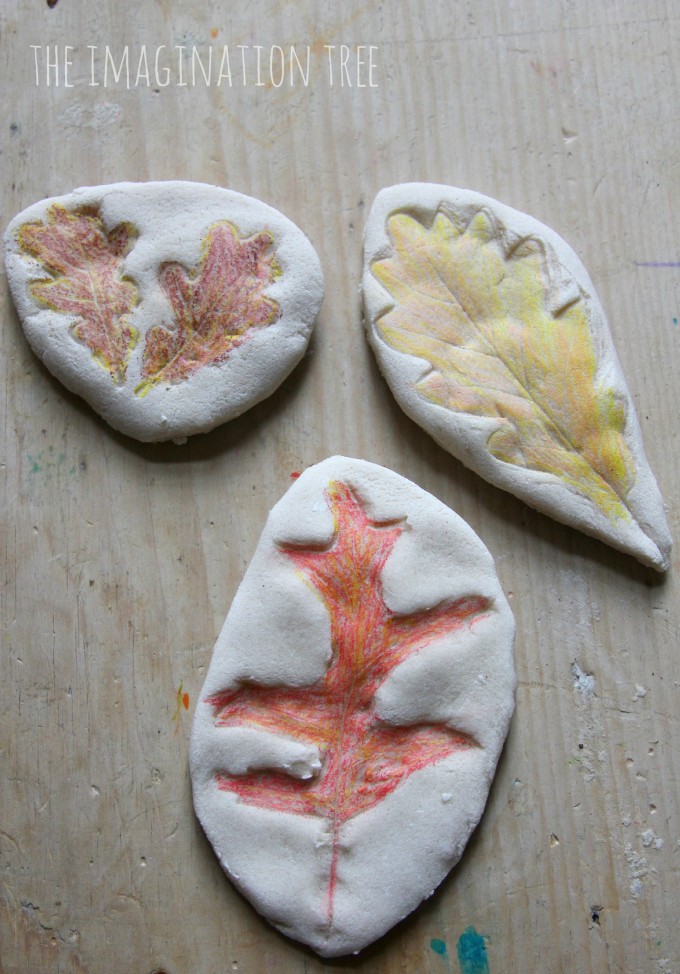
We talked about the shapes and patterns along the edges of the leaves and how they were different in each variety. When they carefully peeled the leaves back off, the veins and stem had left a good impression in the dough.
[Tip: I helped them push gently but firmly around the edges and along the centre to ensure the veins and edge imprinted into the dough clearly.]
Some leaves worked better than others so it is worth looking for leaves with raised veins before starting, to avoid disappointment.
We put them onto a pizza pan (any baking tray will do, either directly or using baking parchment) and left them in the oven for 2-3 hours at around 120 degrees C (roughly 240 degrees F). For a fan oven you may need to reduce the temperature and/or time a little. Remember not to make the dough too thick as it has a tendency to still be soft in the middle otherwise. If it is still a little soft, turn them over for another hour and this usually dries them out thoroughly.
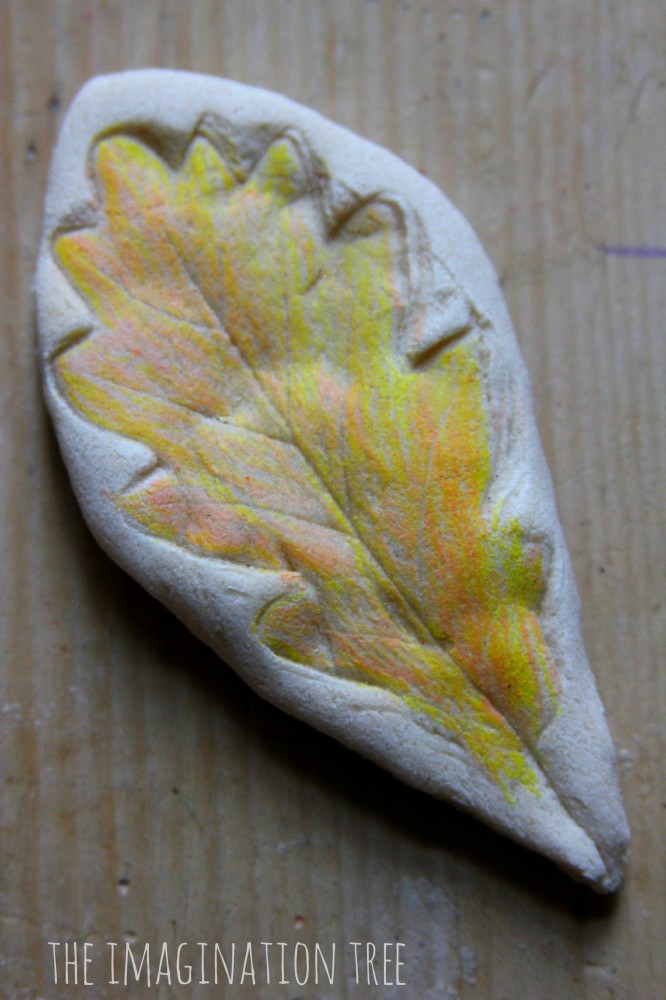
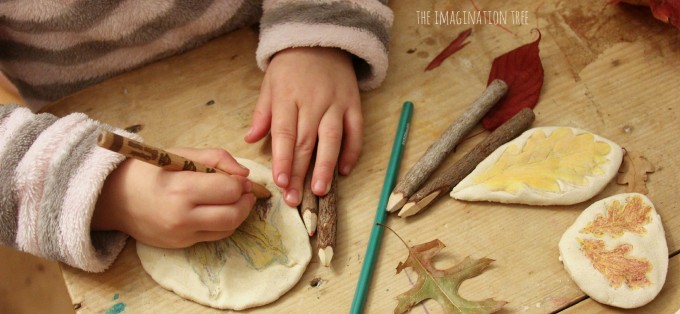
The finished leaves looked lovely as they were, but we decided to add another stage to the art process by adding some colour to represent the leaves. This was an experiment for us as we have only ever coloured salt dough using food colouring (before modelling and baking) or by painting afterwards. Thankfully it worked really well and the hardened salt dough made a great surface for colouring on using coloured pencils. I set them the extra challenge of using at least 2 or more colours per leaf, to see if they could blend and layer the colours to look more realistic and add some texture and variety. The resulting art work is beautiful!
[Tip: encourage them to draw around the outer edges and along the veins with their pencils to make those details really stand out to the eye.]
We have left ours as flat models to sit on the nature table and eventually on a shelf, but you cold also add a hole with a straw before baking to hang them up with string afterwards, or even glue them inside box frame for display, providing the model isn’t too heavy.
Cakie: 5.1
Pop: 3.7
Bean: 1.7
What they are learning as they play:
creativity: combining materials and media, modelling, printing, sculpting, colouring and blending
sceince: learning the parts of a leaf, recognising differences between leaf varieties
physical: fine motor skills through rolling, flatting, pressing, cutting, printing, colouring
See our autumn play and learning activities here
See all our salt dough activities here
Thanks for the idea! I’ve been looking for a fun leaf craft to do with my boys.
Another great idea! We are going out to collect autumn treasures on Monday. This would be a fantastic thing to do with some of our leaves
Thank you. I am adding to my daily art activity for next month.
Thank you. I am adding it to my daily art activity for next month.
I love this craft! I am always looking for great ideas to do with leaves and this is perfect. Pretty and fun!
Microwaving salt dough works remarkable well. Put the shapes in for about 1 min (be carefully about burning it). I use a 1:2 salt flour mixture. I am not sure how long the models we last for, but it means my children can do the painting in the same craft session as the modelling.
I love the ideas on this website, j