|
You may remember that we have been having plenty of fun with all things Pirate related recently, from the picture books we’ve been reading to the treasure chest that we made!
The next logical step was to make a pirate treasure map and I have to say, I had so much fun with this! It reminded me of all the maps and fun props we used to make when we did this topic with our Reception aged children at school, and I’m now hankering for an imaginative play skull cave and palm tree beach like I once had in my classroom! Ah, those were fun days!
|
||
| thick 300gsm watercolour paper |
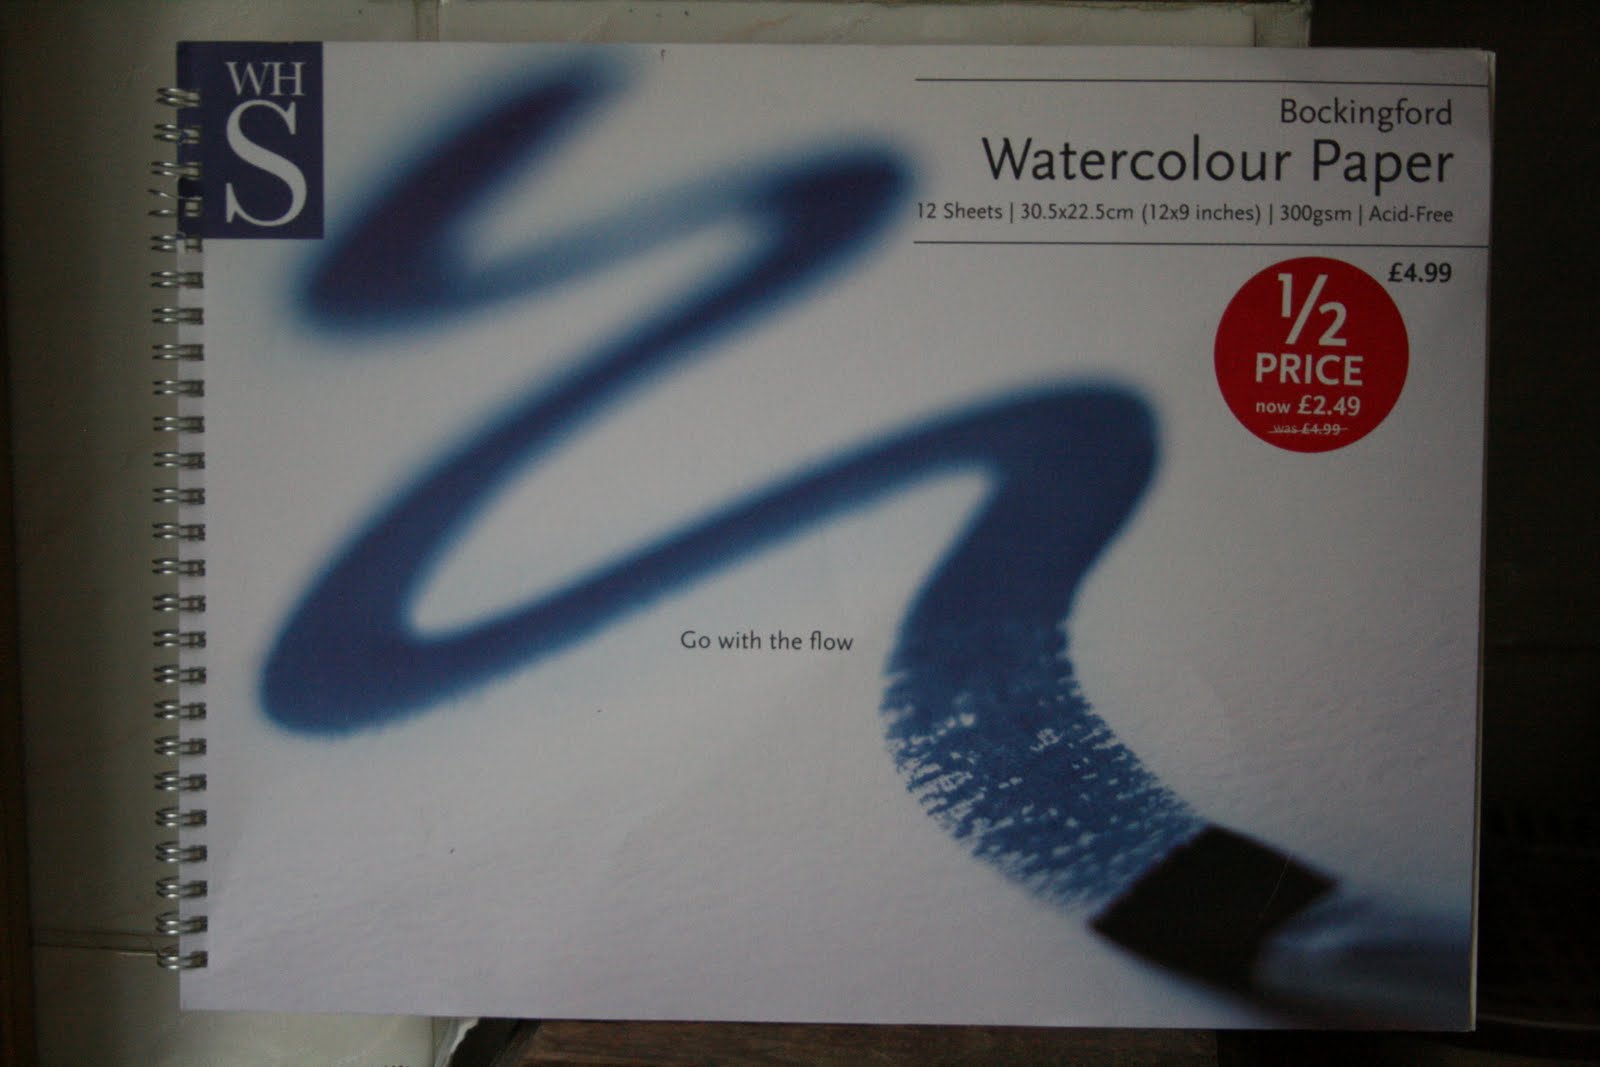
For an effective map you really need to use good quality, heavy duty paper, preferably watercolour, sugar or blotting paper as these are the most absorbent types. I have included a photo of our watercolour art book so you can see the type of thing to look out for. As an aside, I think children should always be offered the best quality materials and resources, where possible, and there’s no reason why they can’t use “real” art products at all. The better the quality, the more we are expecting from them and valuing the outcome, in my opinion.
 |
| strong tea paint! |
We put three tea bags in a cup with some boiling water and left it to cool down, by which time it had become a lovely thick stew and also a great natural watercolour paint!
 |
| soaking the paper in tea |
The girls had great fun sloshing it all over the thick paper with paint brushes.
 |
| painting with a wide brush |
Then C. tipped the cup over (not at all unexpected!) and during the mop up with copious amounts of kitchen roll, it actually worked out even better to use those to stain the paper with. Baby Pop thought it was lots of fun and was distraught when I eventually took it all away!
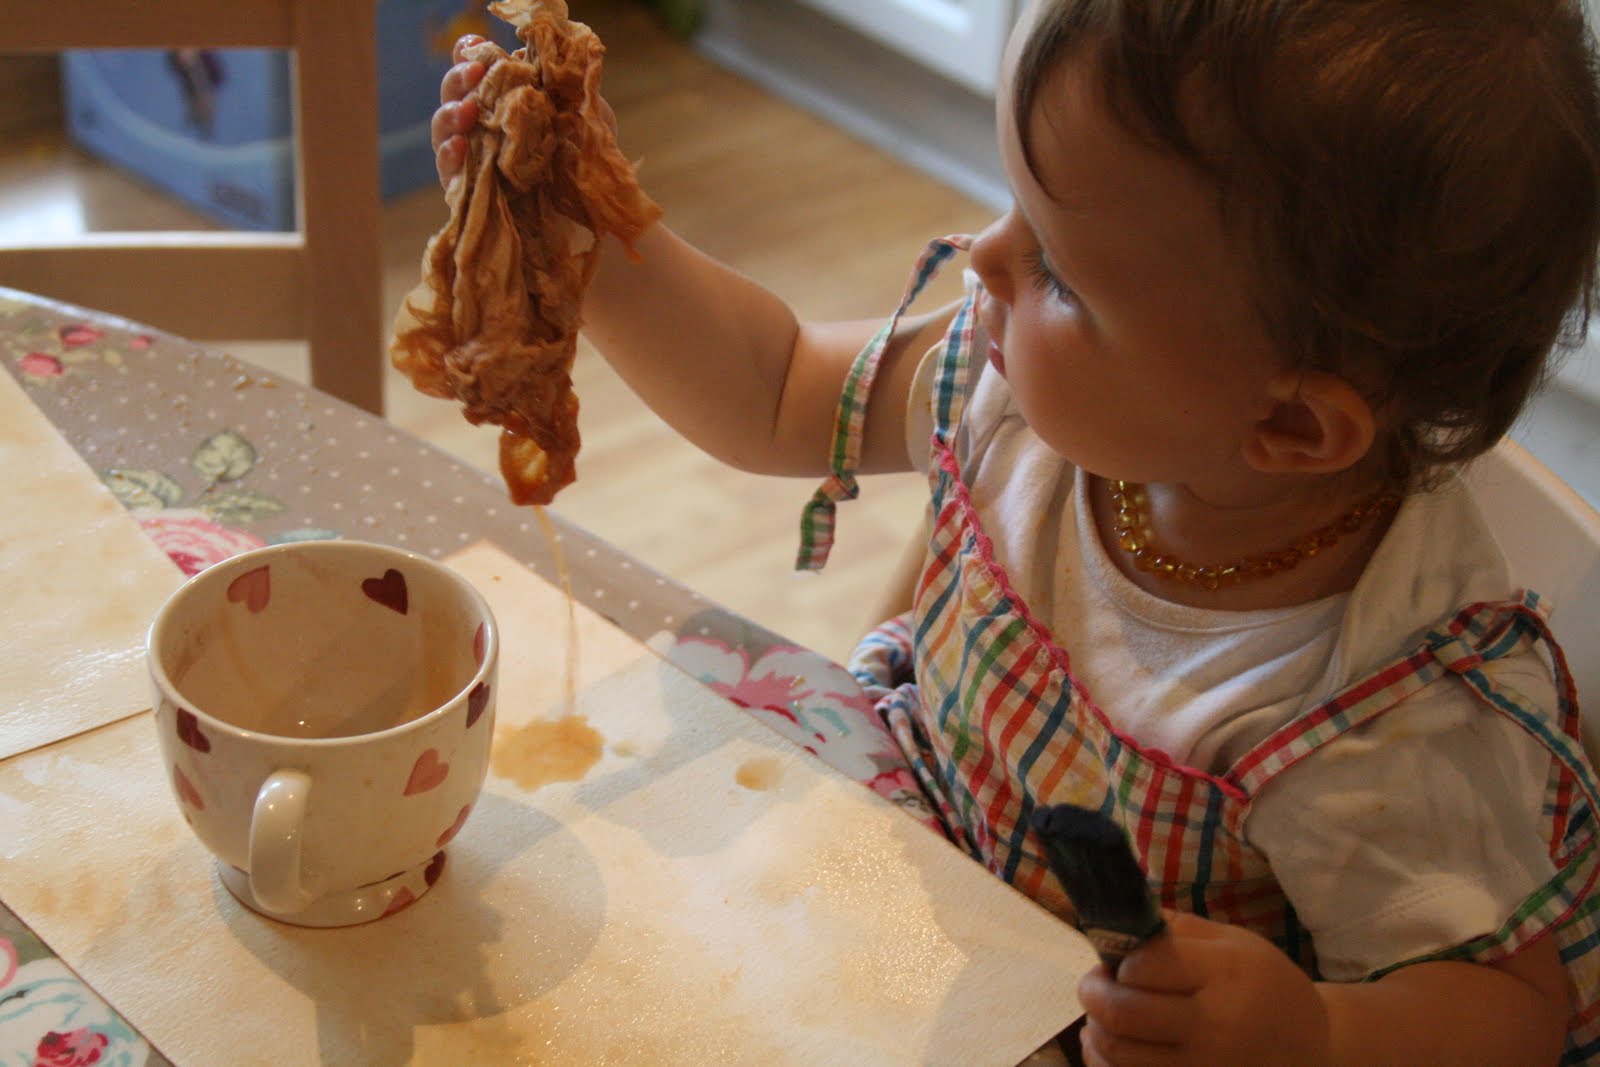 |
| painting with wet kitchen paper |
When the papers were completely covered, we left them to dry overnight and then they looked like fabulously aged, antique parchments! The next step was lots of fun for me (but best done outside and away from the impressionable eyes of children!) I used lit matches to burn around the edges of the papers, just allowing them to scorch a little before quickly blowing them out again. The result made them look even more authentic and ancient.
 |
| pirate island treasure map |
Then I drew on an island shape and added some main geographical features and labelled them. You really don’t need any artistic skill in order to impress young children and the less you say about being a “bad artist” the better they will believe you to be. (And also the better they will believe themselves to be at drawing when the time comes.)
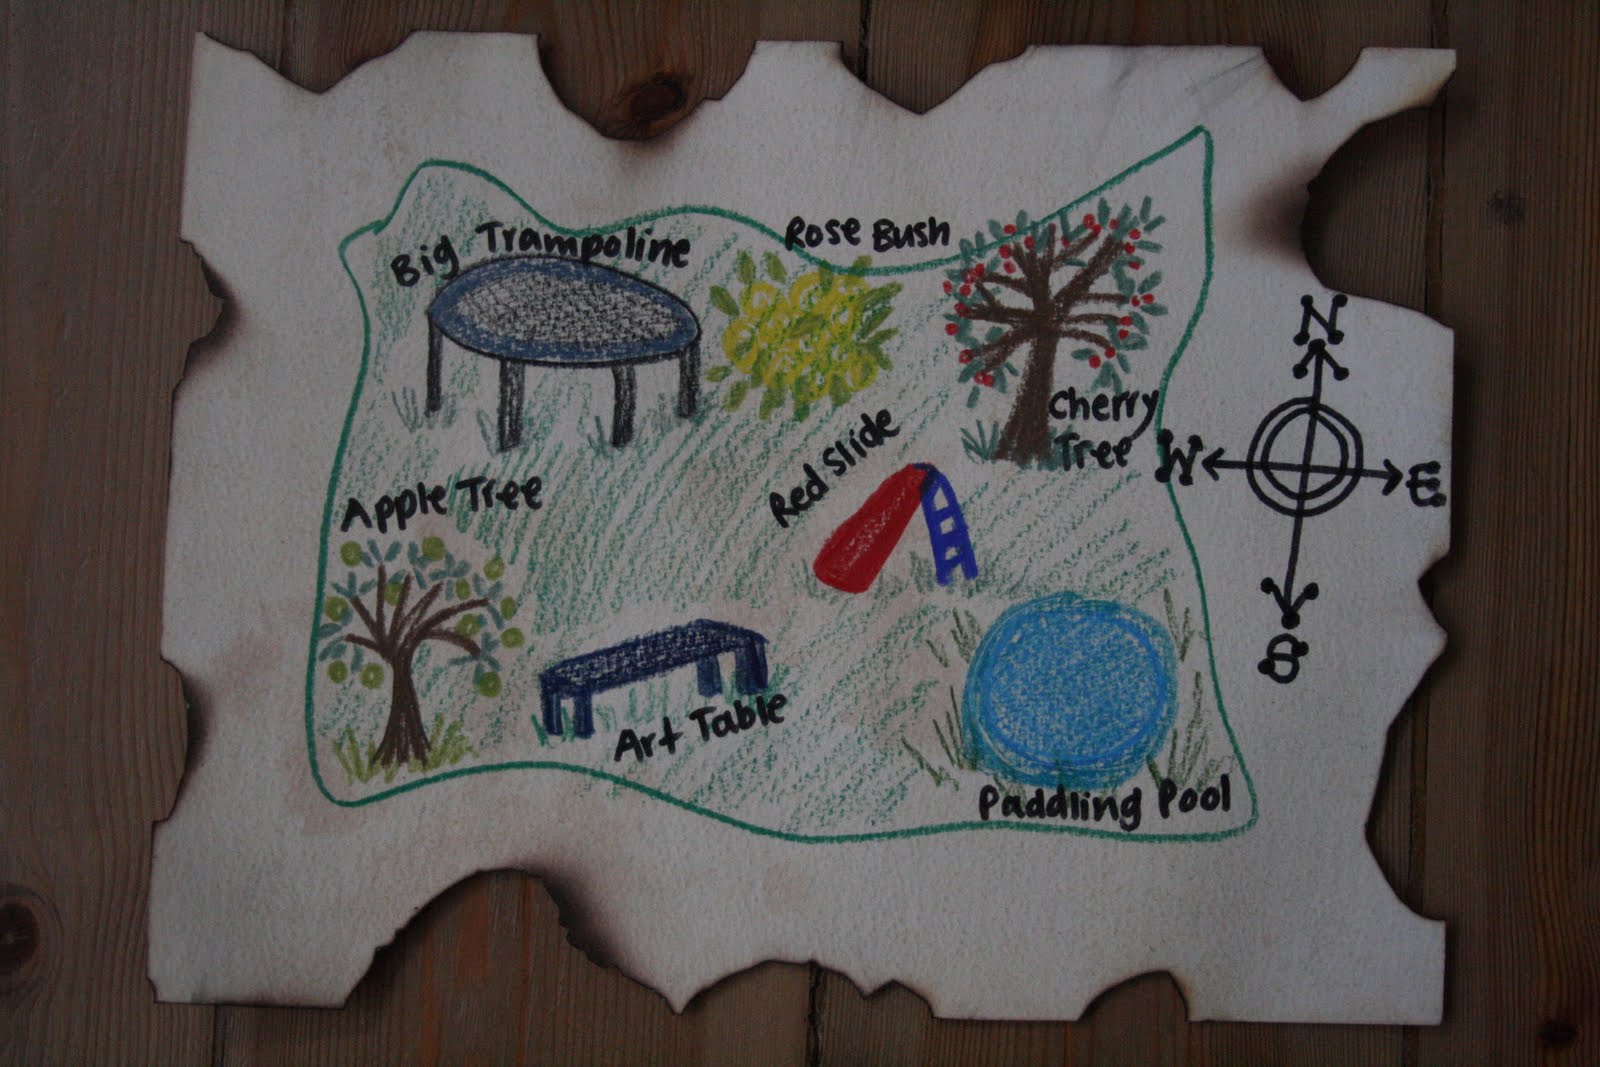 |
| garden treasure map |
And for fun I also drew a map of our own garden with the main objects and landmarks that are found in it!
Ideas for games with the treasure maps
Pirate Island Map:
*Use the map as a prompt for starting your own stories about what might happen on the pirate island. *
*Talk about pirates landing and discovering the various places, what are the mountains like to climb? Is the cave spooky and dark? What is inside it? What happens in the sinking sands? what can be seen from Lookout Point? When they dig up the treasure under the X, what is inside the box? Has someone else beaten them to it already? Where will they go to next?
*Use the map to talk about positional and directional language eg “They must go over the mountain, through the forest, around the rocks, across the river, into the swamp” etc
*Use the map to imagine being on the island and follow it around an imaginary assault course inside or outside. under the table can become the cave, blue material can be the river, cushions can be the beach etc. Great way to use up some energy and at the end your child can “discover” a treasure box that has been filled with snacks/ books/ toys/ teddies!
Garden Treasure Map:
*Stick a sticker onto the map as a way of marking it with an X. Then say “we are going on a treasure hunt!” Shout out instructions to your child and incorporate some positional language and counting skills. “Three steps forwards. No stop!” “Turn to your right and two more steps” “Scramble under the trampoline and down the slide!” etc.
*Again, hide a treasure box filled with something special, maybe a picnic lunch, then sit down and eat it together!
These activities are good for:
- creativity: painting/ staining/ imaginary play
- science & knowledge of the world: islands/ maps/ pirates/ compasses/ directions
- maths: positional language/ counting steps/ directions/ rotation
- literacy: directional language/ following and giving commands/ inventing and retelling stories
- motor skills: fine motor control using paint brushes/ large motor eg steps/ jumps/ running/ climbing/ slithering/ scrambling
- pshe: following instructions/ listening skills/ confidence/ playing in a team and/or with an adult
Love the maps!! great idea to tea stain 🙂
That is a wonderful DIY pirate map! Great Idea on Tea stains and the burning out of the edges. They do give ancient map look!
What a wonderful play-based idea! Love the maps with the worn out look.
The ideas for games based on this map are so cool.
Love it!!
thank for sharing nice idea on your maps…i like it..
It also works with coffee, if you’re not a tea drinker. 🙂 We did sort of the reverse–I made the parchment as a surprise for my son while he was at school, and he drew the map: http://salamanderdreams.blogspot.com/2011/05/diy-pretend-parchment.html
love this – you’re such a great artist! You and Mommy and Me Bookclub have pirates on the brain. 🙂
Oh wow! This is fabulous! Those maps are awesome!
What can I say, but FAB!! I know two little people who would love painting with tea and the final map is awesome! Go pirates at your house!!
Thank you for linking up to Kids Get Crafty!!! Always a pleasure to have you stop by!
Maggy
Fantastic!! my son loves maps and we are going to enjoy making one this way!
Treasure maps.. this task I have used and the kids loved it. Should finally get a use for the watercolour paper I have left in my craft storeroom. It’s amazing what you can gather over time.
Ross Mannell
Great idea for an activity with the kids! I used the same tea bag technique by myself for Sam’s pirate birthday party – http://wp.me/p1koSH-ul – but stopped burning the edges because we did it indoors and almost burned the house down 🙂 Will try this with my daughter next time. Thanks for sharing!
So fun! I need to do this with my kids. It has been a long time, and I was the one making them before. They’d love it. Thanks for sharing at For the Kids Friday at Sun Scholars! I’m off to share your post with my Facebook friends. 🙂
This comment has been removed by a blog administrator.