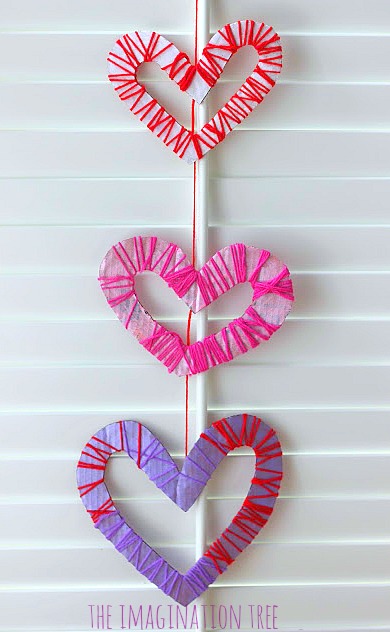
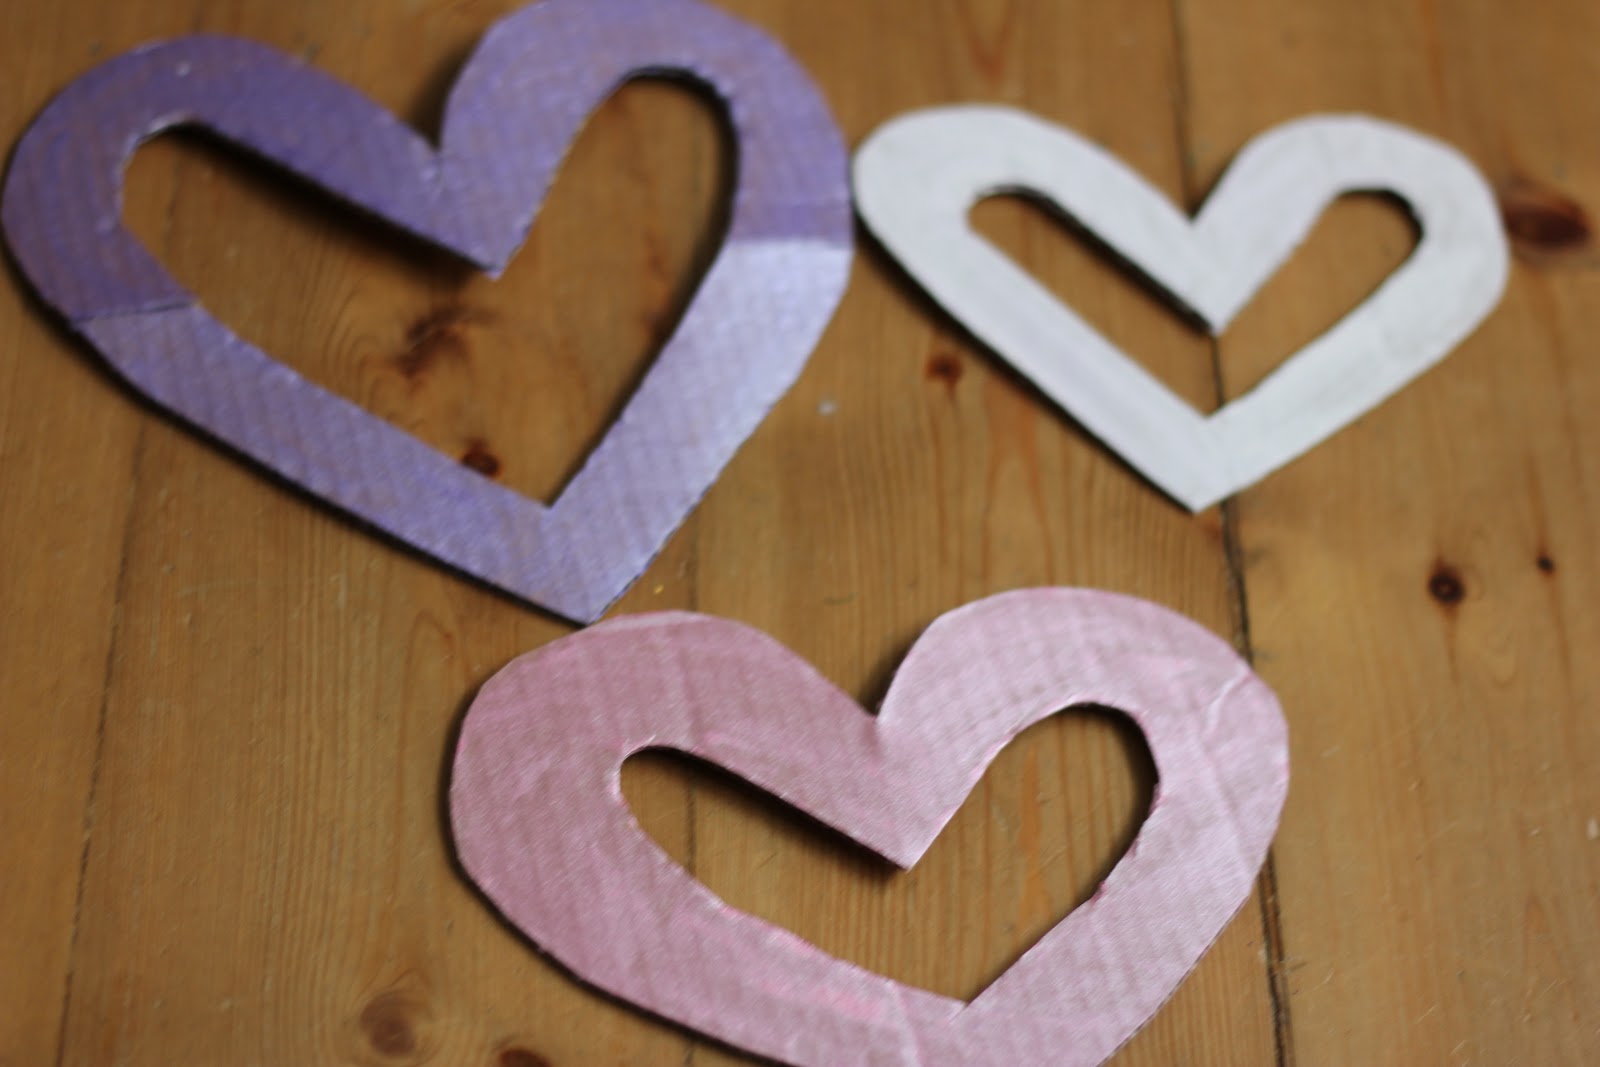

When they were dry I found some thick yarn in pink, red and purple shades and cut them into manageable lengths for working with (each no longer than arm length.)

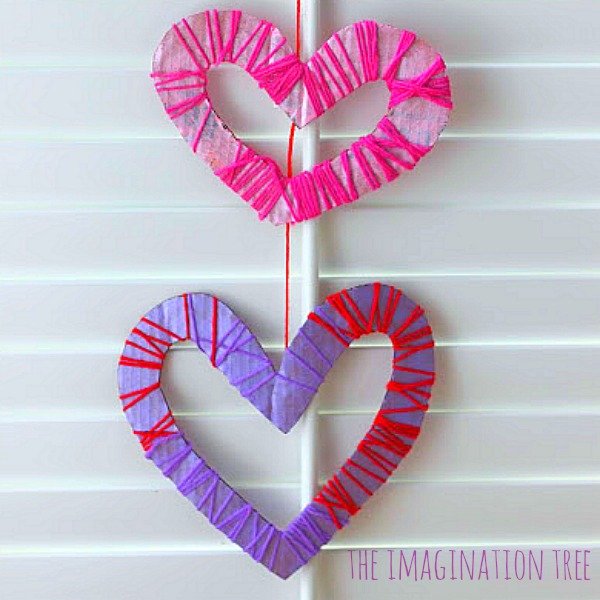
I stuck the end onto the back of one of the hearts using sellotape and then demonstrated how to push the yarn through the middle, then around the outside and back, wrapping it around the border tightly. Cakie picked up the idea much more quickly than I imagined and I left her to do it her own way, wrapping some widely and at an angle, leaving spaces and sometimes even loose. We were not aiming for a “cookie-cutter” result, but a process-driven art activity (as with most of our art ideas!)

I helped her by taping down the ends as she reached them, then she chose which colour to work with next. I also helped her finish them off each time that she wanted to move onto the next heart (she wanted to do about half of each and every one, but they required some patience and she did ask me to help in the end!)
When they were finished I trimmed off any loose ends, lay them over a long piece of yarn and stuck them down firmly with tape.

They are then easy to hang up at the window (or from the ceiling if you have a hook at the ready!)

Simple but very pretty and effective and perfect as a decoration for Valentine’s Day (or for any time of year!)

You always have the best ideas for things to do with my 2 year old, whenever I need an idea for something to do I first check here! We are going to try making these today. (It is our rainy day project today) Thank you for posting all these awesome projects.
Thank you Amanda! what a lovely comment to leave 🙂
Your hearts are so pretty! So glad you’re part of this amazing project =)
Thank you Maryanne! It’s a wonderful book with so many brilliant projects!
Your woven hearts are really lovely. I am pinning this and definitely going to set it up for my daughter – she will love it.
Beautiful Anna! Love them!
Thank you for sharing on Kids Get Crafty!
Maggy