Make some beautiful heart and alphabet resist art work using a bleeding tissue paper technique! This is a wonderful art process for even the youngest child and is virtually mess free, with each piece being totally unique and stunning.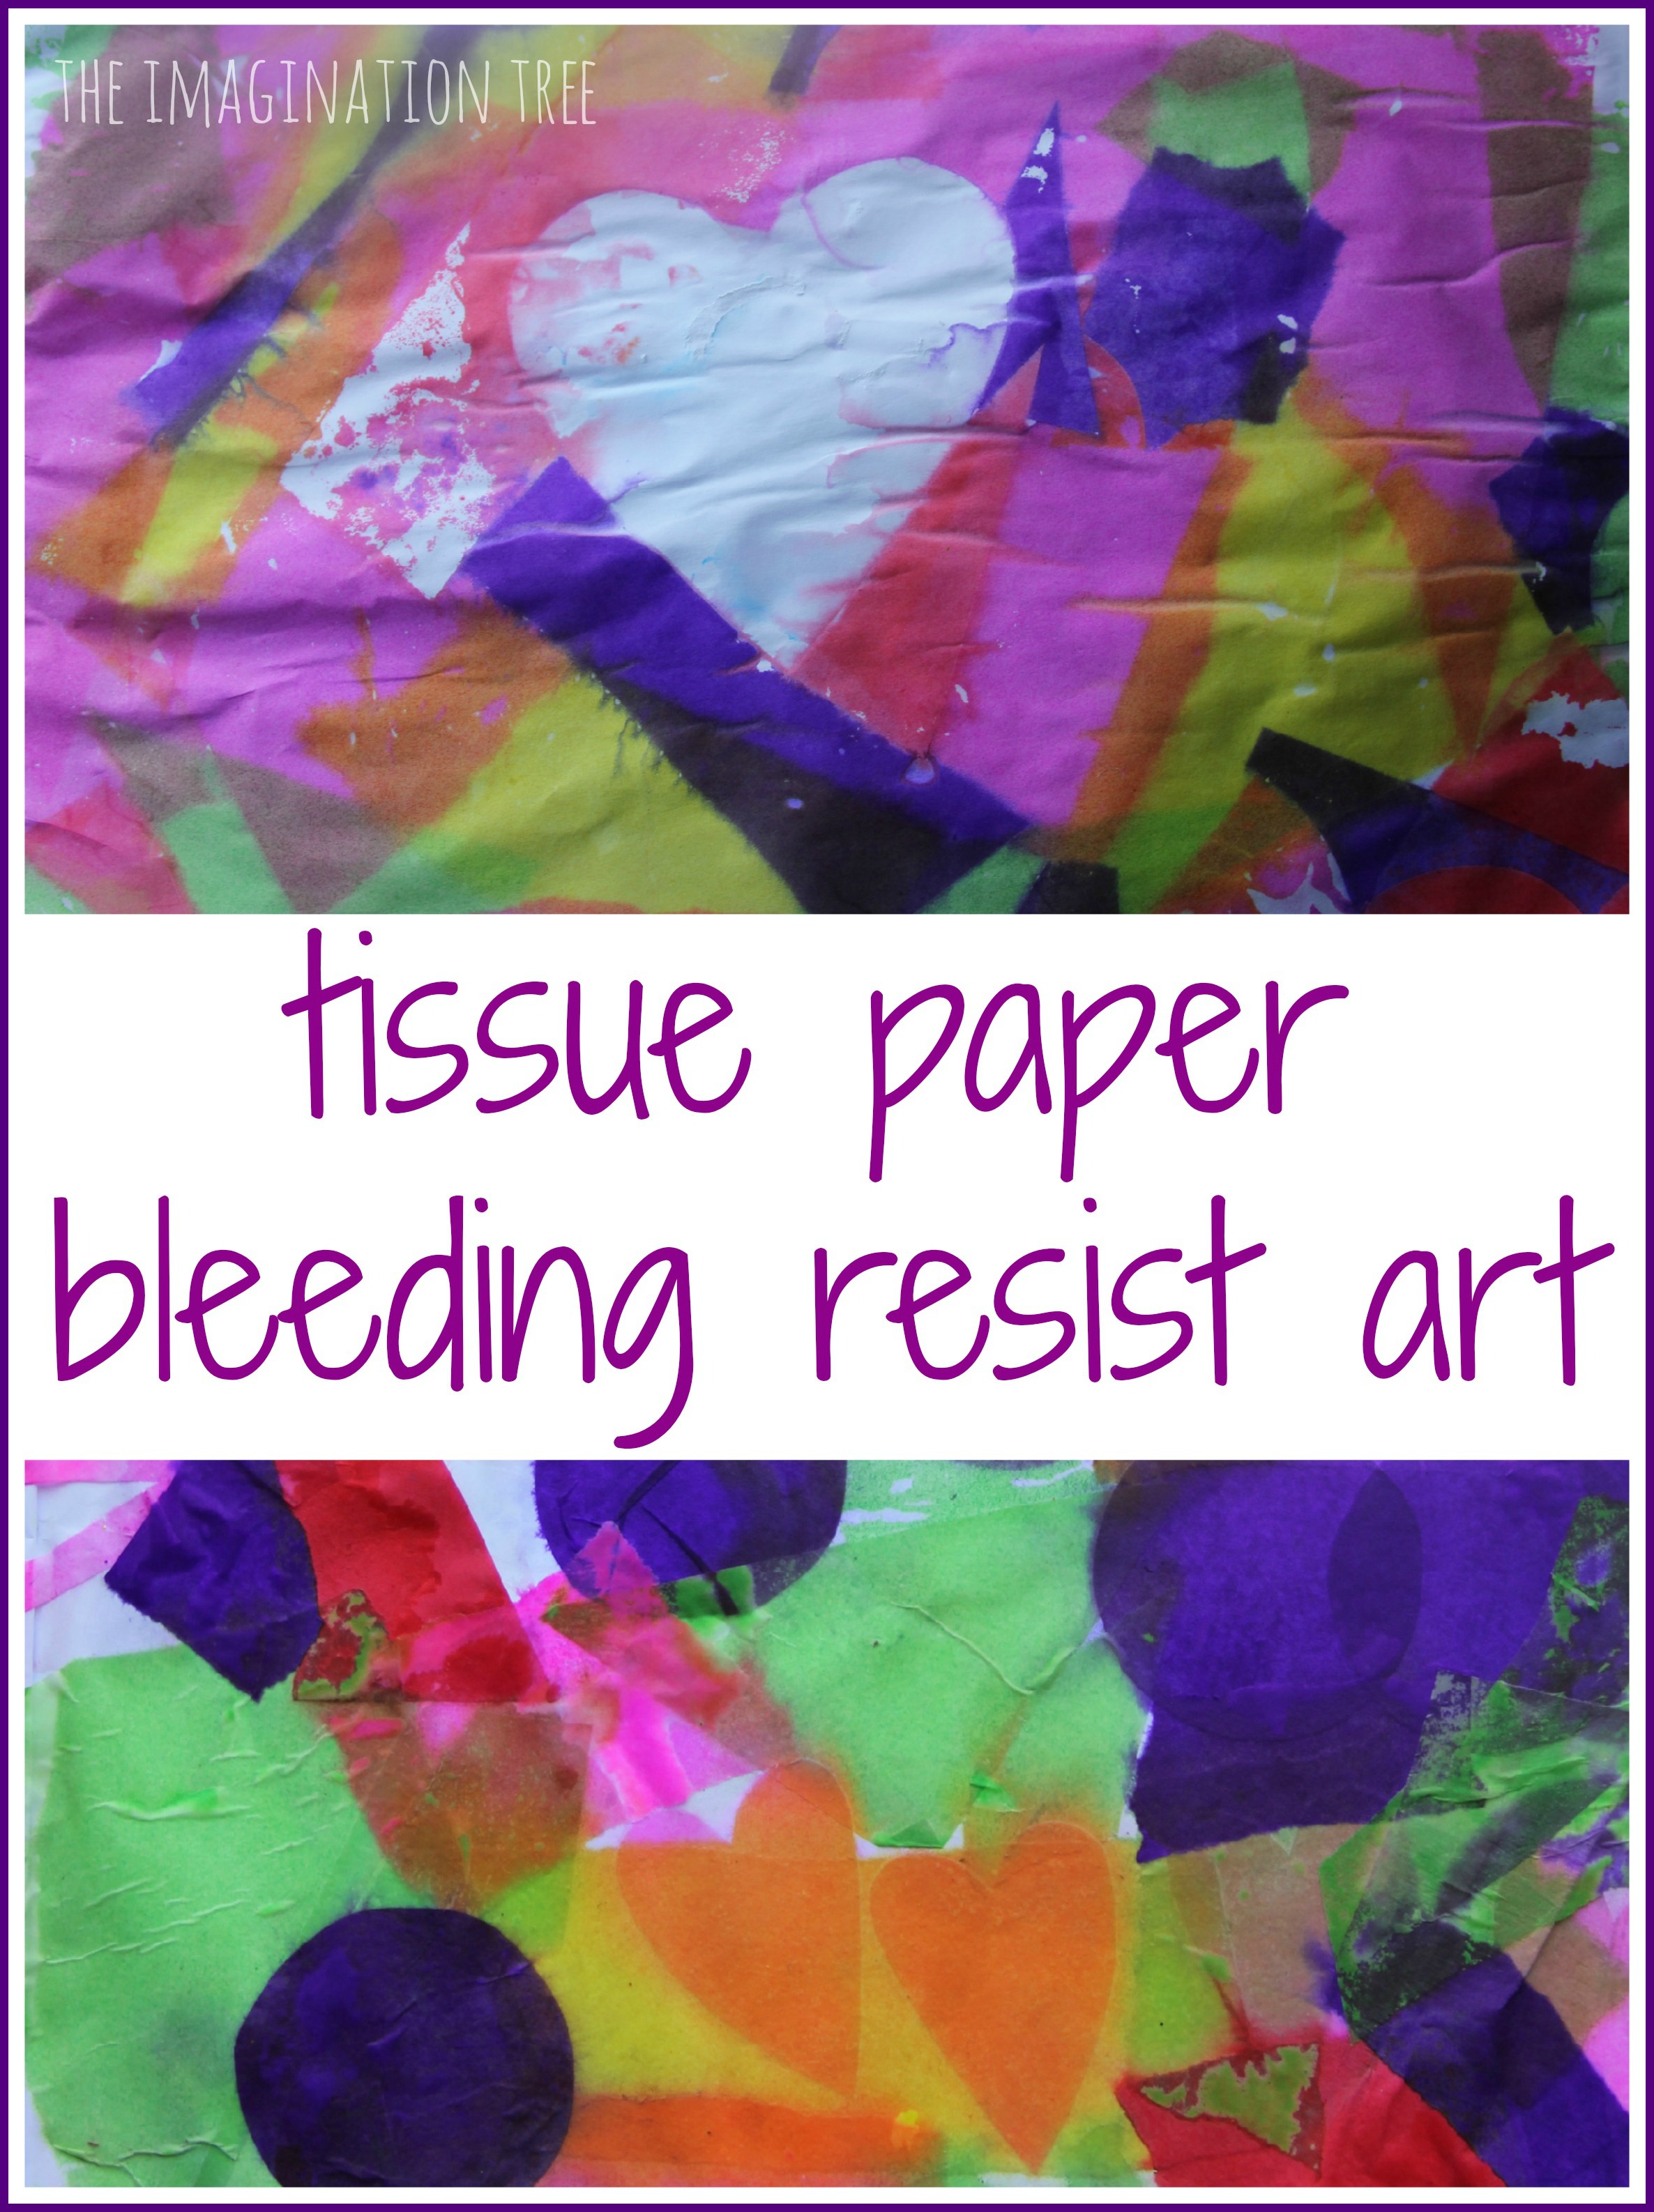
We first tried tissue paper bleeding art work a couple of years ago and loved the ease with which you can create vibrant results using just water and pieces of tissue paper. We came back to visit this lovely activity again, this time adding an extra investigation of trying to create some resist shapes and letters into the coloured prints.
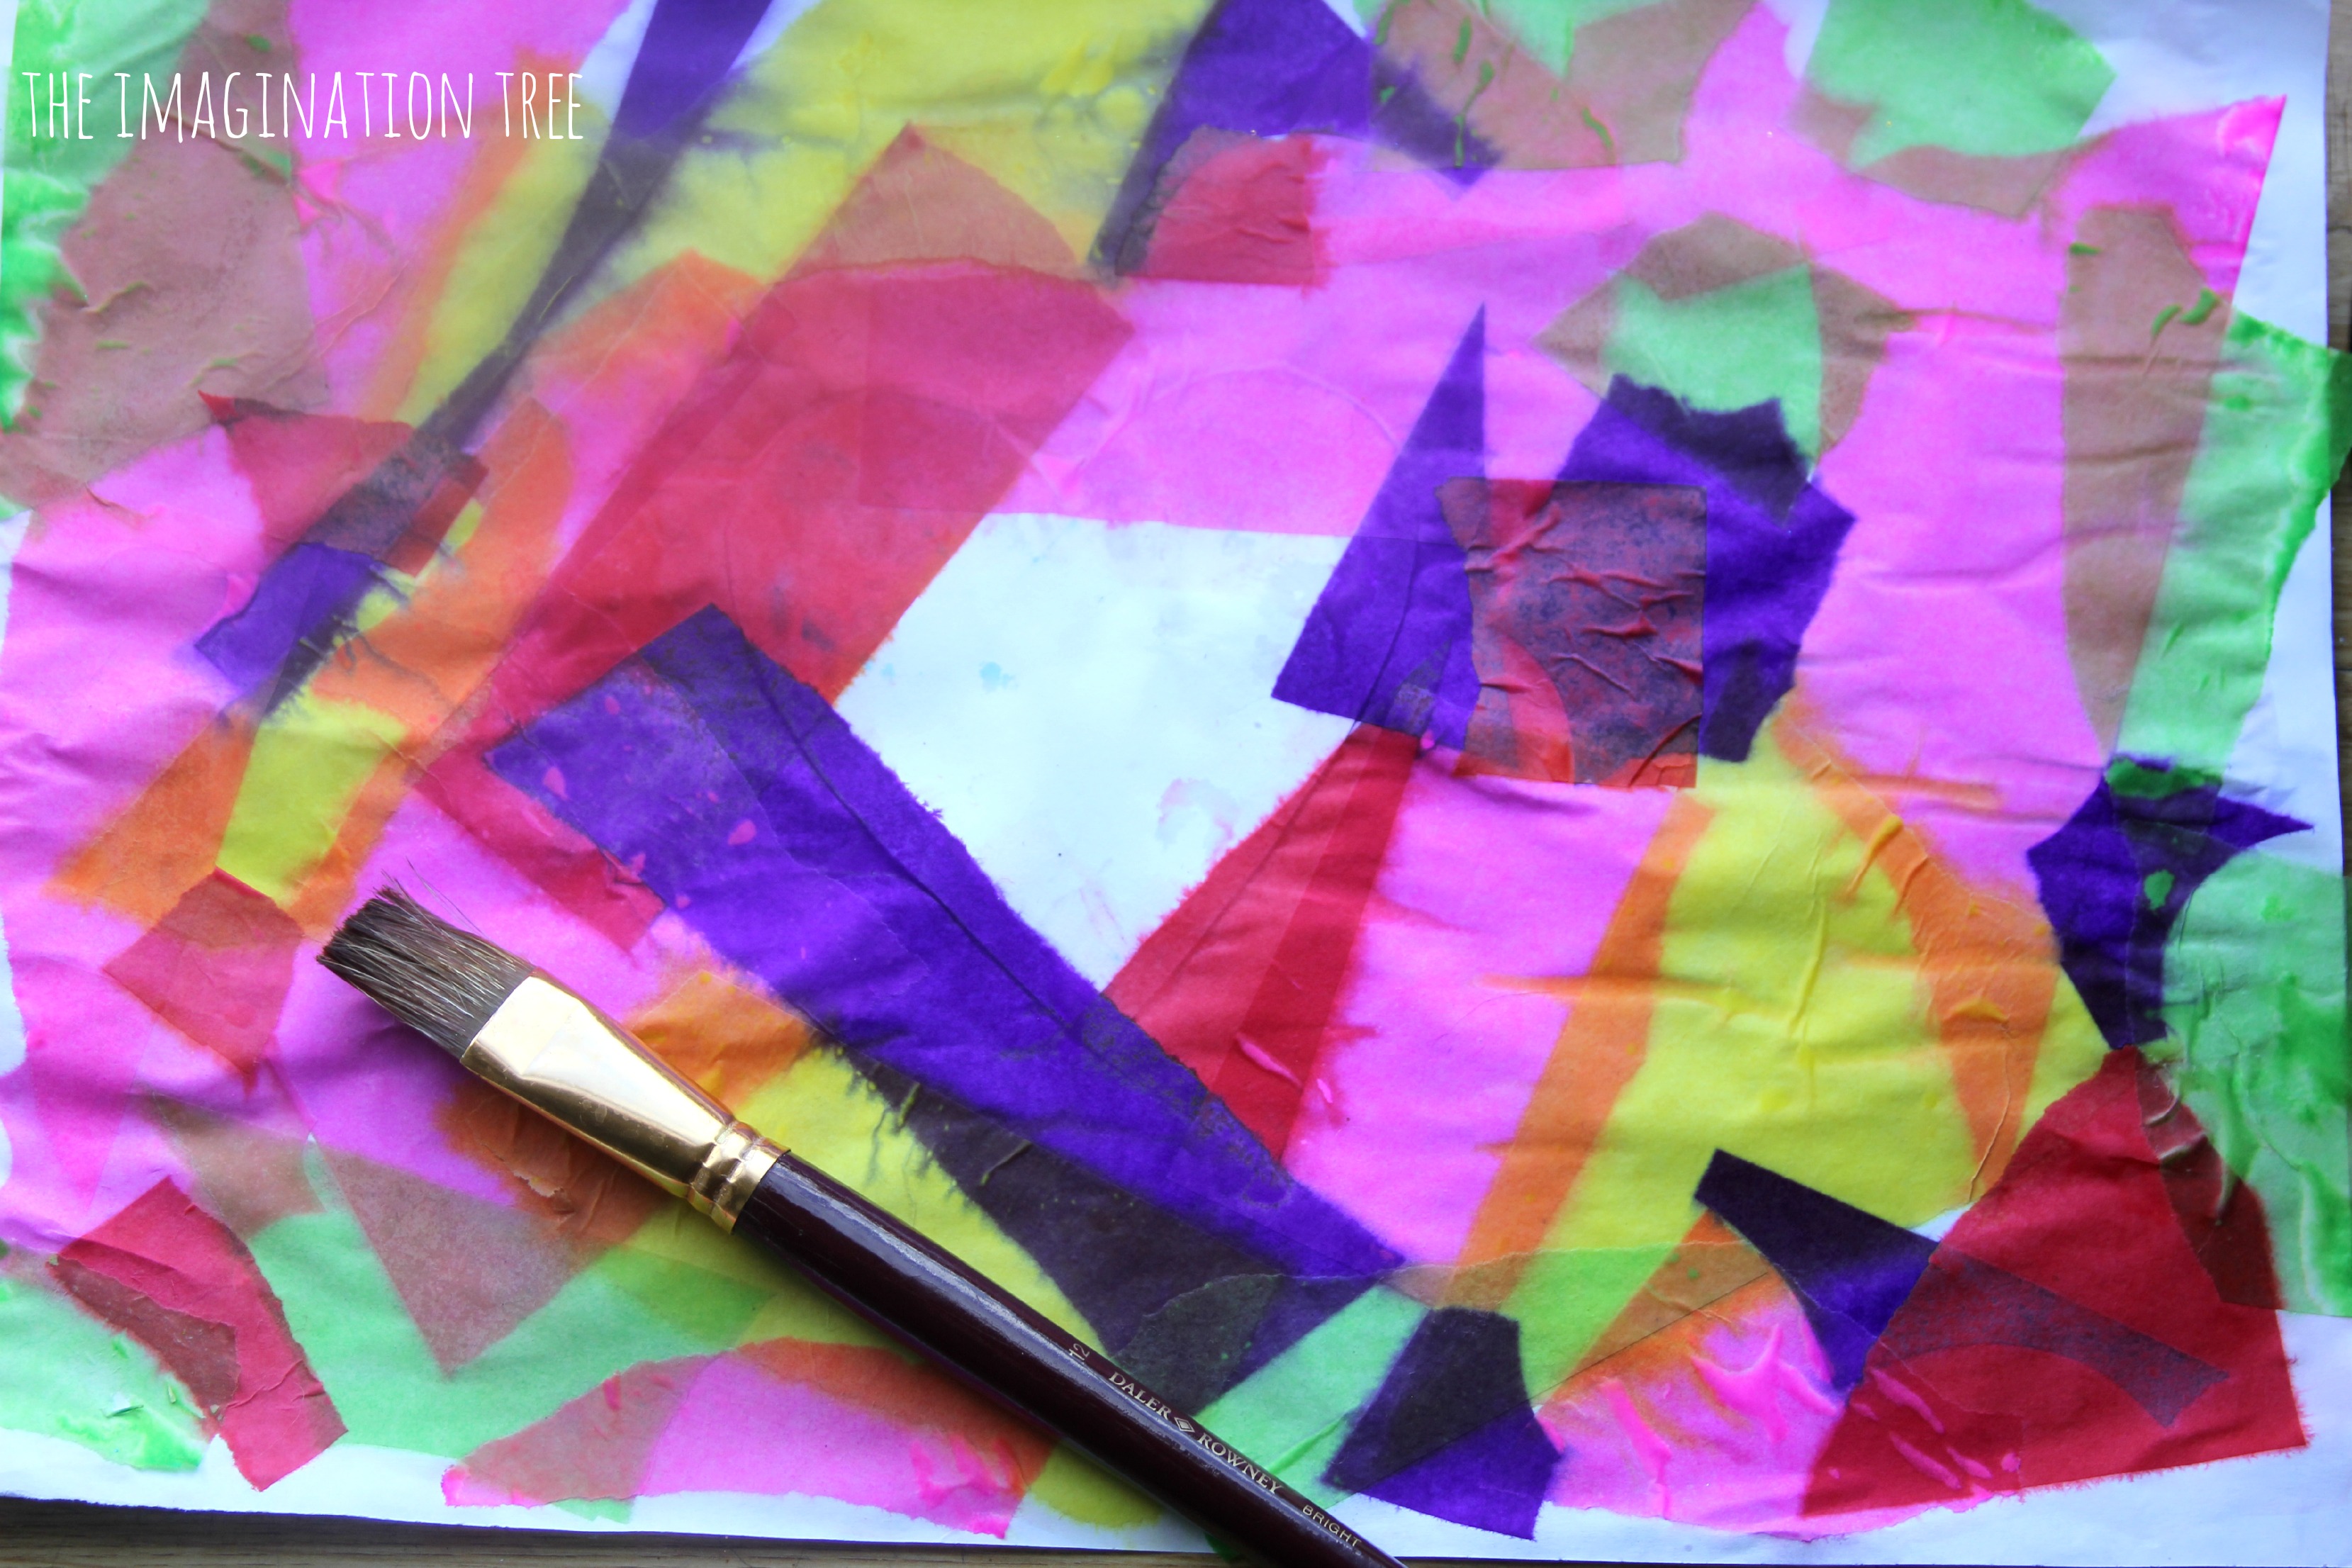
We used some very bright tissue paper (the brand we used was CraftWorkz, and is only 99p for 100 sheets at The Works) and tore some into strips and cut other pieces into shapes such as hearts, circles, squares and triangles. It is important to use bright, rich coloured tissue paper so that the colours run easily when wet. We once tried this with pastel coloured papers and the colours didn’t transfer at all, so test some out to find the right ones.
Then we chose some shapes that we wanted to make a resist outline of, creating a blank white space amidst the colour prints. One made a heart and the other the first initial of her best friend’s name so that she could give it as a gift afterwards.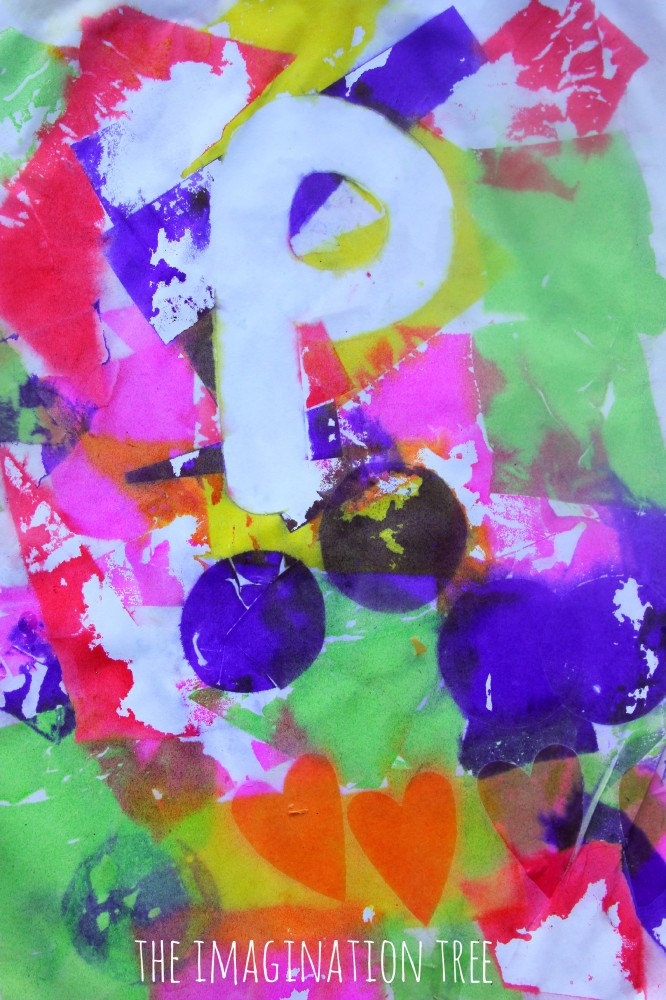
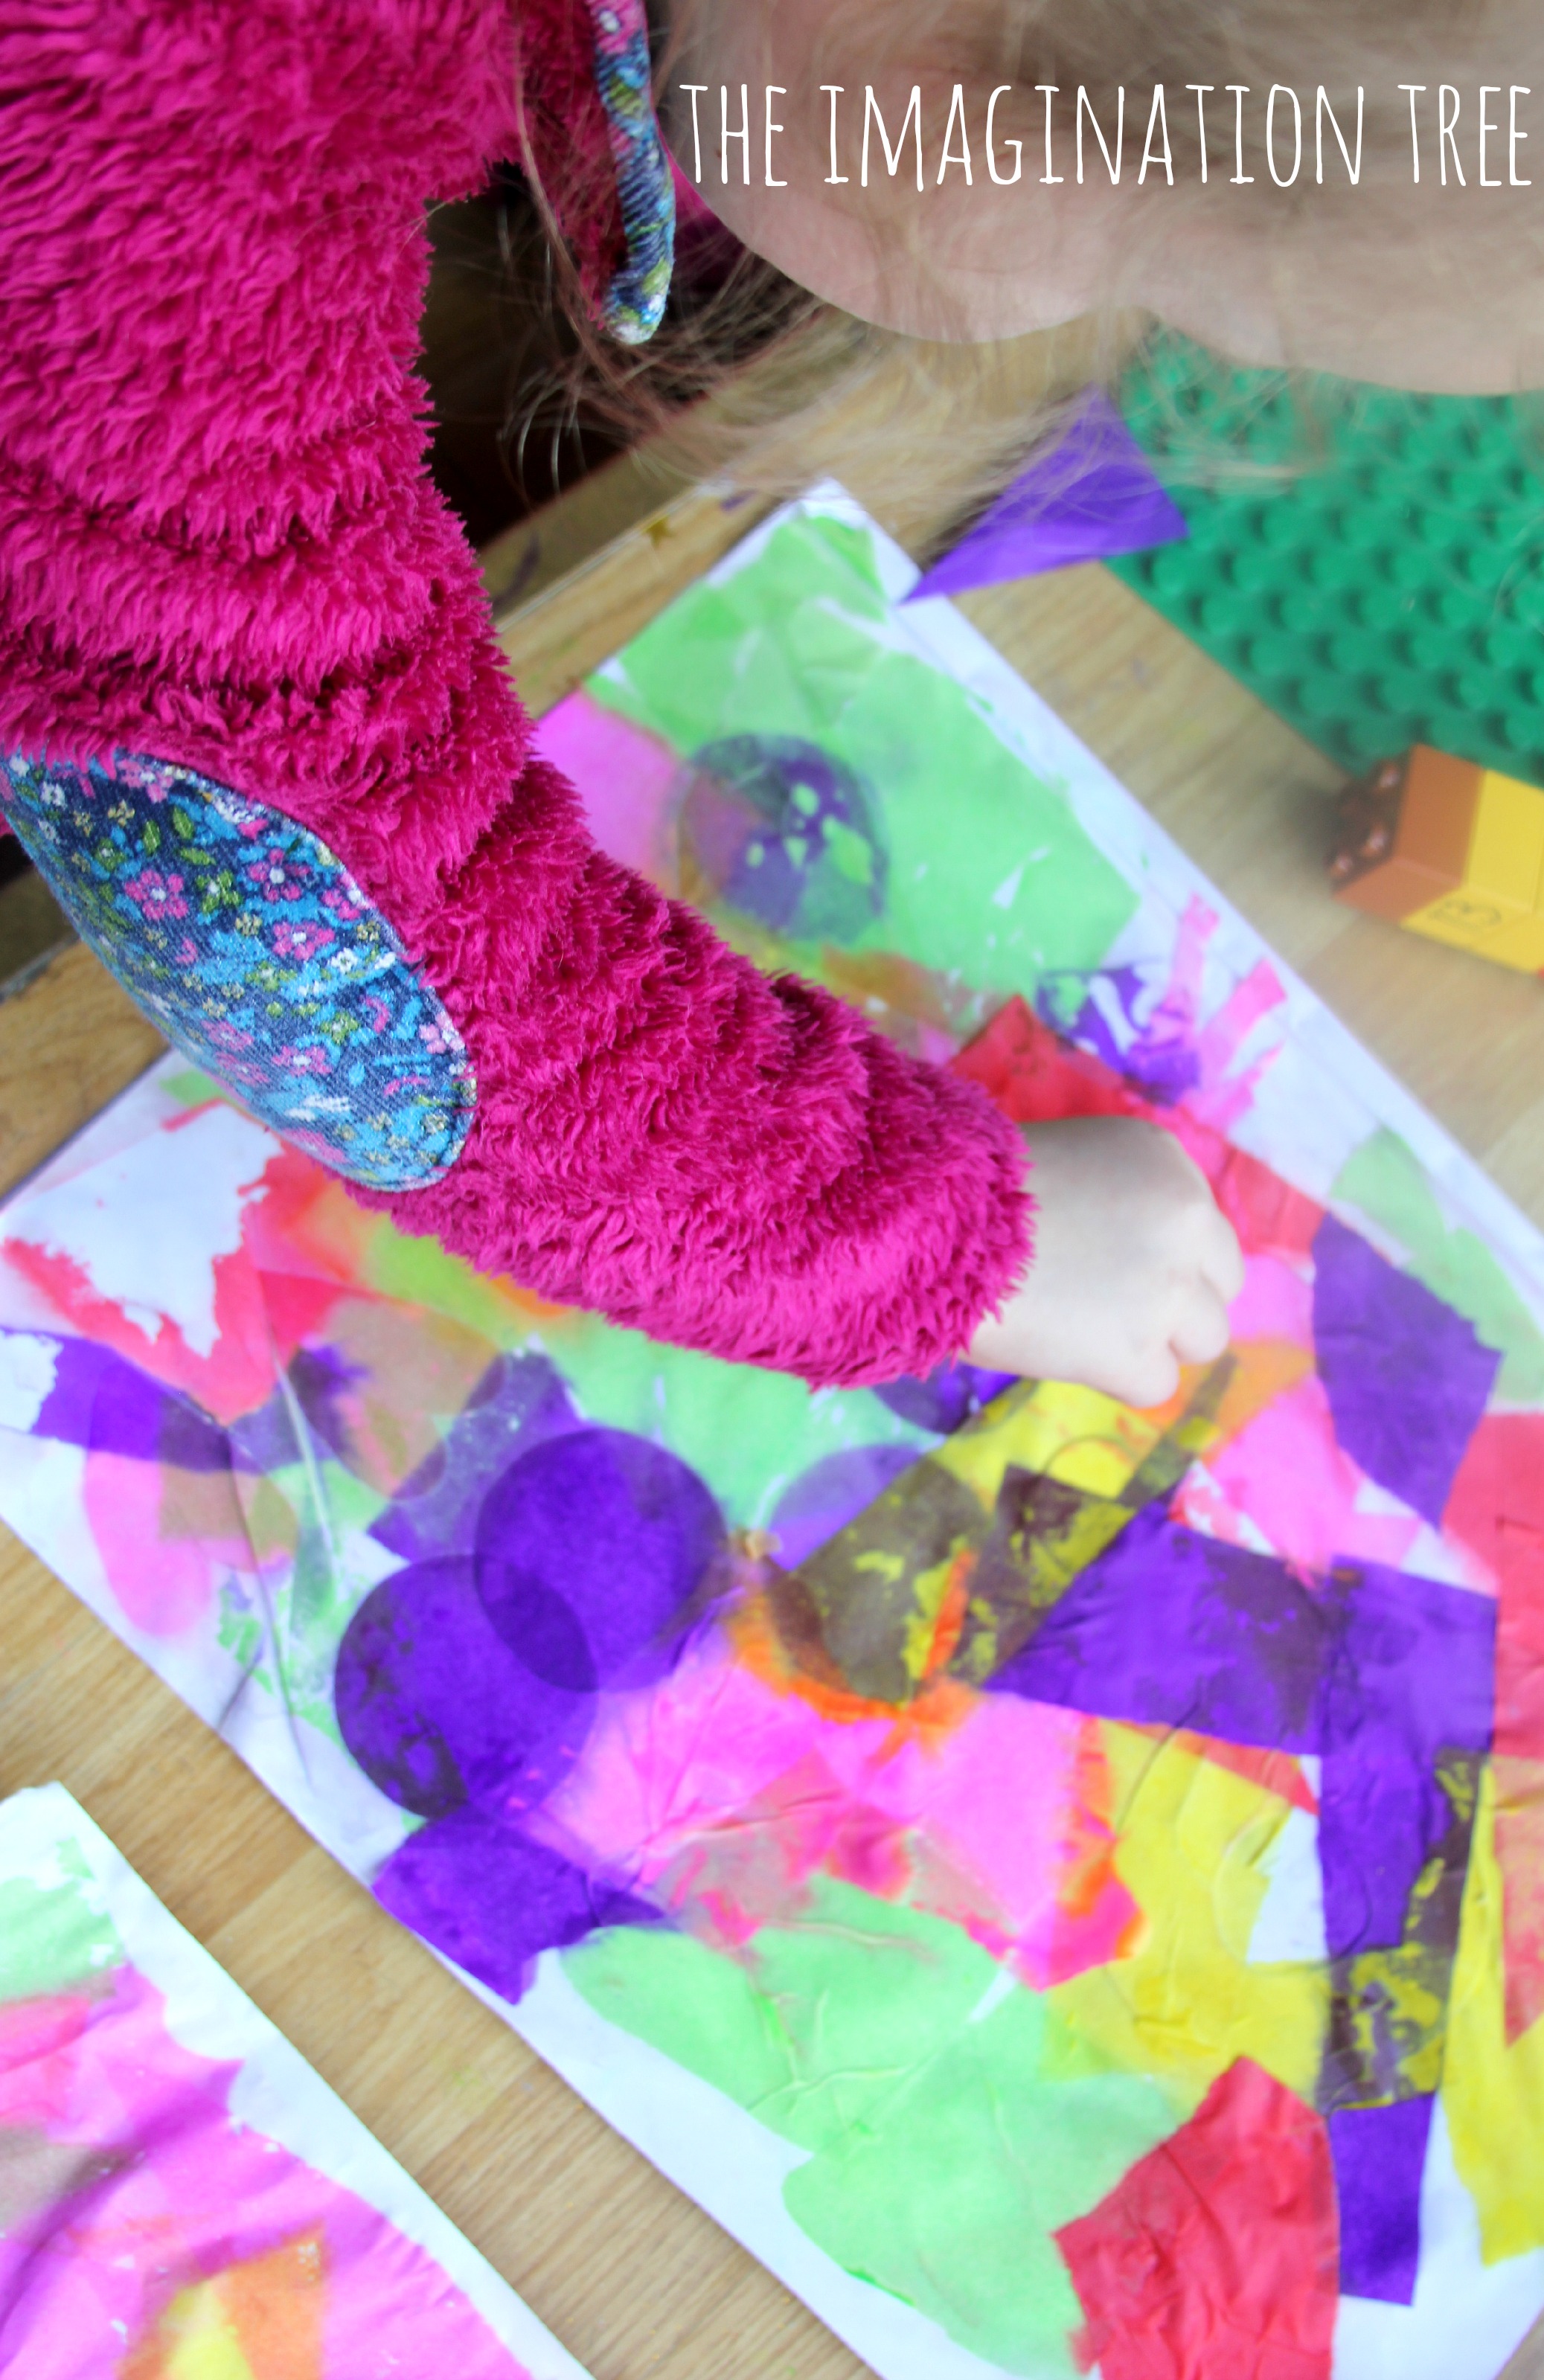
We covered the base paper with water, using a wide paintbrush. This part was lots of fun for them to do! Then we stuck the card resist shapes/ initials straight onto the paper, making sure it was stuck down with the water (don’t use glue or they won’t peel off!) Over the top of this they then layered the tissue paper pieces, washing over each one with water to stick it to the paper and to encourage the colours to start bleeding out.
This looks real effective if all the white space is covered up with colours. Try and encourage them to overlap all the pieces and the play a hiding game to get rid of the white underneath! Some of the most beautiful results were where the shapes had overlapped and different colours had bled out and mixed to form new ones, so the more layering and building up of colours the better!
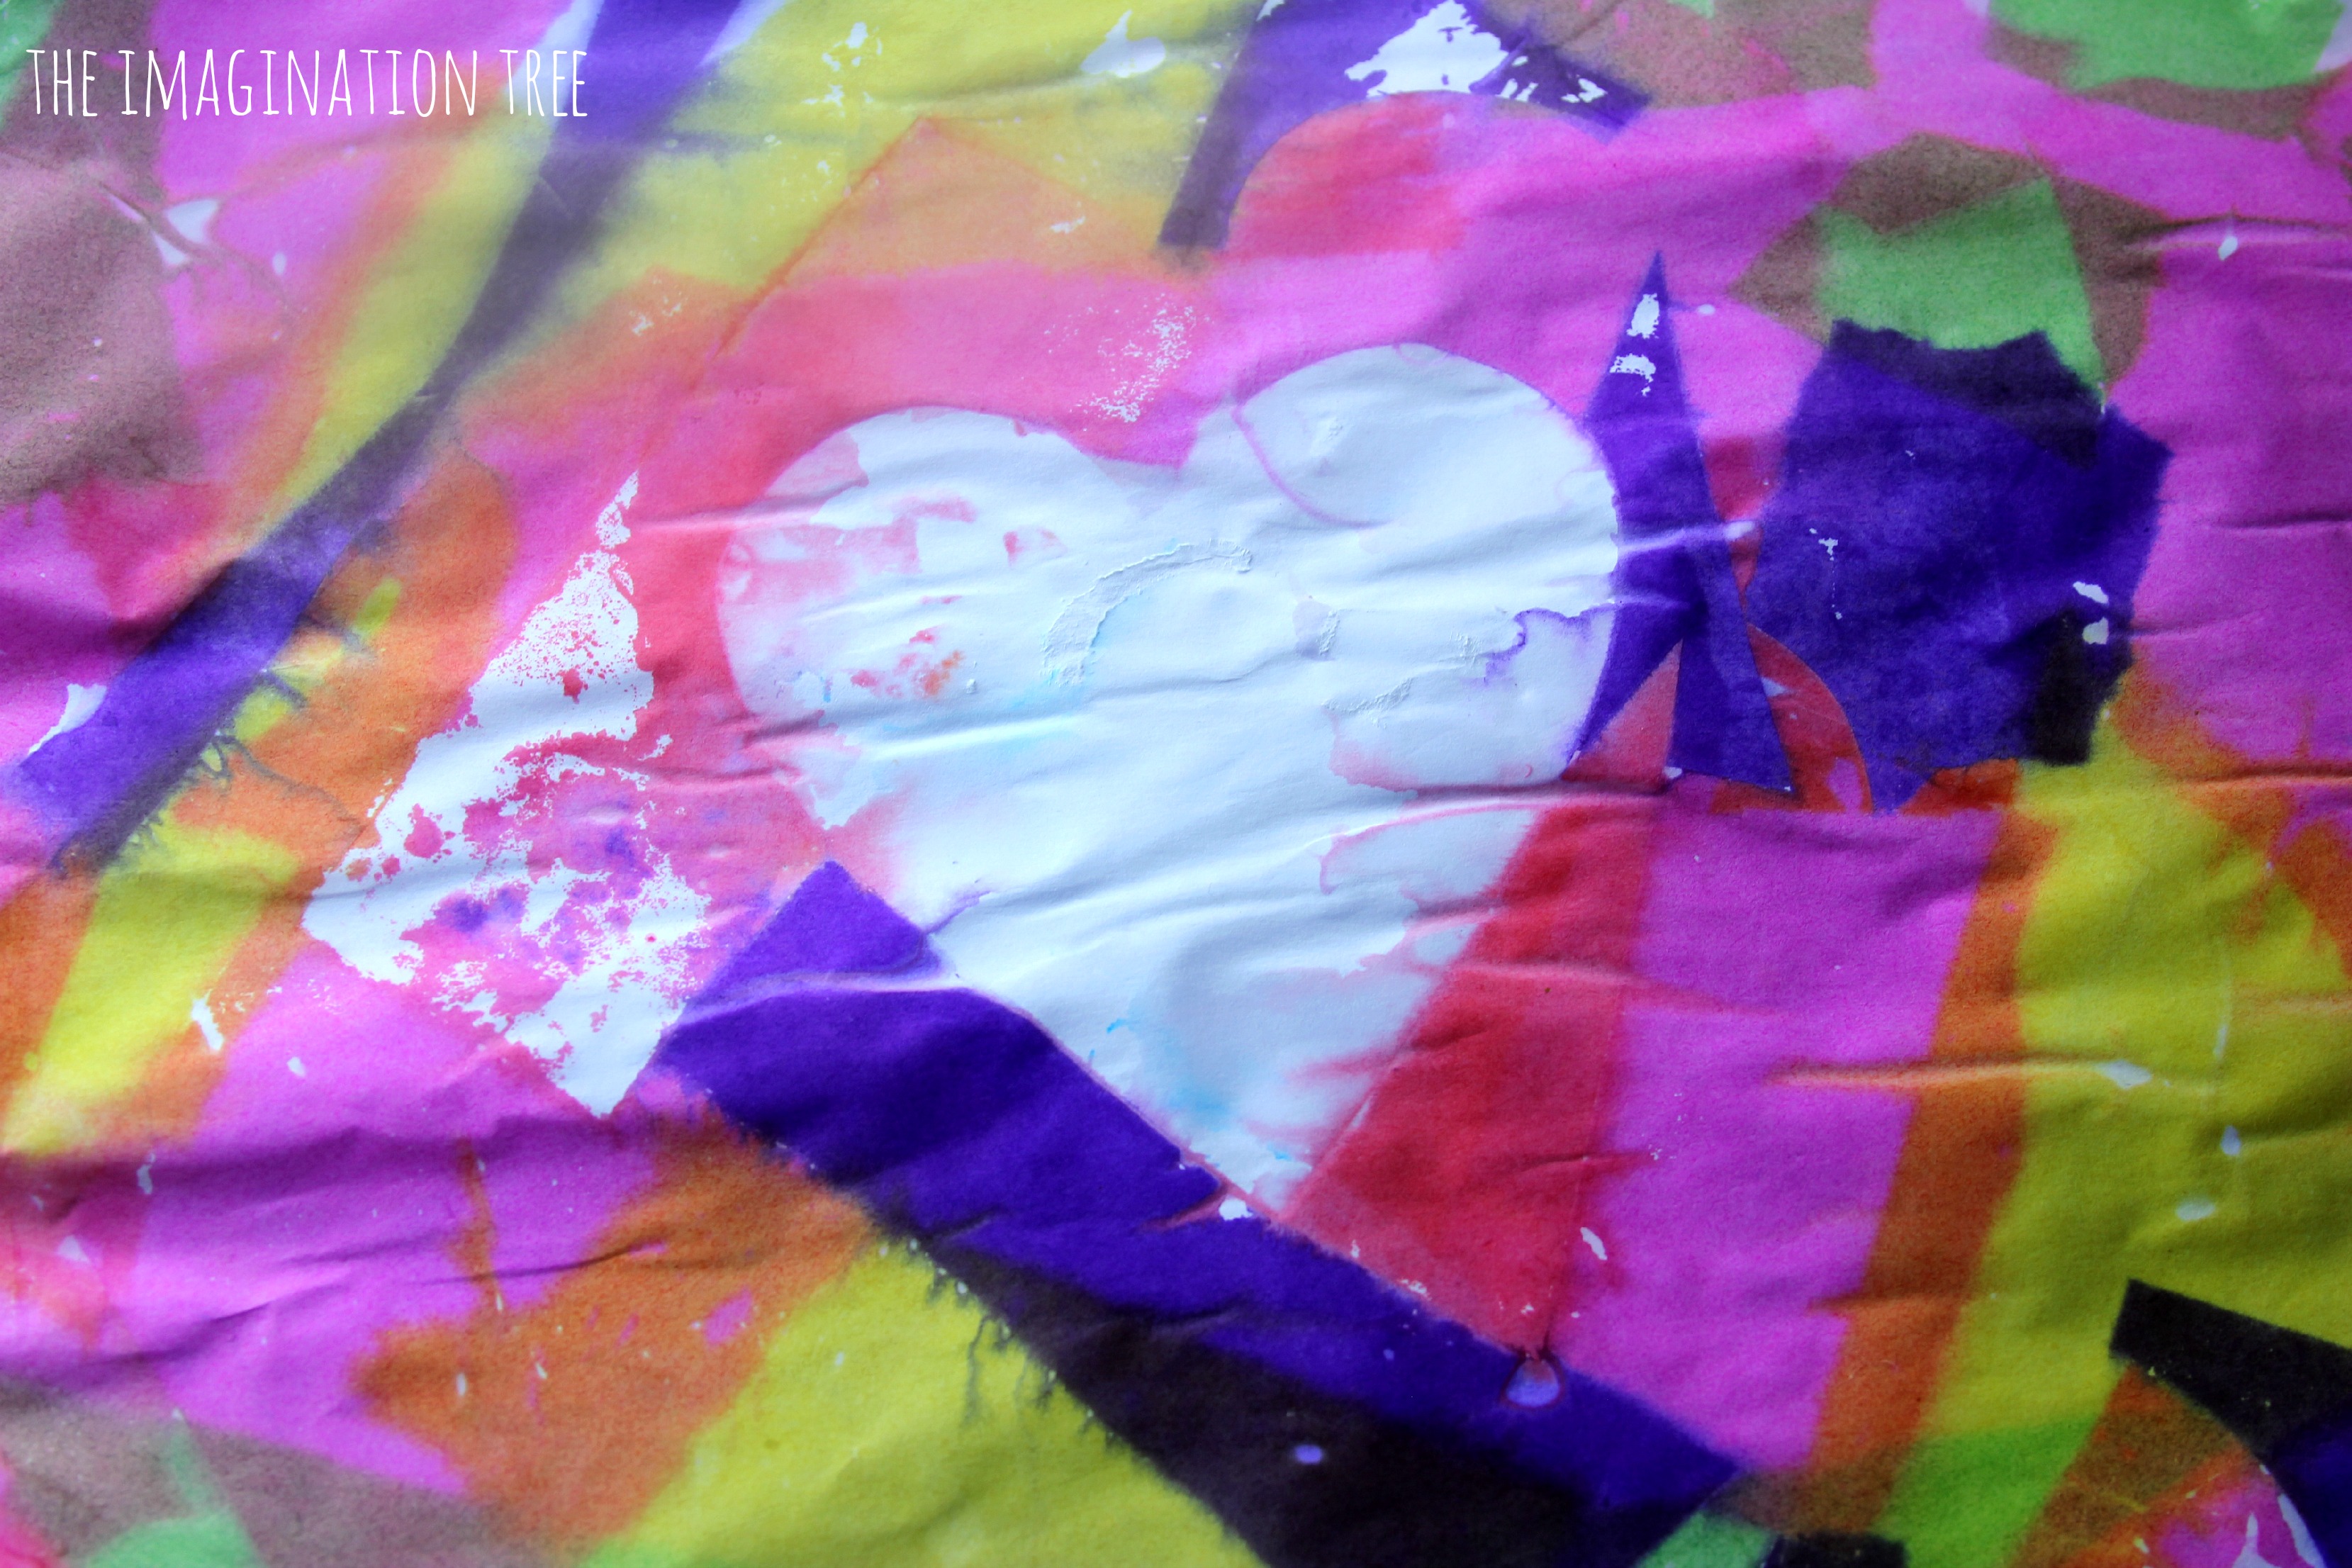
We then left the pictures to dry for about an hour and then came back to see if the tissue paper was still soggy or ready to start lifting off. When it seems dry enough not to tear, we simply pulled all the pieces off to reveal the wonderful colours below! Then we lifted off the white card resist shapes/ letters and saw the gorgeous result of the negative space they left behind.
We are going to trim these and use them to create Valentine’s day cards for friends and family. Little mini versions of these would be gorgeous too! We only tried initial and hearts this time, but I’m thinking this would be lovely for writing out a whole name and trying at other seasonal occasions e.g. Christmas and Easter. 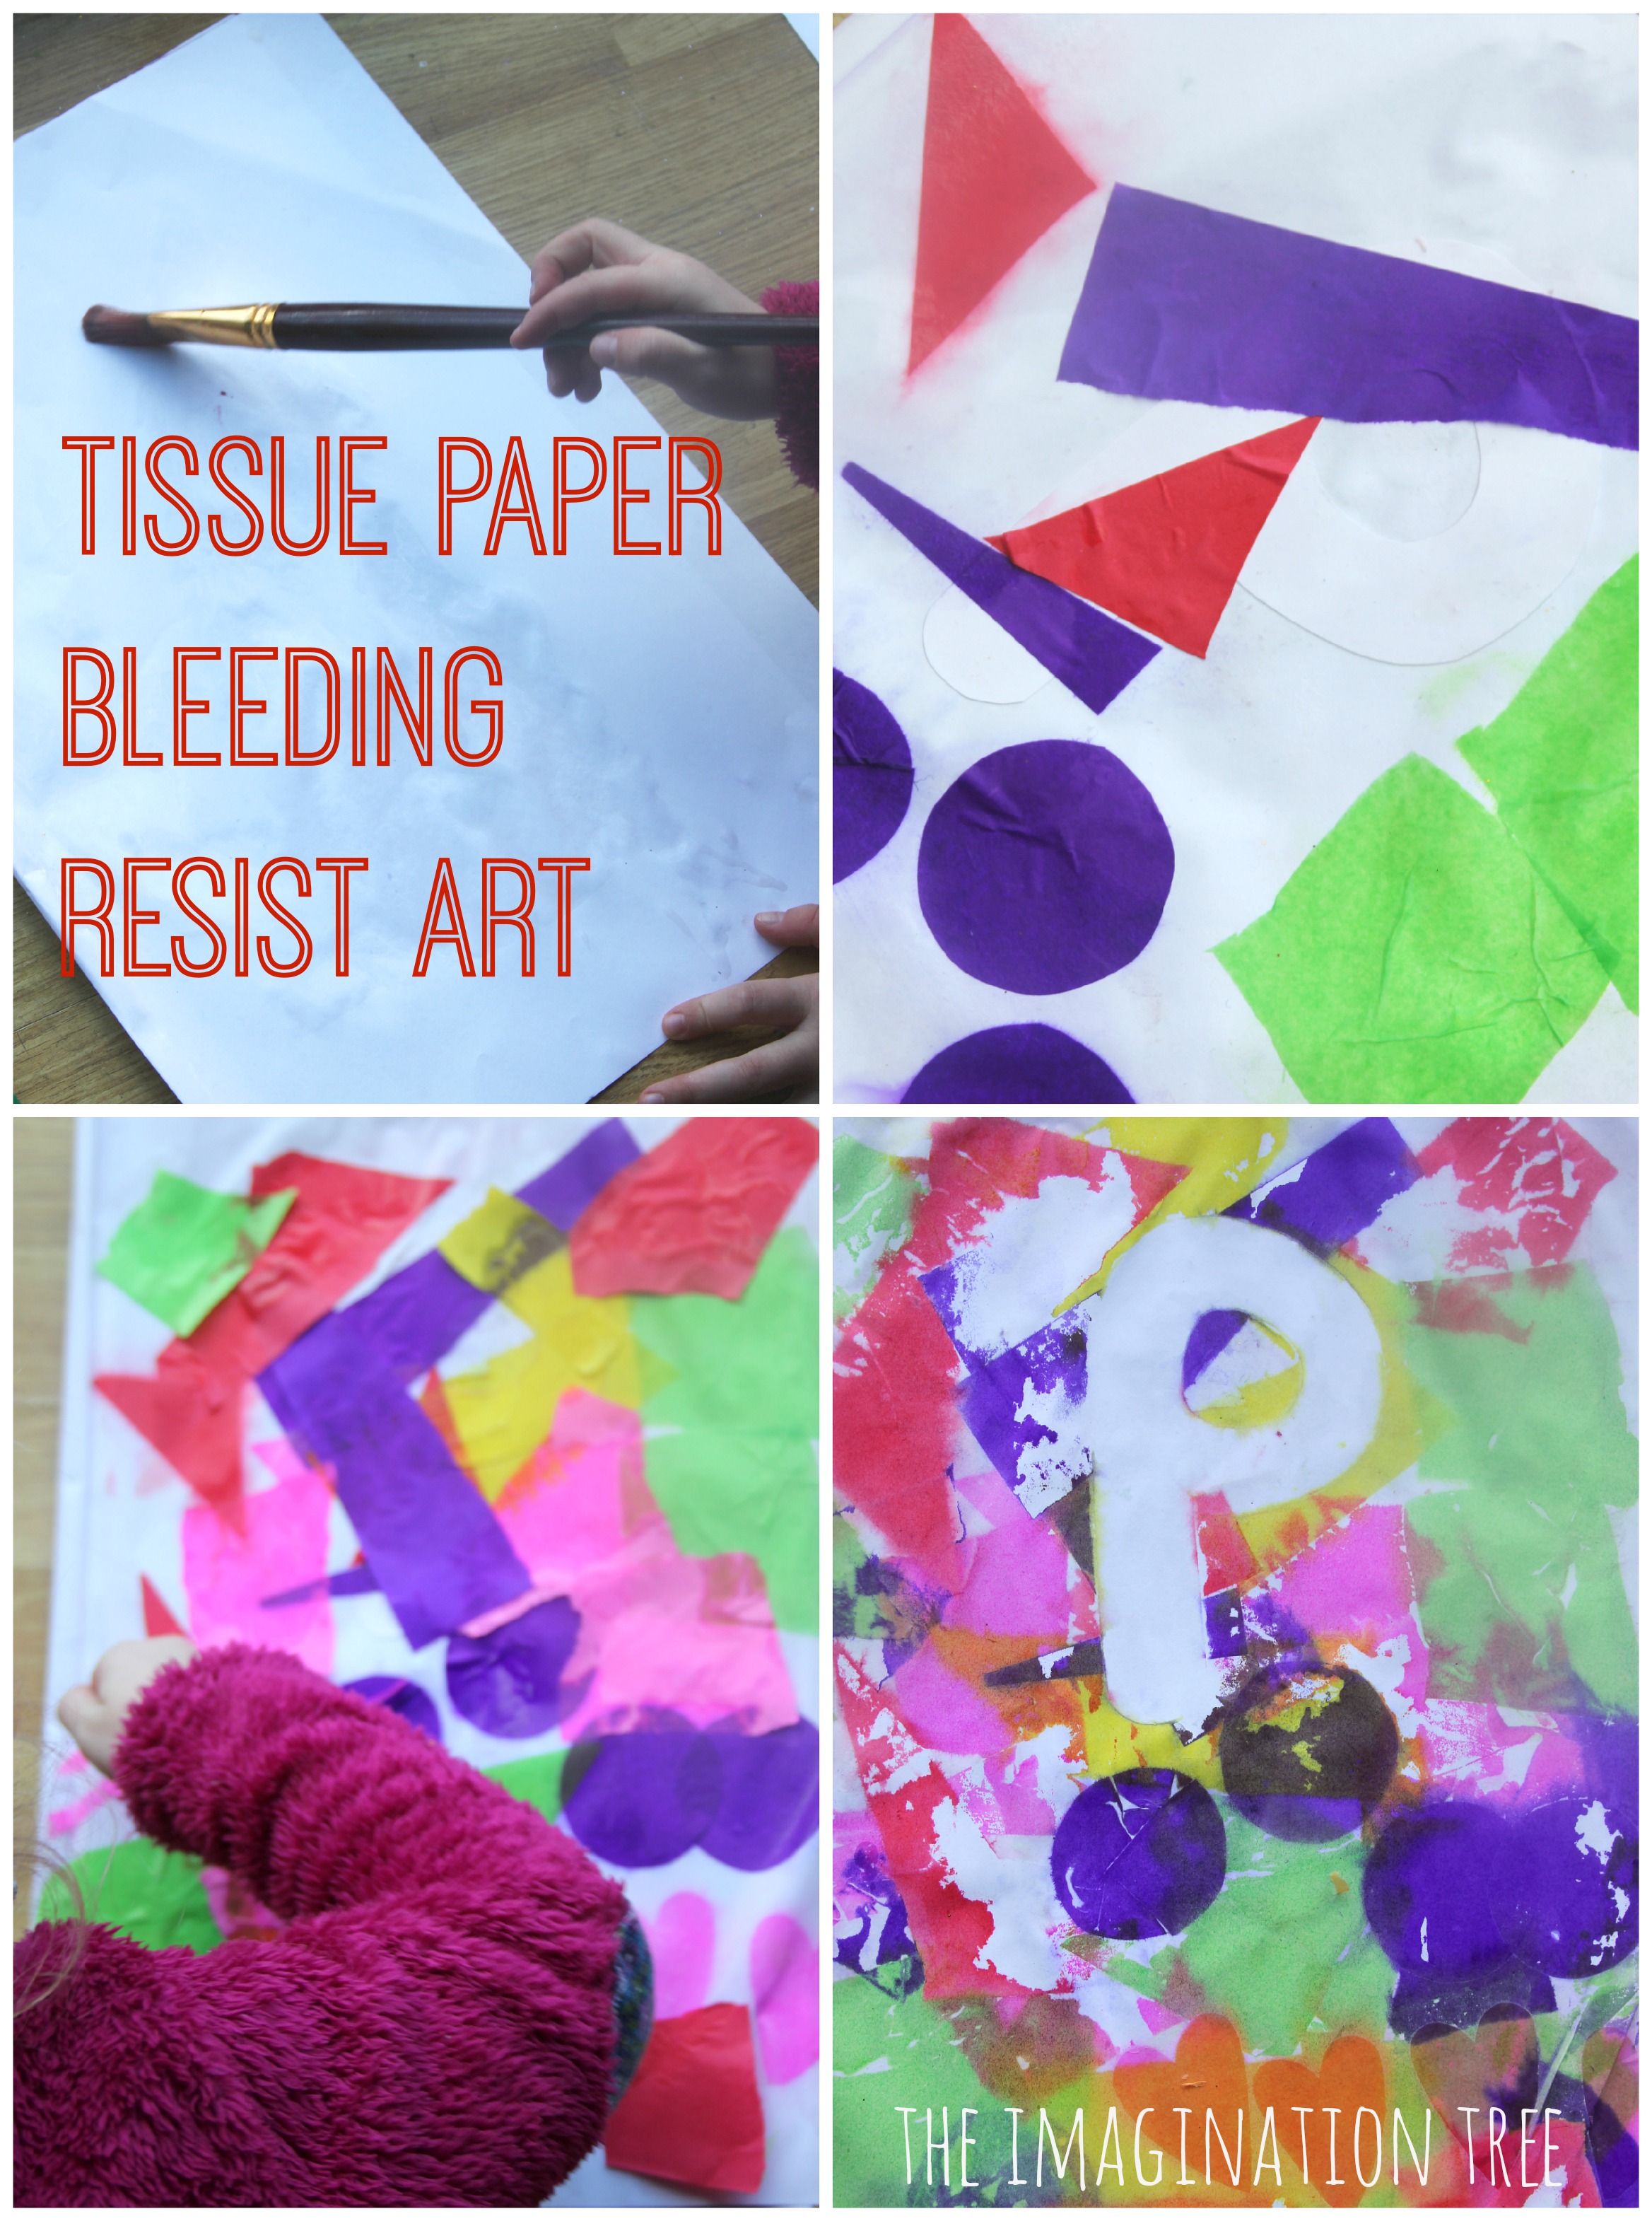
Search for many more art and craft ideas for kids in the Art Archives here.
What they are learning as they play:
creativity: colour transfer, colour mixing, wet on wet brushing, layering, overlapping, print, resist art
physical: tearing paper with two hands, brushing, sticking, pulling up paper
maths: using shapes to make pictures
Cakie: 5.4
Pop: 3.10
Bean: 1.11
What a nice activity!
I really like this activity 🙂 And colours and final effect are amazing!
Stunning, must try this technique with my little one !
We were very excited to try this! Unfortunately, the colours did not bleed at all (we did use bright colours as suggested).
We tried this yesterday and we absoloutley love the results ! I’ll post pic on your face page soon. Going to try it with my little ones name next . Thank you so much for this page Anna, I’m truly hooked :). Regarding tissue suitable, we bought some from hobby craft, the cheap squares were the best. The stuff we got from elsewhere didn’t work either as it was more designed for gift wrapping. It usually states ‘ non colour transferable’ or similar on the packet in the tiny small print.
I love this technique. My son and I used it to make easter cards couple years ago. Its lots of fun.
A wonderful activity with great results. My 15 month old little girl could do all the stages by herself and she loved it. Thank you for inspiring me to do activities like this with her!