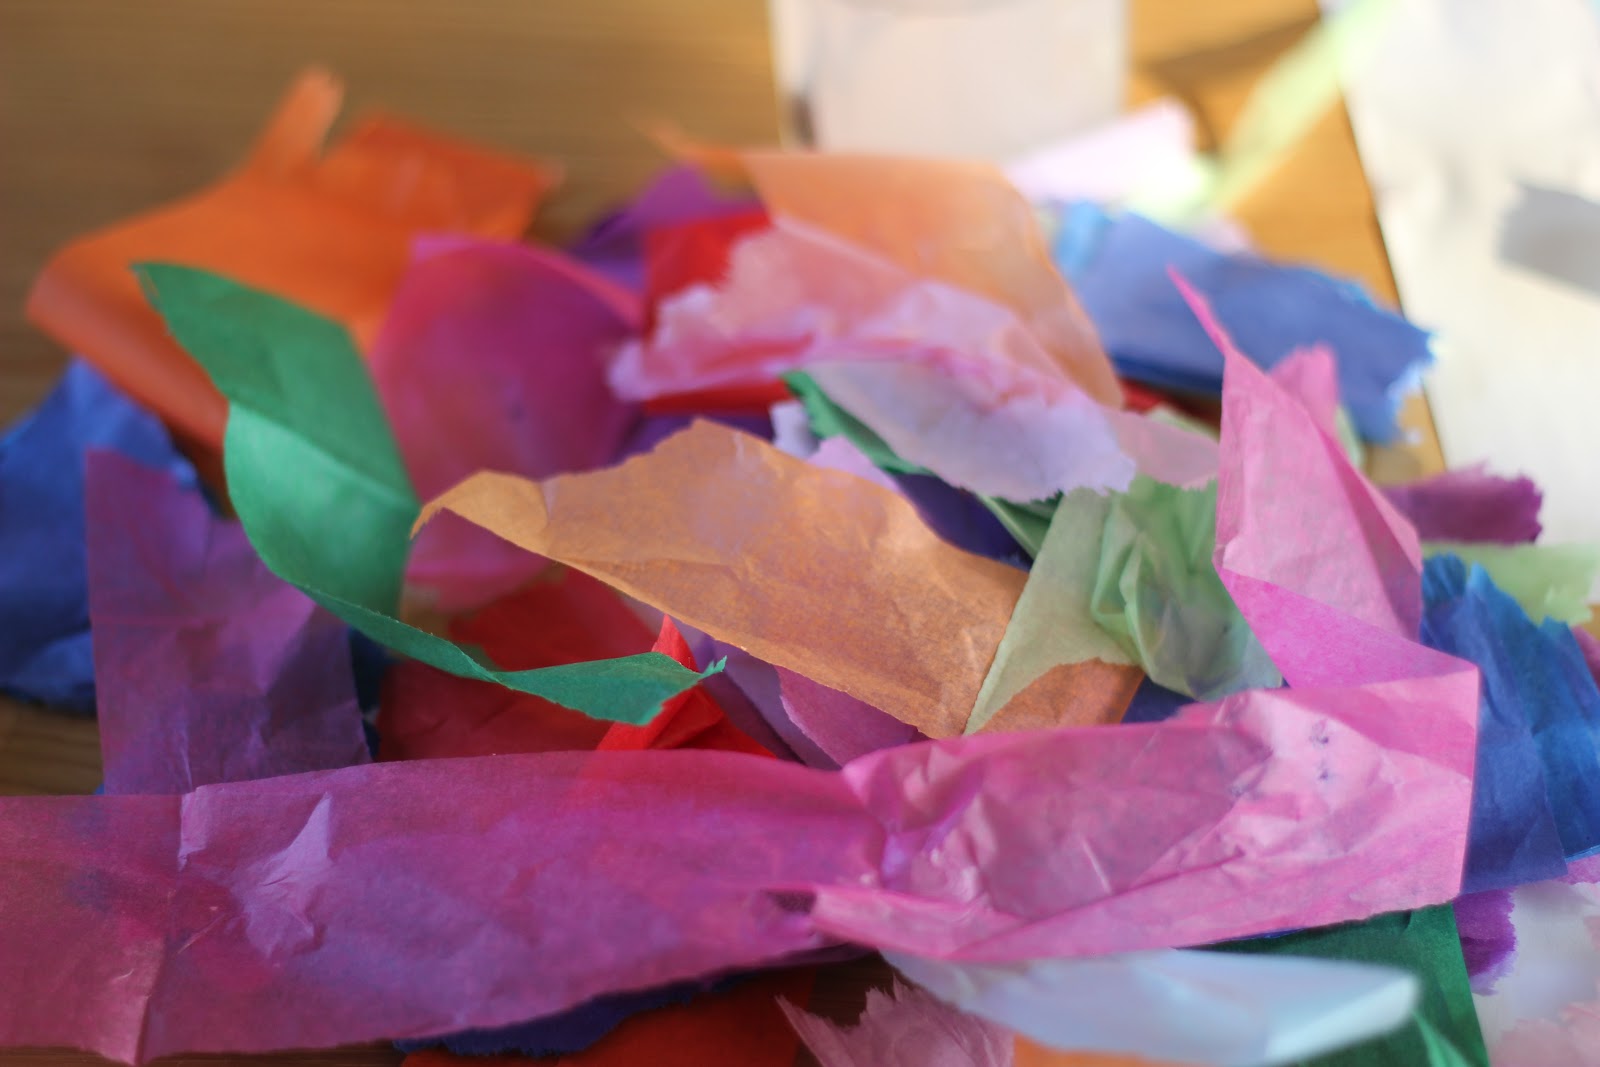
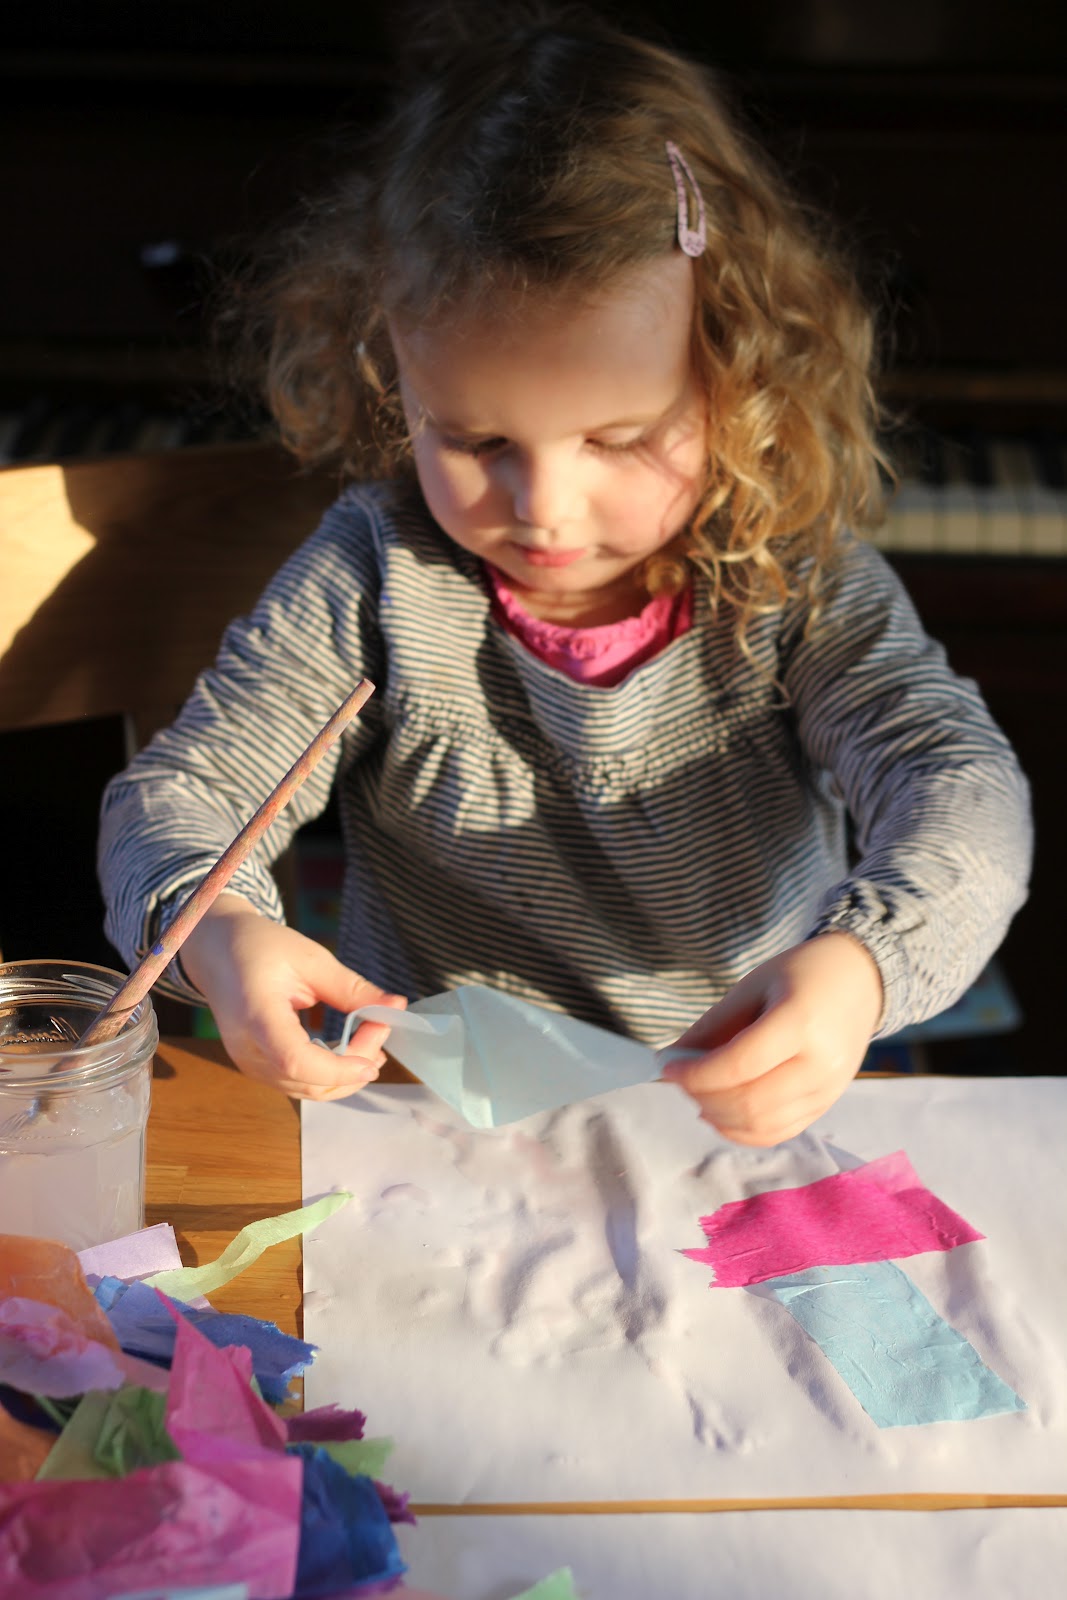
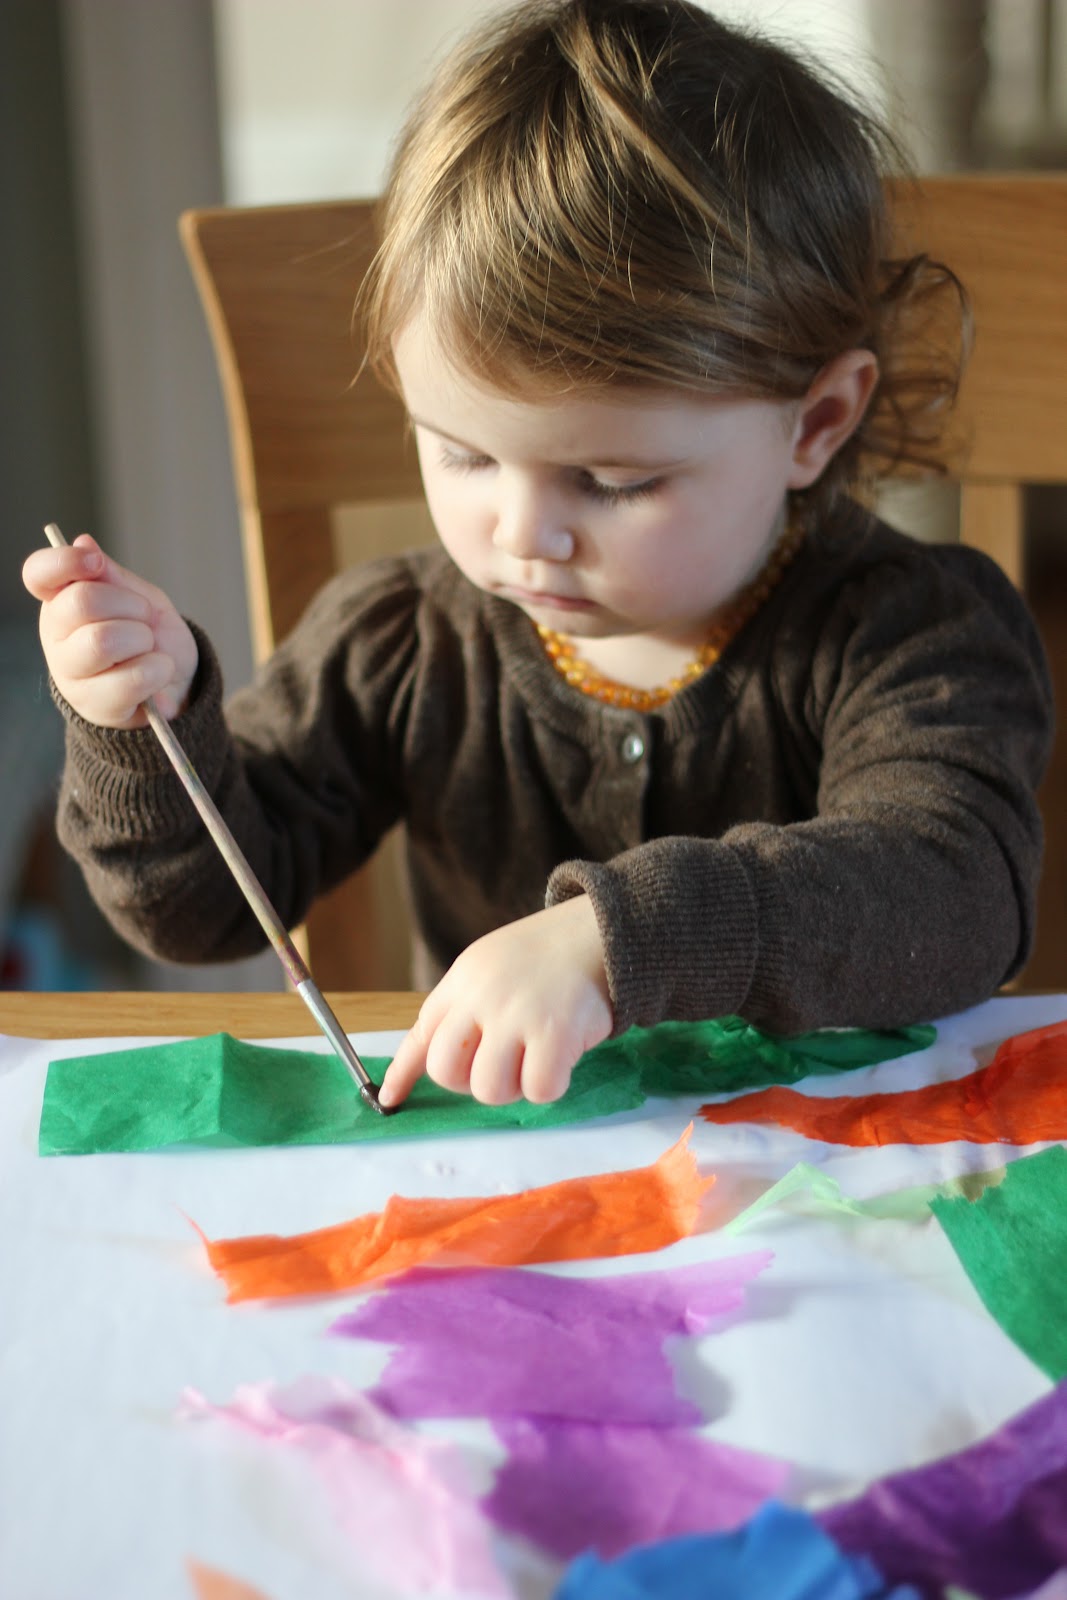
Then simply invite your child to wash over a large piece of paper with water and stick down the torn tissue pieces over the top. It is better to use heavy paper such as cartridge paper to stick onto as it has a greater absorbency than everyday thin paper.
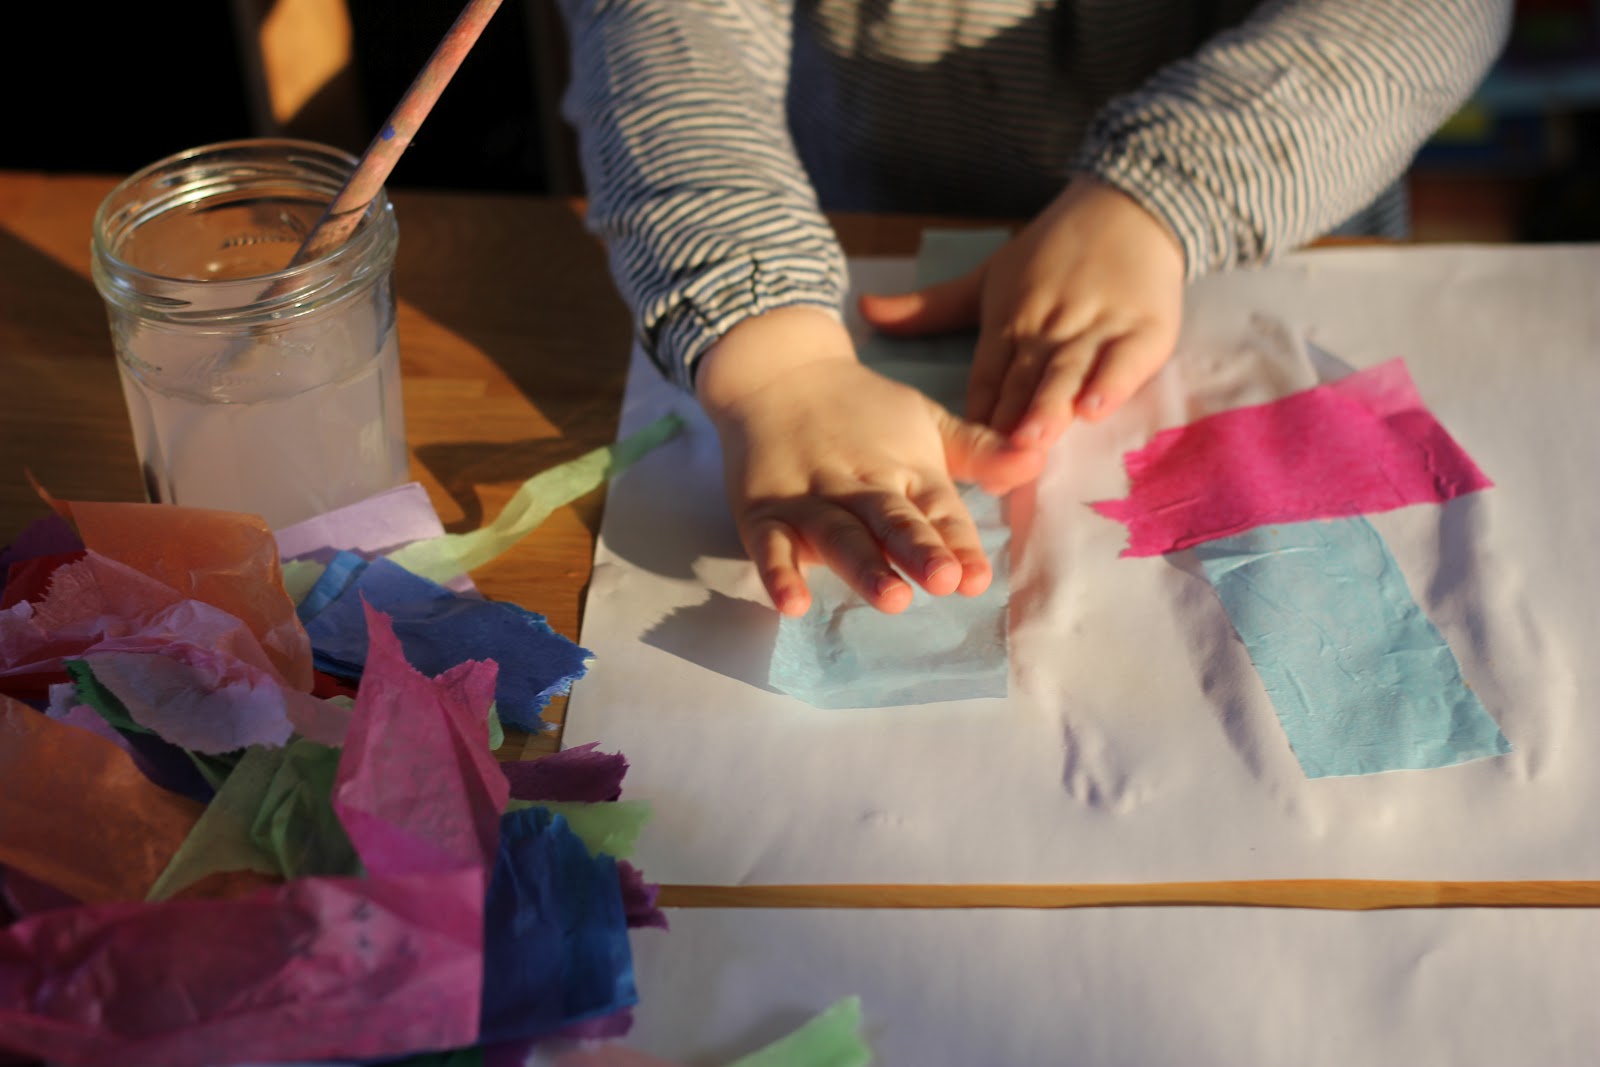
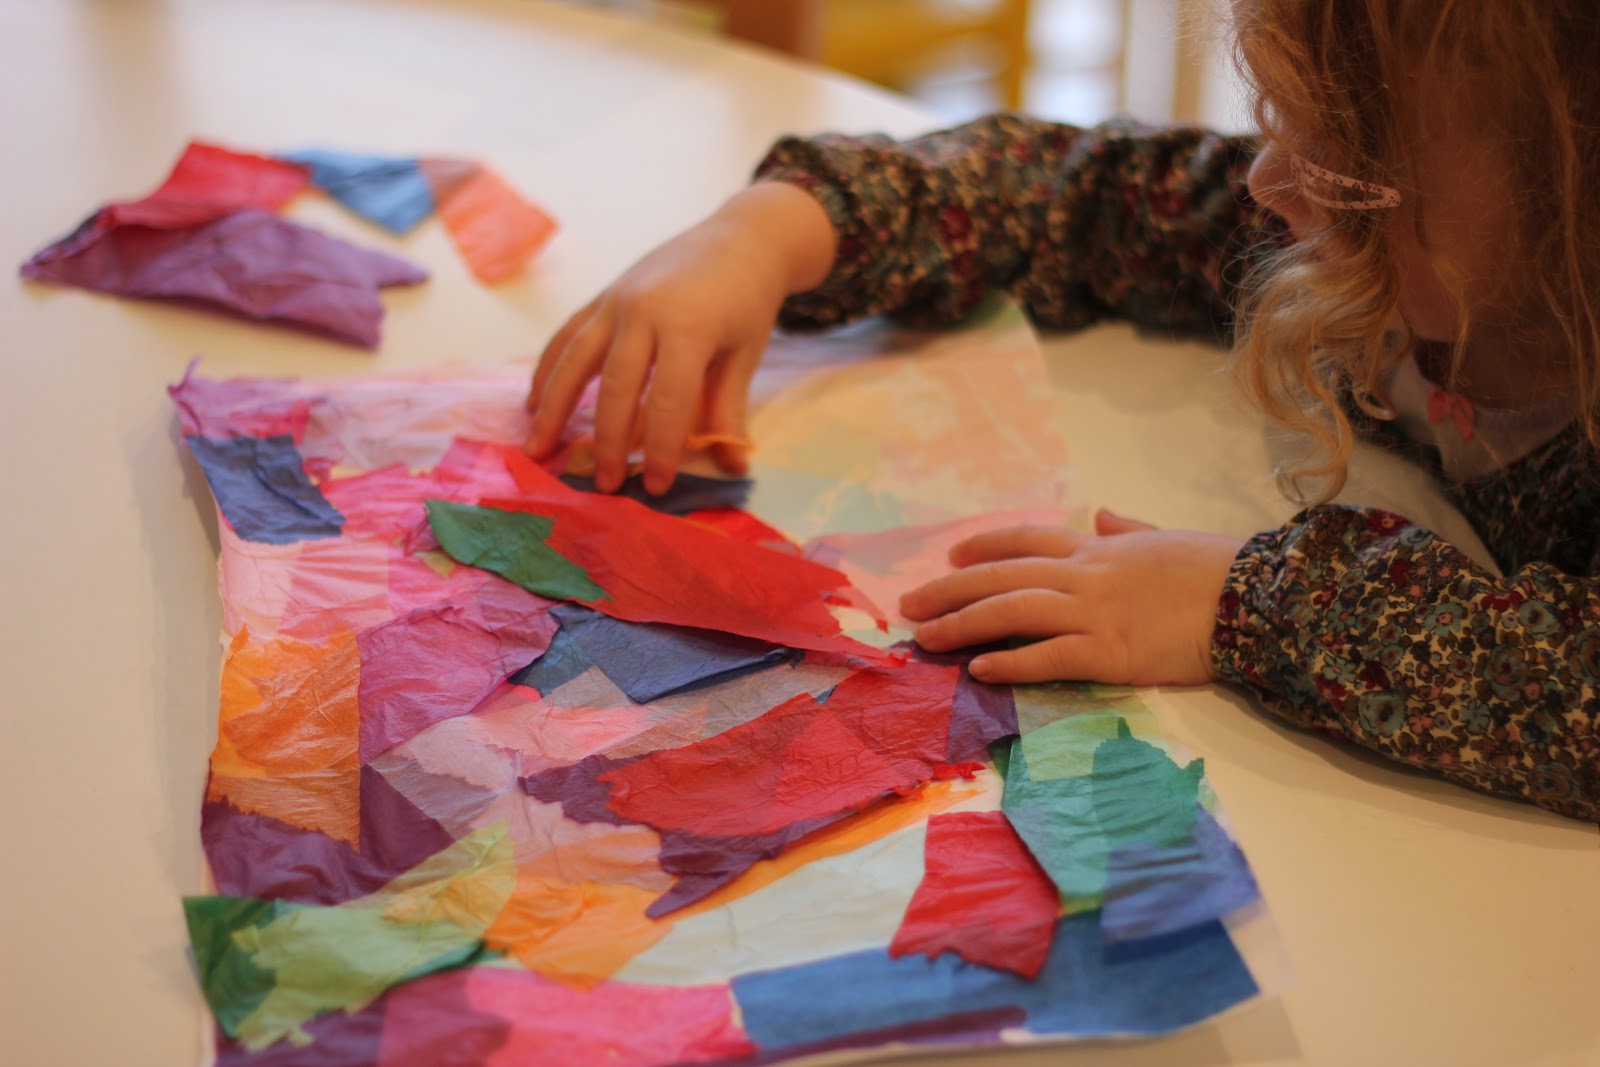
Encourage your child to stick pieces in any direction or pattern they wish, not to create a set picture or scene. Overlapping the edges of the colours and trying to cover the entire blank white sheet were the two suggestions I gave and she enjoyed the challenge.
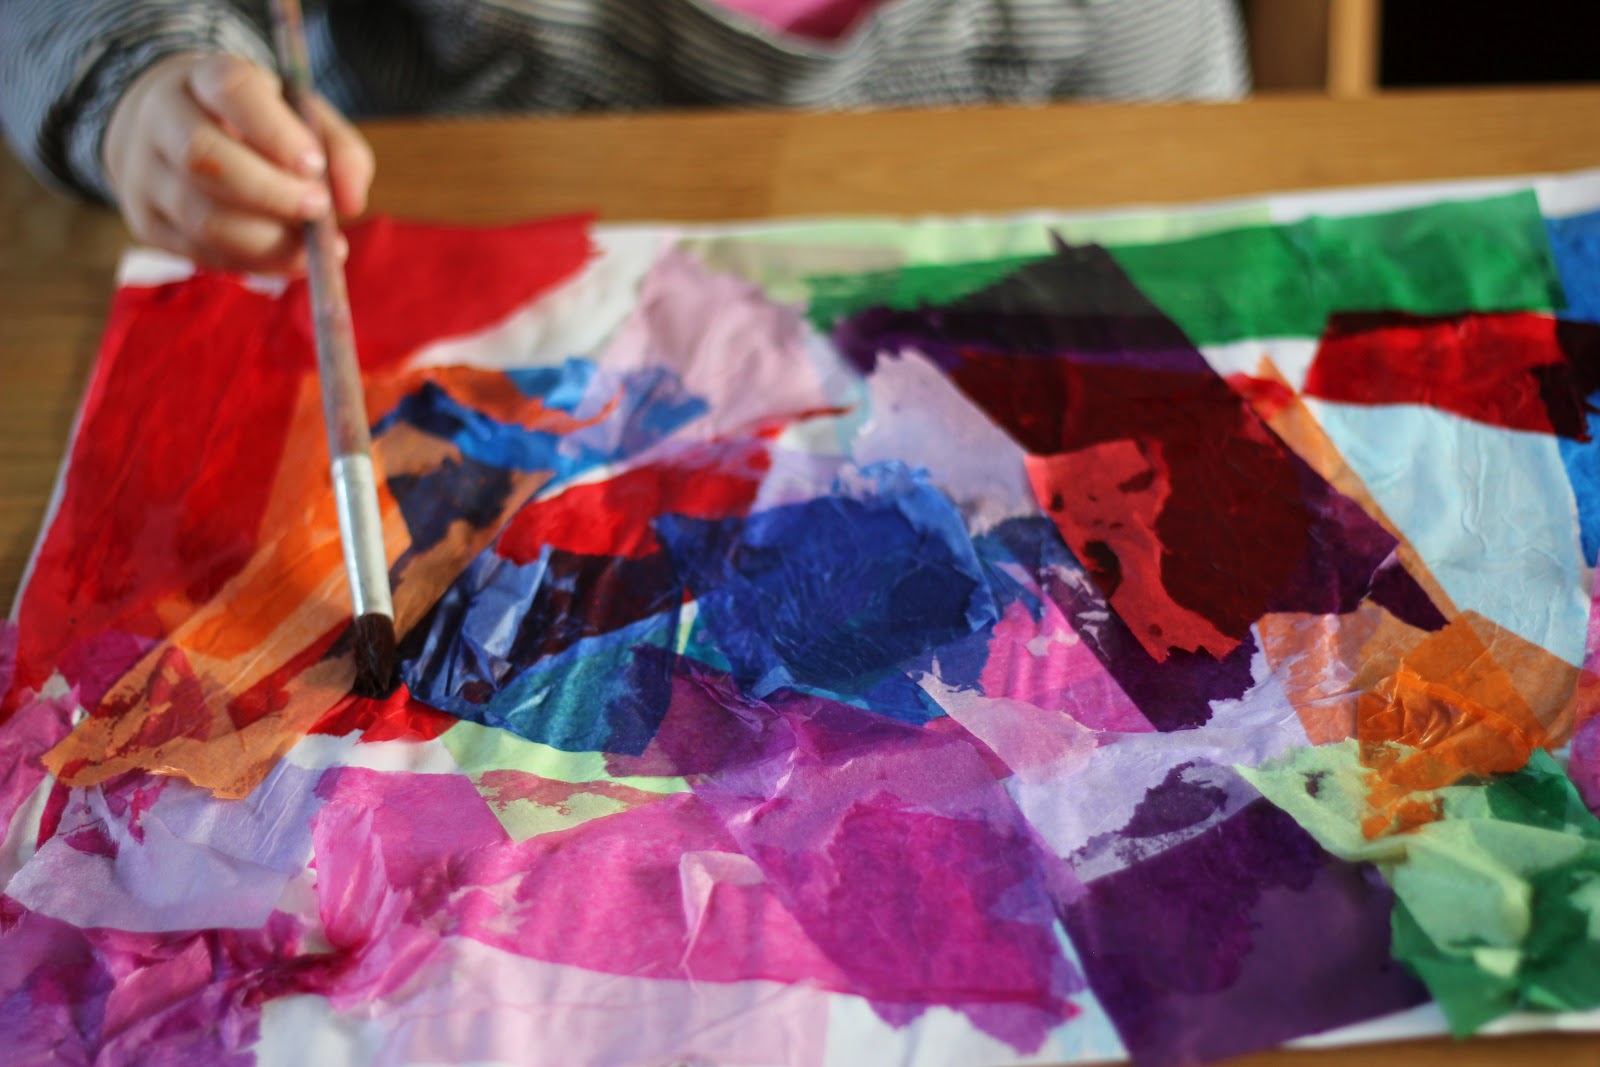
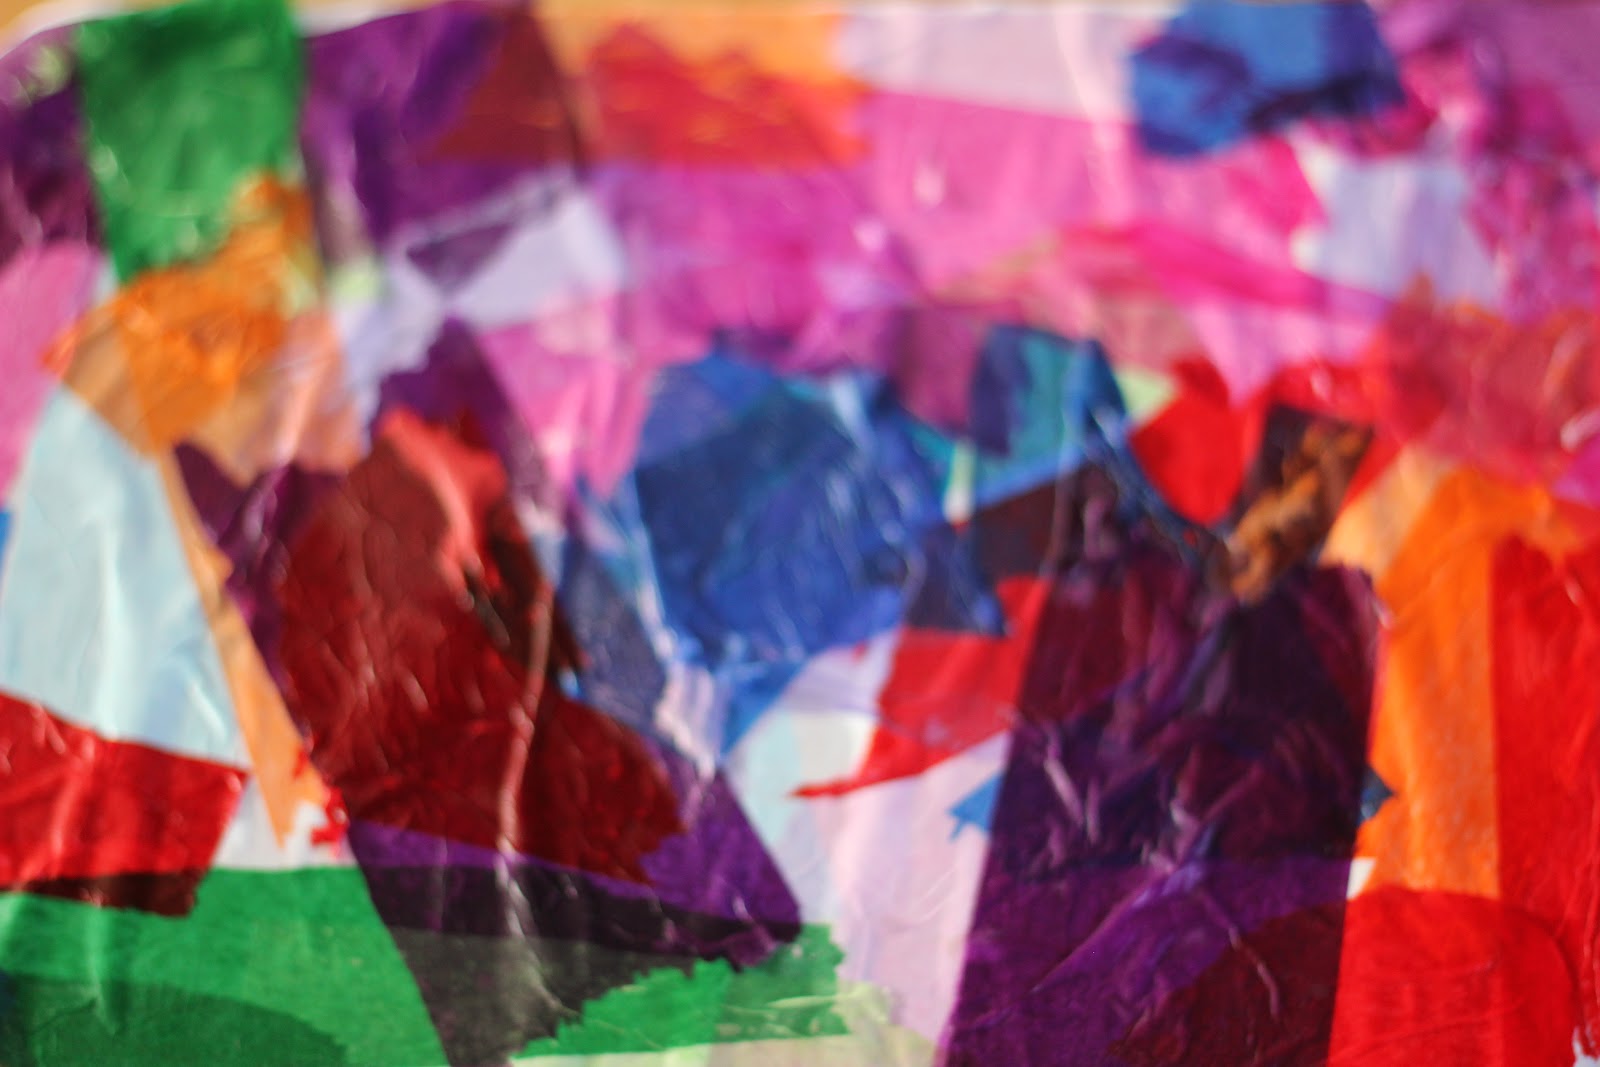
When all the pieces are stuck down and the paper is covered it looks absolutely beautiful! Next your child needs to wash another layer of water over the top of the entire picture and this really intensifies the colours and makes sure the tissue is well and truly adhered to the paper.
Leave it to dry overnight and by the next day the tissue paper has completely dried out and is starting to lift off. Cakie loved carefully removing all of the pieces to see what she would find underneath and was full of many “wows!” when she saw that the colours had transferred to the white paper.
Voila! One of the finished masterpieces! The colours bled through to the paper and created a beautiful print, in slightly faded hues. I love the effect but would also love to experiment with even more vibrant colours and perhaps some patterning in the future.
The finished art work can be ironed on a very low heat with a tea towel/ dish cloth over the top, and then framed. Alternatively it would look lovely cut into heart shapes or made into gift cards!

Learning Links:
- art and creativity: explore colour, shape and form in two and three dimensions, experiment with using and combining a range of media, talk about colours and shapes in own art work and that of others
- phse: sustain concentration for extended periods of time, work independently on self-chosen projects
- physical development: fine motor skills and co-ordination through tearing, sticking, painting and peeling
I love the effect. I’d never seen that done before either. Was it easy to peel off once it had dried? I wonder if it would work on fabric too?
Yes it peels right off because the water has thoroughly dried. I must say I was almost sad to remove the tissue as it looked so vibrant! Maybe we will just do some simple collage with PVA next 🙂 Not sure about fabric as it’s a delicate effect, but it might work! Be fun to experiment.
I’ve just planned something similar for Kindy next week using spray bottles. Lovely photos 🙂
Oh yes spray bottles would be a LOVELY approach to this! thanks for the idea!
Keep on meaning to try this, but haven’t done so as yet – looks like it creates some beautiful subtle watercolour effects!
Yes very subtle but quite beautiful.
This is great, its always good to find things that are quick to set up and simple for my 2 year old. Thank you!
Me too! nice and easy but also a lovely art process too! thanks 🙂
I’ve tried this with my kiddos before, but we had a deep tray with the paper in it. They placed the tissue paper on the paper and sprayed gently with a bottle filled with water. Our results were a little lighter than I had hoped, but still beautiful. I like the idea of painting the water on the tissue paper and will need to try this format, as well.
that sounds like another great way to do it! I love the simple art processes!
This looks fab, we’re definitely going to have to try it, I love the way it’s so simple and that both my girls (18 months and 3.5 years) would enjoy it. Thanks for sharing and beautiful pictures as ever. Ellie
It’s great to fins things they can both do isn’t it?! Hope they enjoy it!
I always love your ideas.
Could you please let me know the paint you use in this article?
https://theimaginationtree.com/2011/06/eric-carle-tissue-paper-prints.html
Is it edible homemade paint? How long will it stay on the paper? I just hope I can hang my toddler’s art on the wall for longer time.
Thank you!
Ahh thank you so much Christine! For that tissue paper printing we just used regular, store bought poster/ ready mix/ kiddie paint. (Not sure what you call it as I don’t know what part of the world you are in!) But simply the readymade, washable stuff, nothing fancy! It stays permanently on the paper and it looks gorgeous. Ours is still hanging and makes me very happy to look at 🙂 I guess the only thing that could happen over time is that the colours in the tissue paper may fade if placed near sunlight. I may move mine to the hall!
This is a great idea. Definitely going to try this one. I love that you have to leave it overnight but that the first part of the experience is rewarding enough on it’s own. Thanks for sharing!
Thank you and yes I agree, I love longer projects!
If you add a little white vinegar to the water you will get brighter colors. I have no idea why. This is also a great way to decorate Easter eggs. They look like stained glass.
OOOOOooo what a FAB tip! Thanks SO much. Can’t wait to try that next time!
Hi I just linked to this at my blog here: http://craftulate.blogspot.com/2013/03/tissue-paper-and-water-art.html#
Thanks for the inspiration!