Here are six awesome DIY scented puffy paint recipes to make at home or in the classroom for creative arts projects for kids! They take just 2 to 3 minutes to whip up and smell totally amazing, a feast for all the senses!
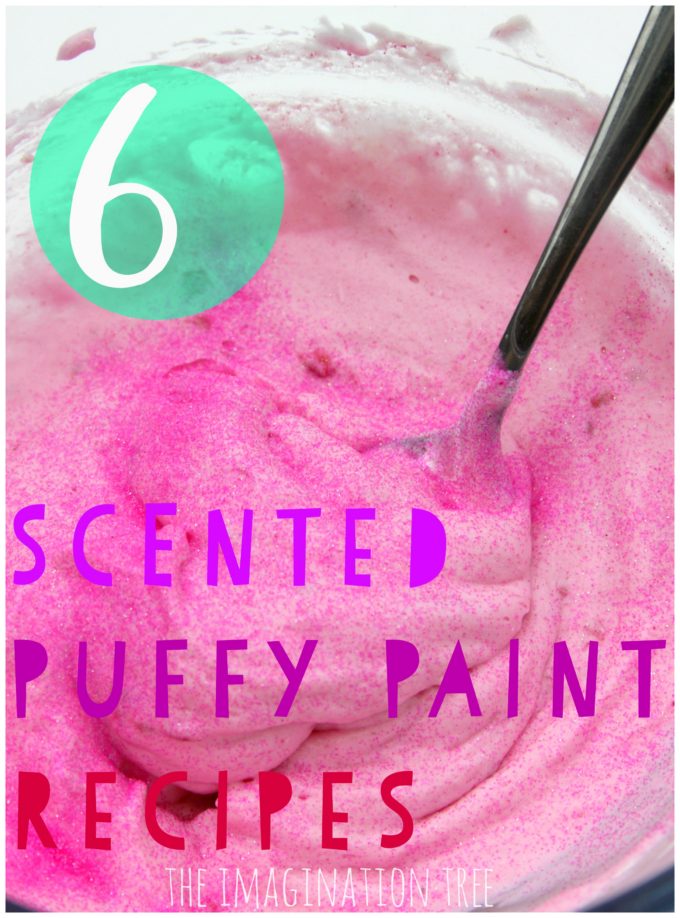
I absolutely LOVE homemade art materials as it’s so fun for the kids to get involved and see their faces as we whip up some DIY paints or multi-coloured rainbow chalks together! The process is often as fun as the product and it’s so satisfying to know you can make good quality materials from kitchen cupboard ingredients!
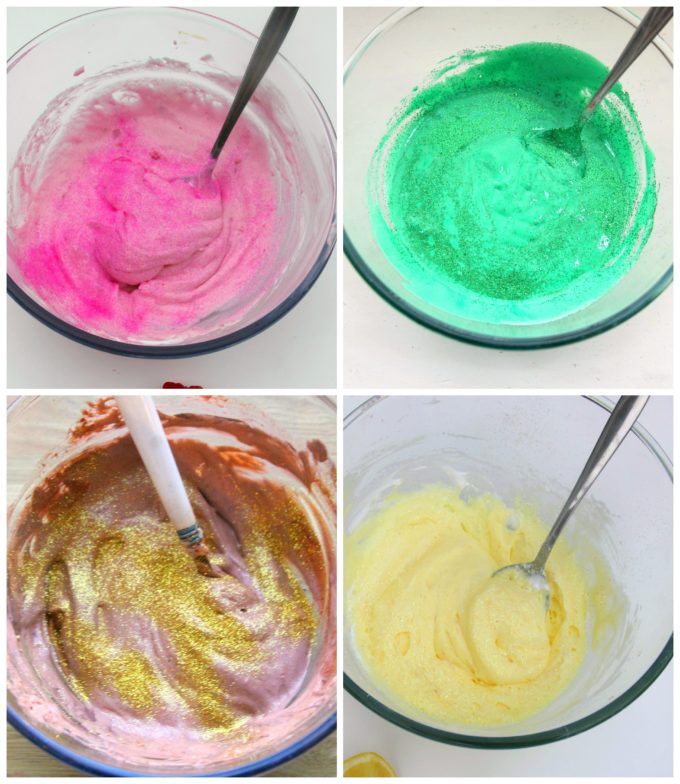
A year or two ago we first experimented with making scented puffy paints from easy ingredients we already had at home (always a bonus not to go shopping!) What I love about this easy recipe is that it doesn’t call for the finished art work to go in the microwave to make it puffy, as this limits the size of the paper you can work on and is an extra step you don’t need.
These scented puffy paint recipes are literally created by mixing 2-3 materials, spreading out and leaving to dry! All done, and dries hard and puffed up in a really cool way with a fun texture.
DIY scented puffy paint recipes:
[Click each recipe heading to go to the original, full posts with recipe details. All within this blog!]
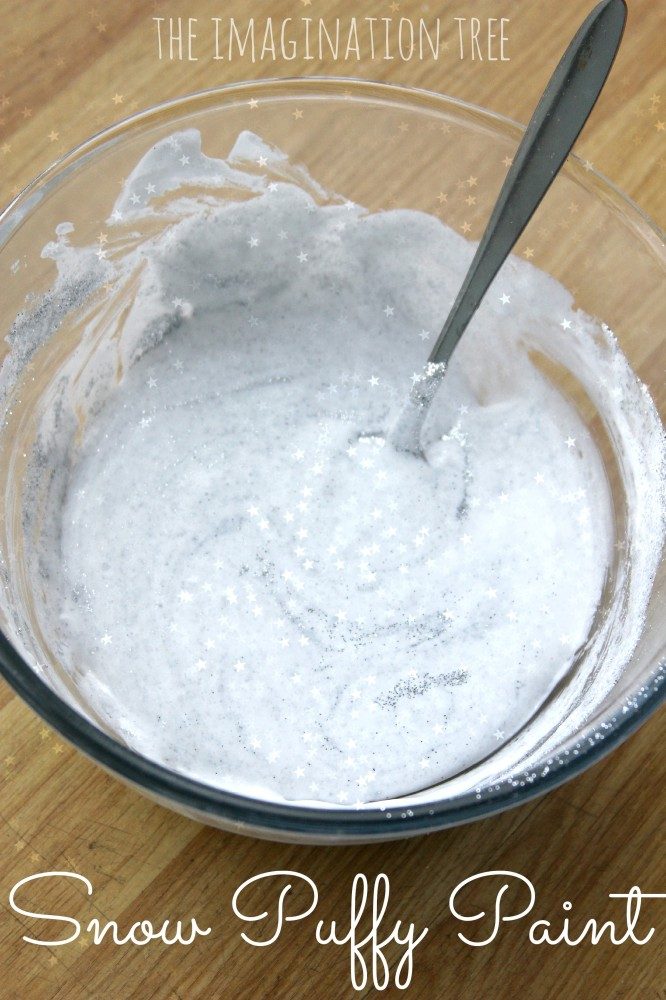
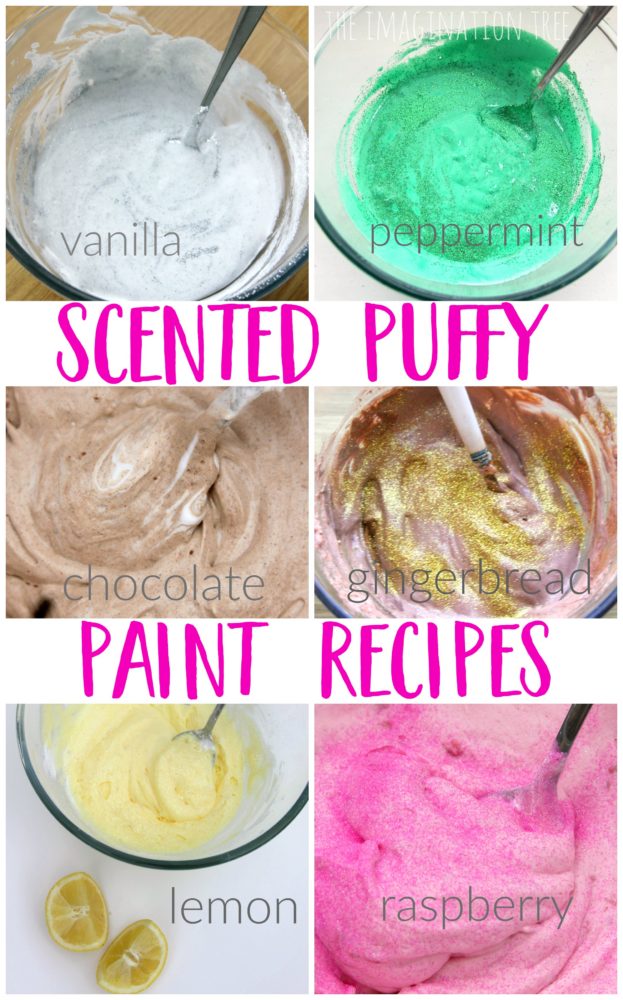
Vanilla snow puffy paint. This is the first puffy paint recipe we made and we created it for some snow and art themed art projects. It looked totally amazing with sparkly silver glitter stirred through it too! Just a few drops of vanilla extract made this a delicious paint to smell too! Substitute fresh mint for a more “icy” effect.
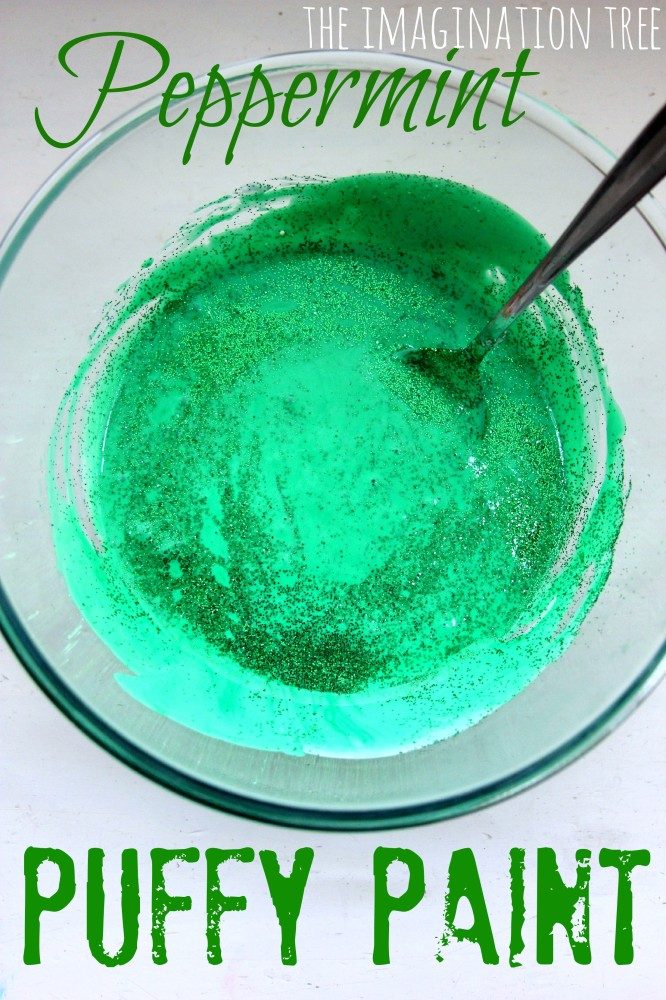
This recipe is the same with peppermint extract (or you could even crush or chop in fresh mint too as an alternative!) We made this for Christmas crafts and cards and it looked amazing as Christmas trees decorated with paper baubles and sequins!
Gingerbread puffy paint: [I haven’t written this one up yet, even though I thought I had! Add 1 tsp ginger and 1 tablespoon cinnamon to the standard recipe and mix through! Smells awesome.]
This was another seasonal paint we made for decorating giant cardboard gingerbread men! They looked and smelt totally wonderful and even better when we sprinkled gold glitter over the top before they dried!
This one smelt almost TOO realistic! It was amazing to paint with and made a fabulous ice cream in our cone craft. It would be awesome for making chocolates and muffins with!
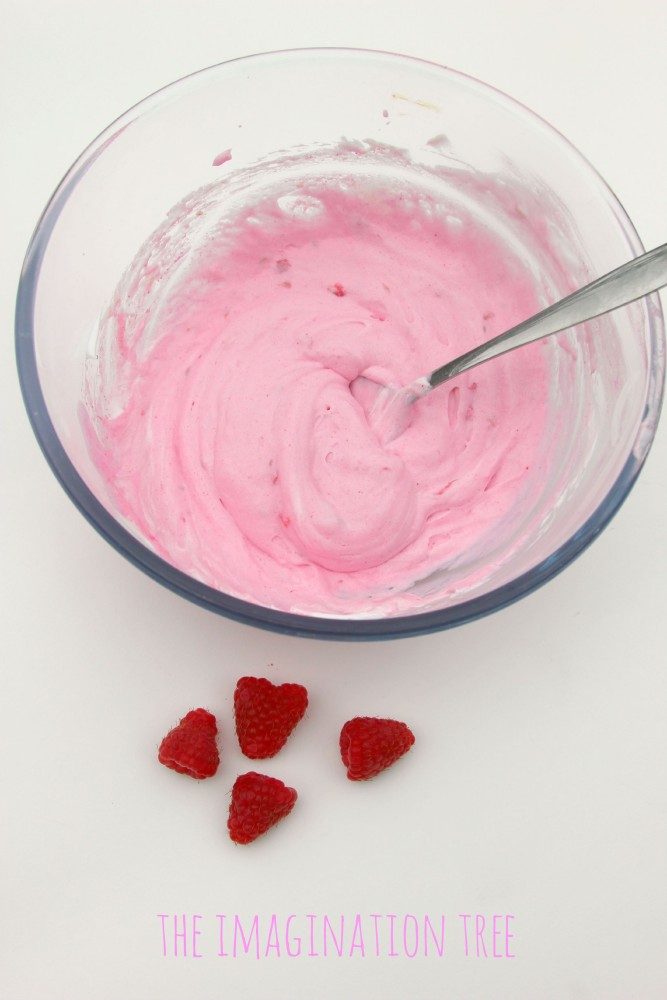
This was made using fresh raspberries and again, smelt wonderful. We used this in our ice cream craft too. It would also be lovely for cardboard cupcake decorating and fruity pictures!
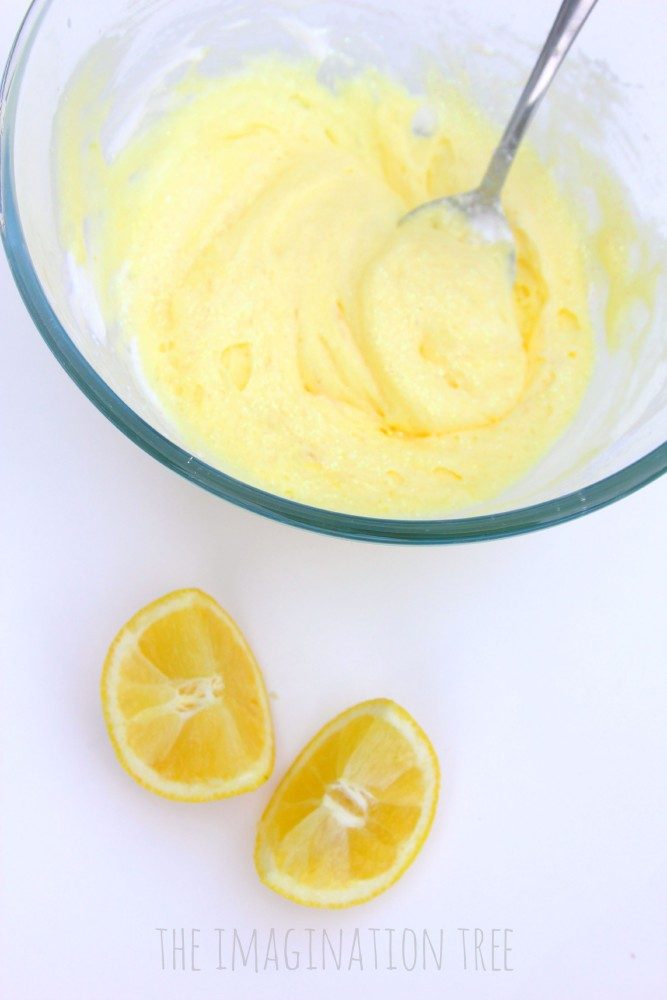
As above, we used fresh lemon juice and added this one as our final flavour for the ice cream craft. The combination of chocolate, lemon and raspberry was wonderful!
There are so many ways to use these scented puffy paint recipes, simply dolloping onto paper and exploring the texture and form that’s created when they dry is fascinating enough, and makes for a wonderful sensory art experience!
Here are a few tips:
- Try spooning the paint onto a thick surface (not paper, more like cardboard or thick card) and heap it up.
- Spreading it out with a paintbrush means some of the air comes out of it and it doesn’t dry so thickly.
- Leave it to dry in a warm place for at least overnight, if not 24 hours, to properly set.
I hope you enjoyed these scented puffy paint recipes! Please save or share them if you did. There are also many more HOMEMADE ART RECIPES to try in the archives, from window, bath and pavement paints to moon sand, play dough and soap fluff!
And here are our ART and CRAFT PROJECTS to browse through too! Happy playing and creating 🙂
These paints look good enough to eat! How creative!!!
Thanks Sondra!
Great website. Thank you Anna. I’m making a center piece for a pizza party for kids. Can I use the Puffy Paint recipe to make small make believe pizzas? and for the smell what would I use?
Thank you very much