
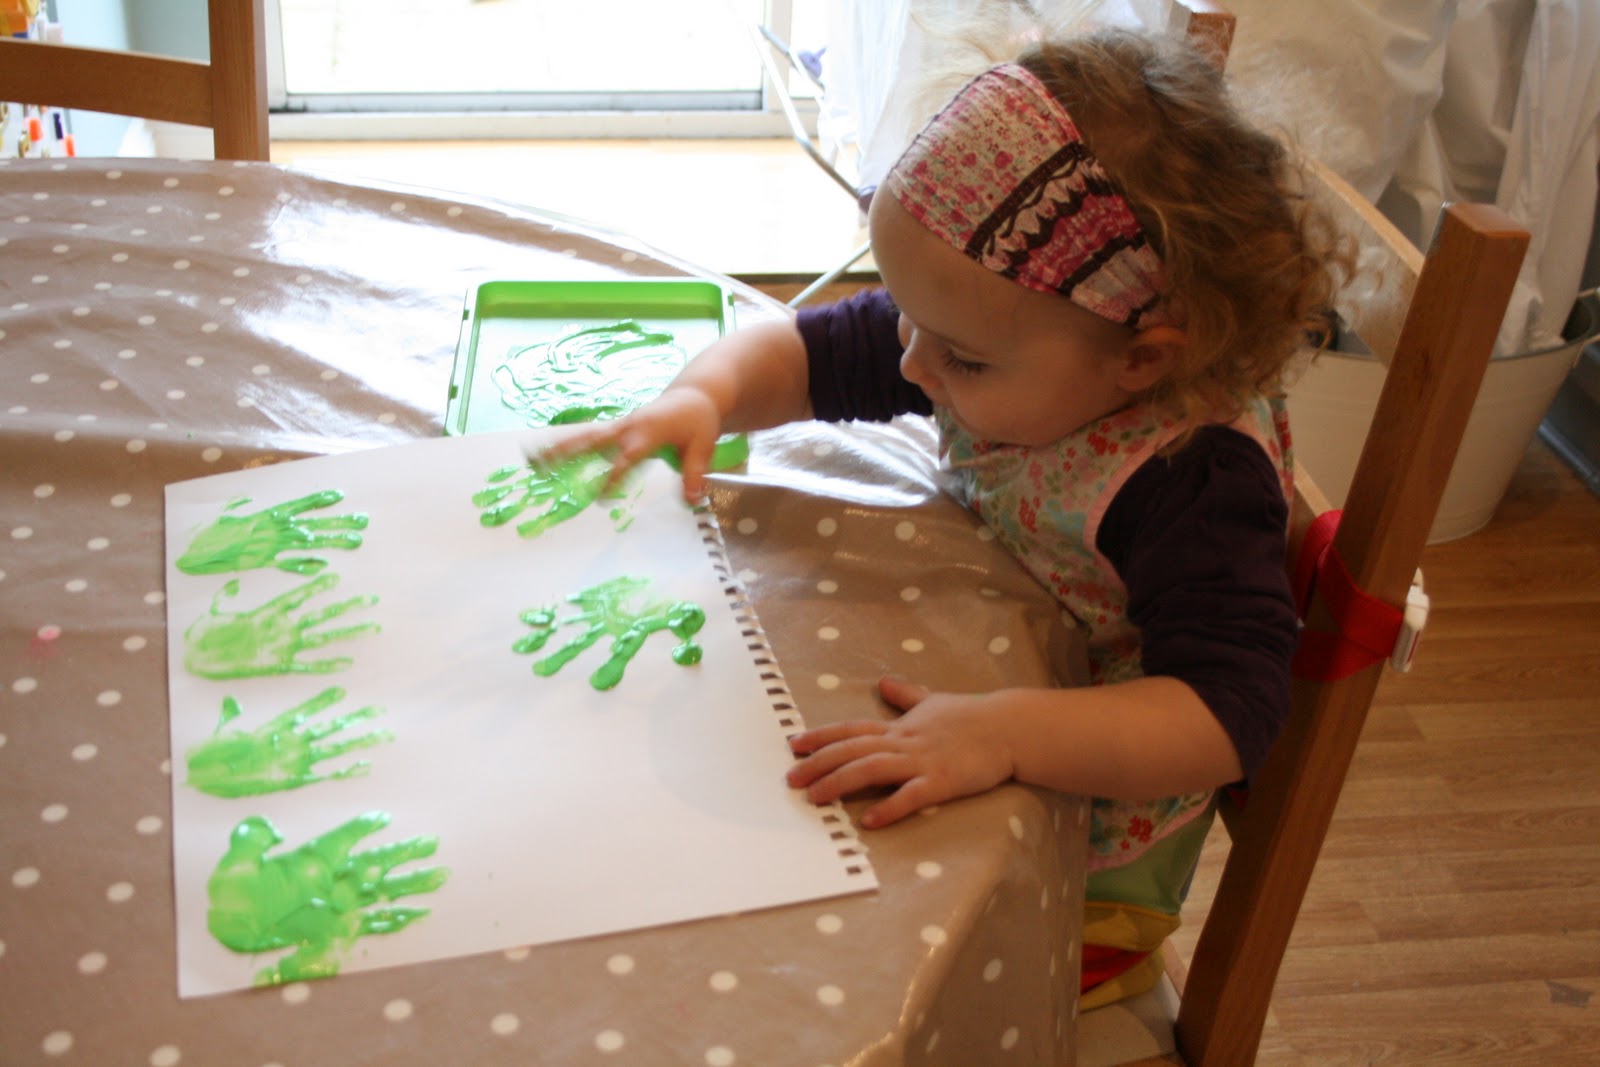
First, she covered 3 sheets of big paper with handprints after dipping her hands into light green then dark green paint. She is just about getting the hang of not sliding her hand all over the paper therefore making a clearer print. Then we set them to dry while she went for a sleep!


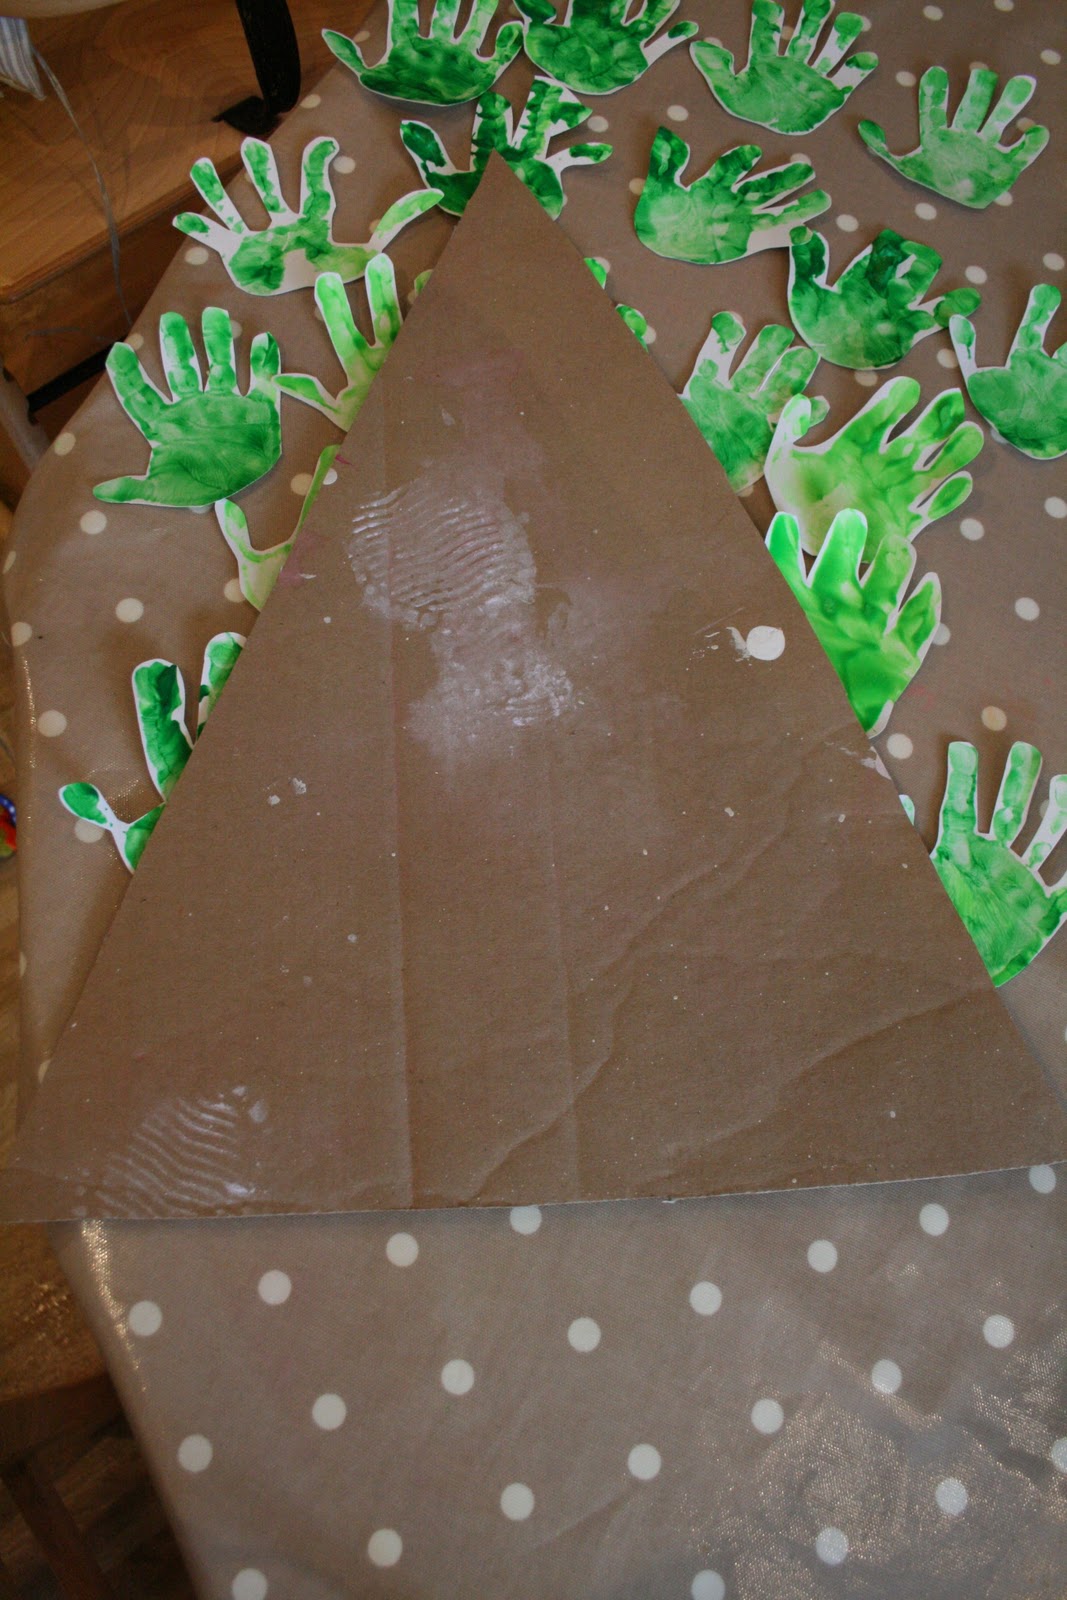
I cut around them individually, including all of the fingers.

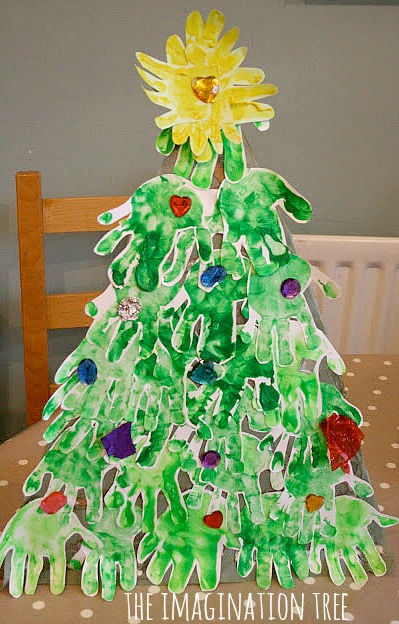
I found an old cardboard box and cut a large triangle as a base to stick the prints on. This formed the outline of the tree shape.
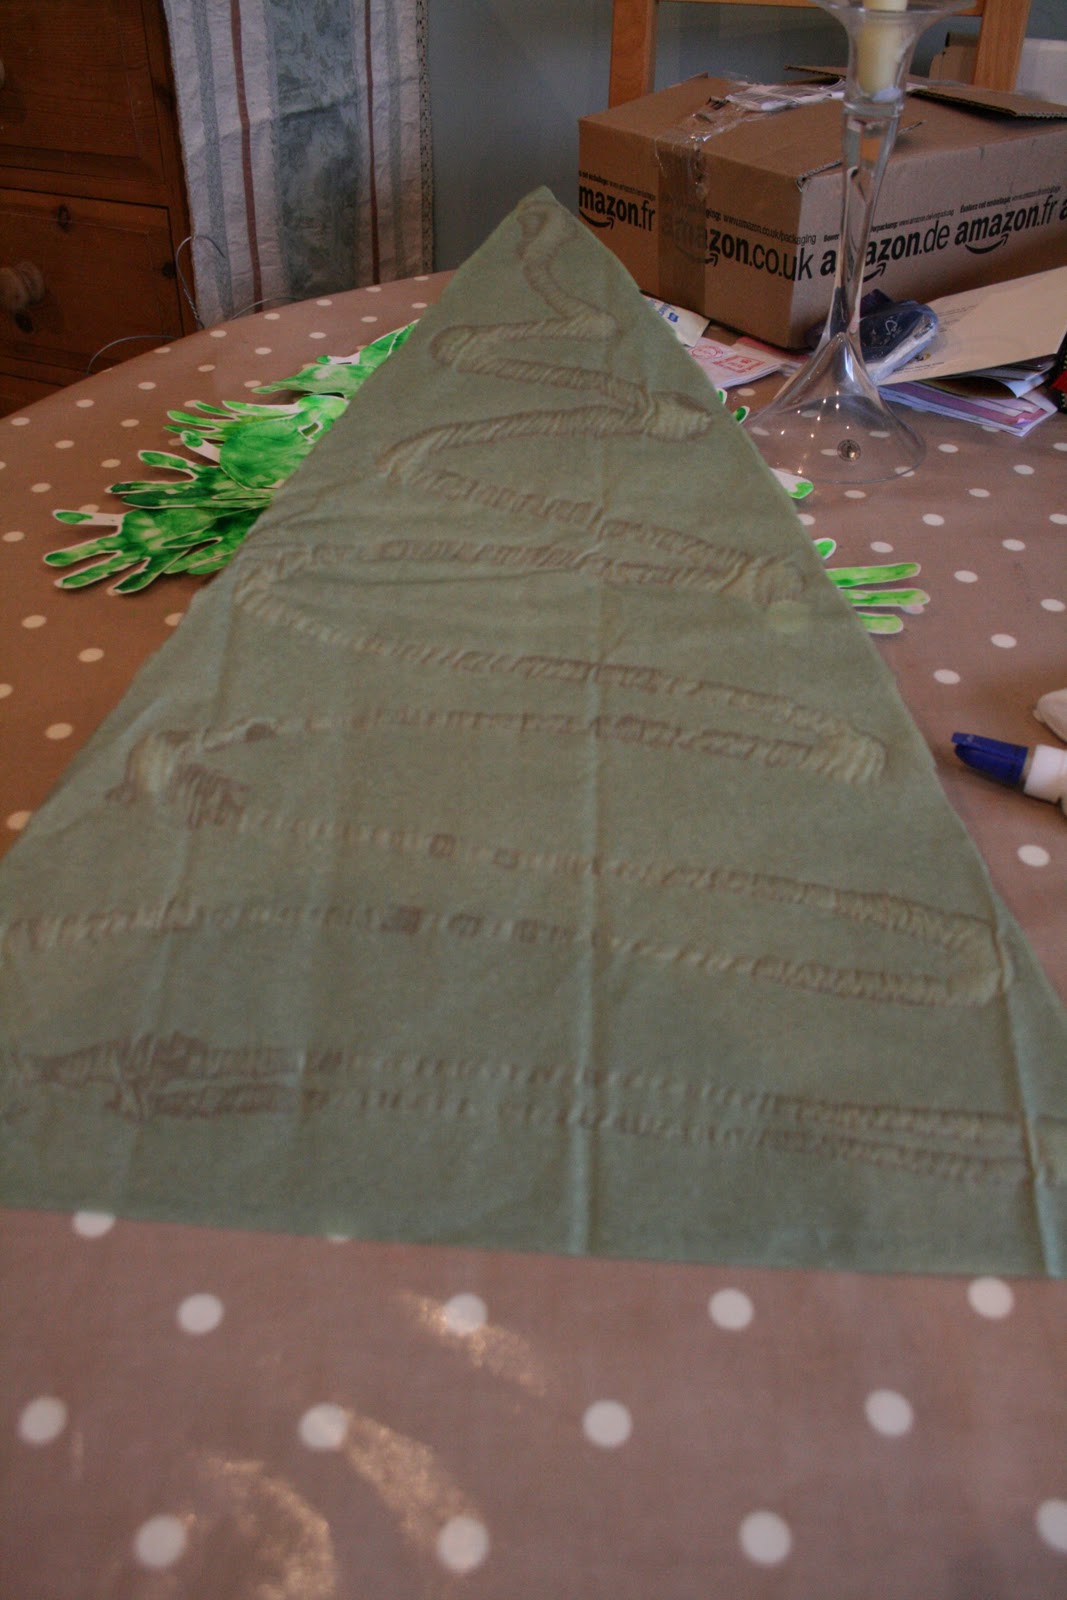
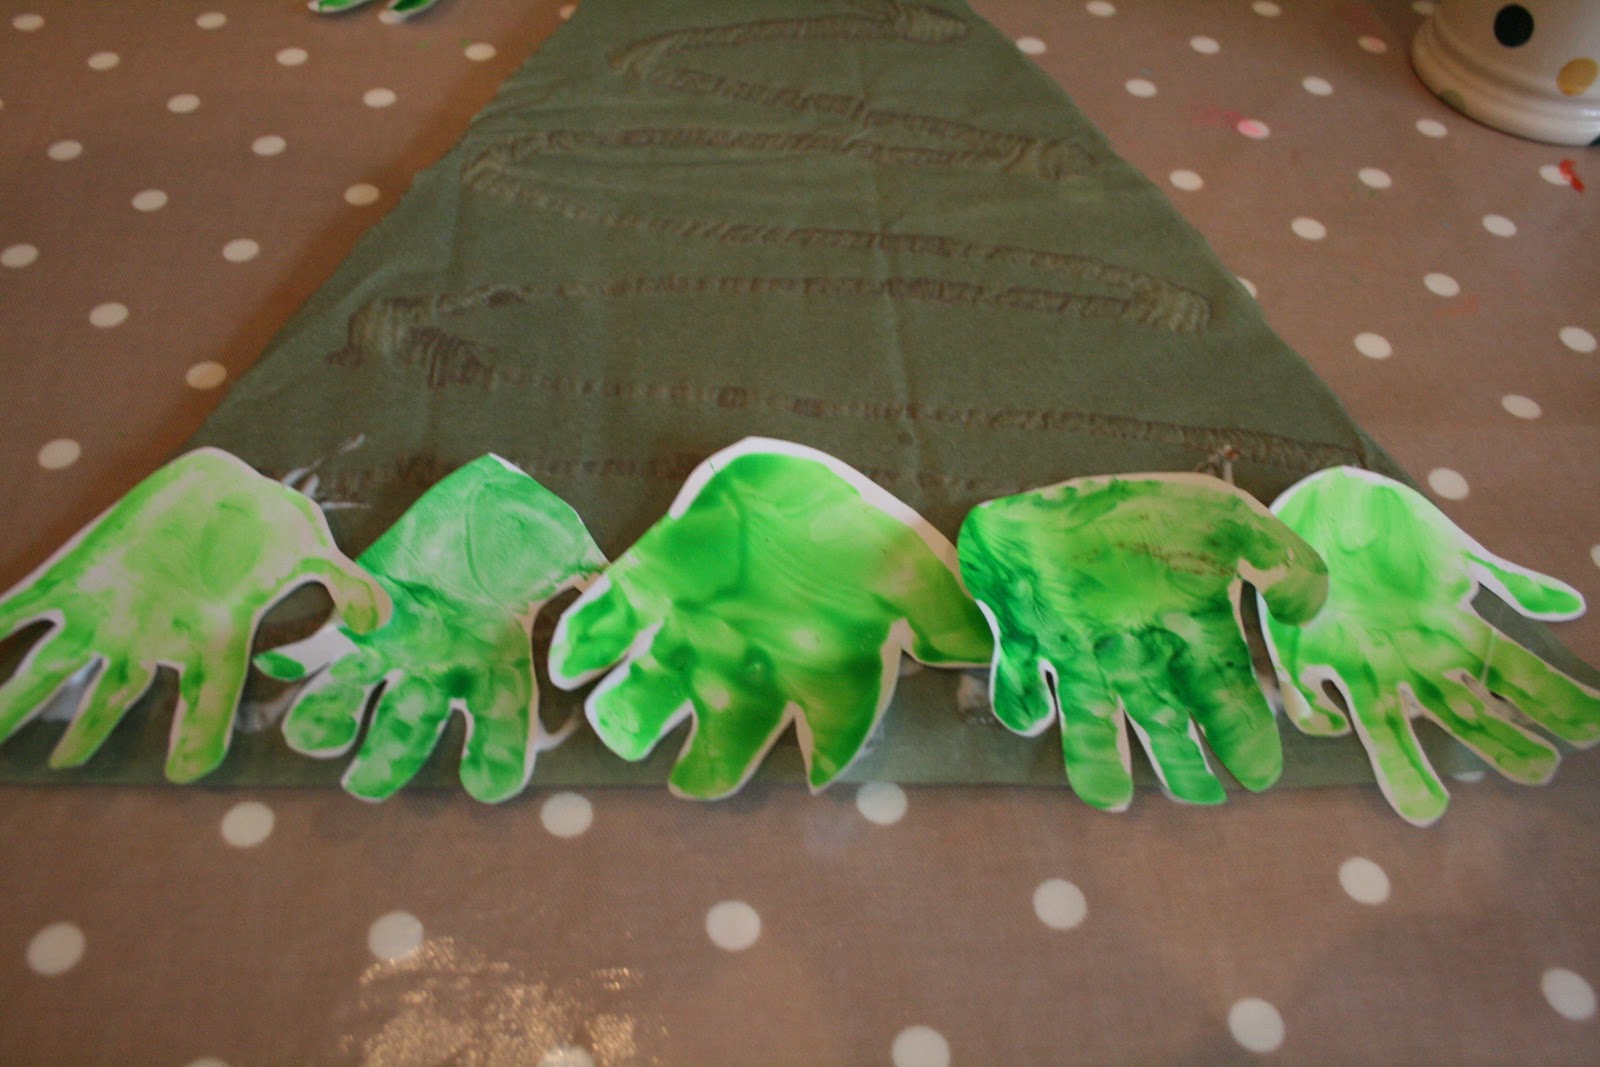
We covered the box with green tissue paper, but covering it with a sponge dipped in the paint would have been another easy way to do it!
I arranged the handprints facing downwards in rows, starting at the bottom and working up towards the top, overlapping them slightly.
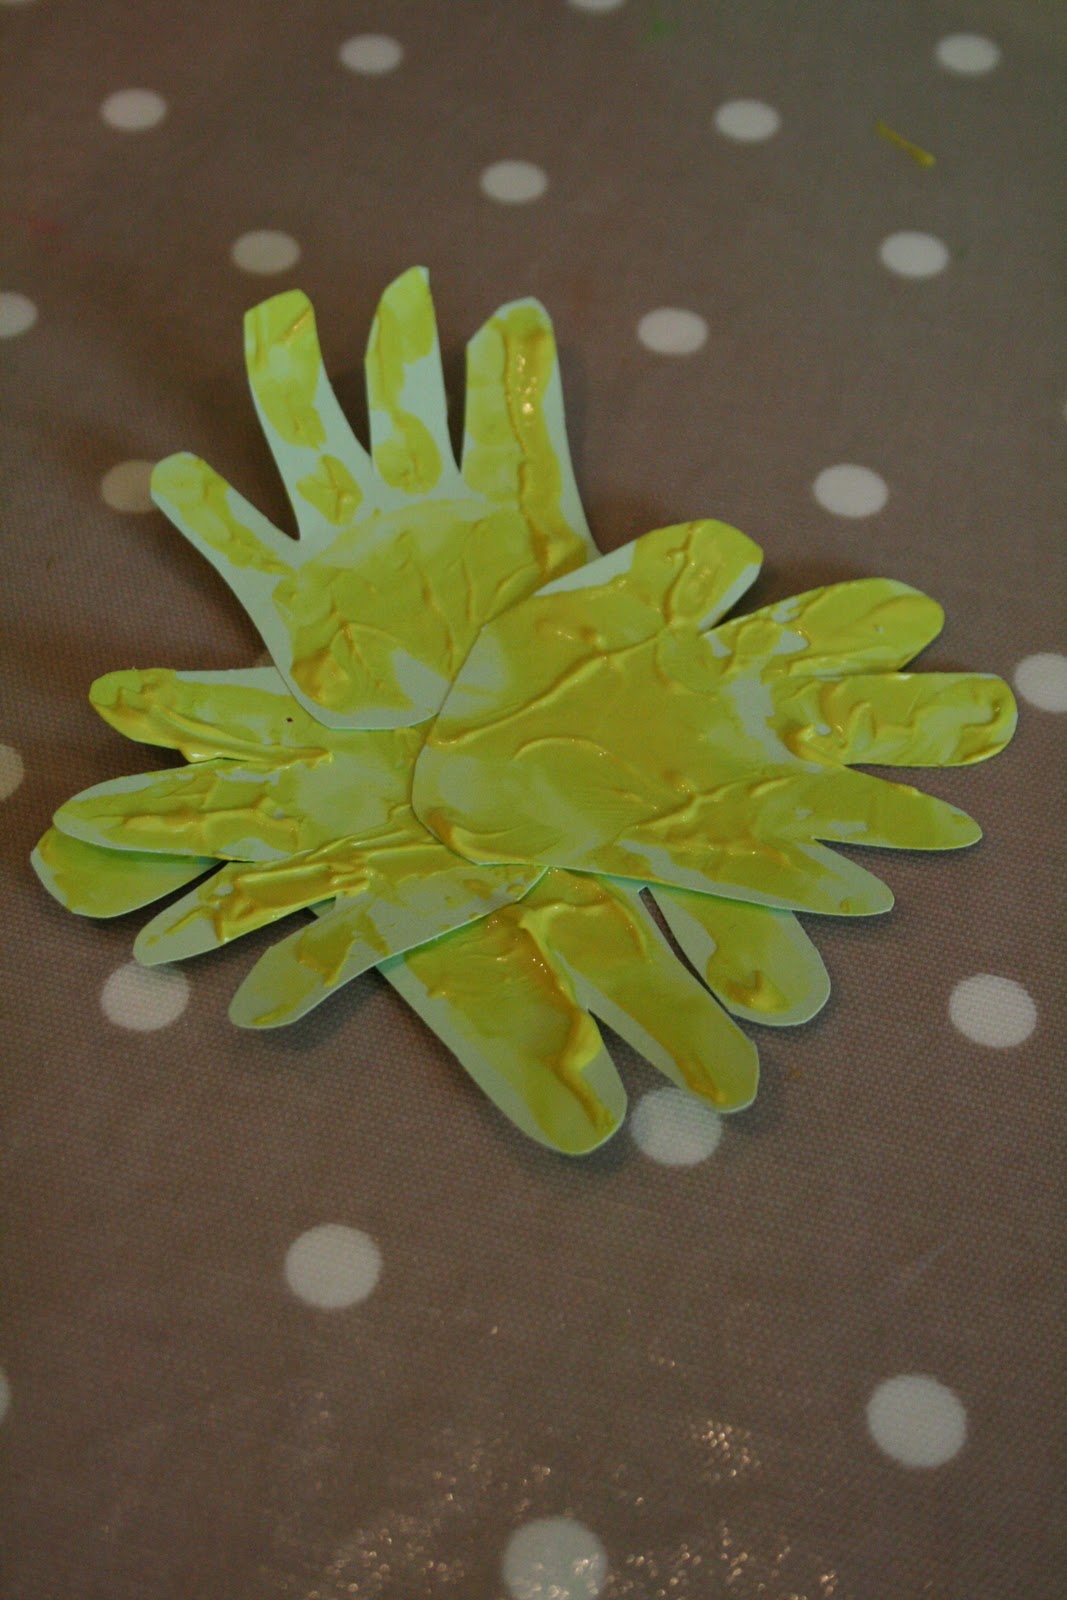
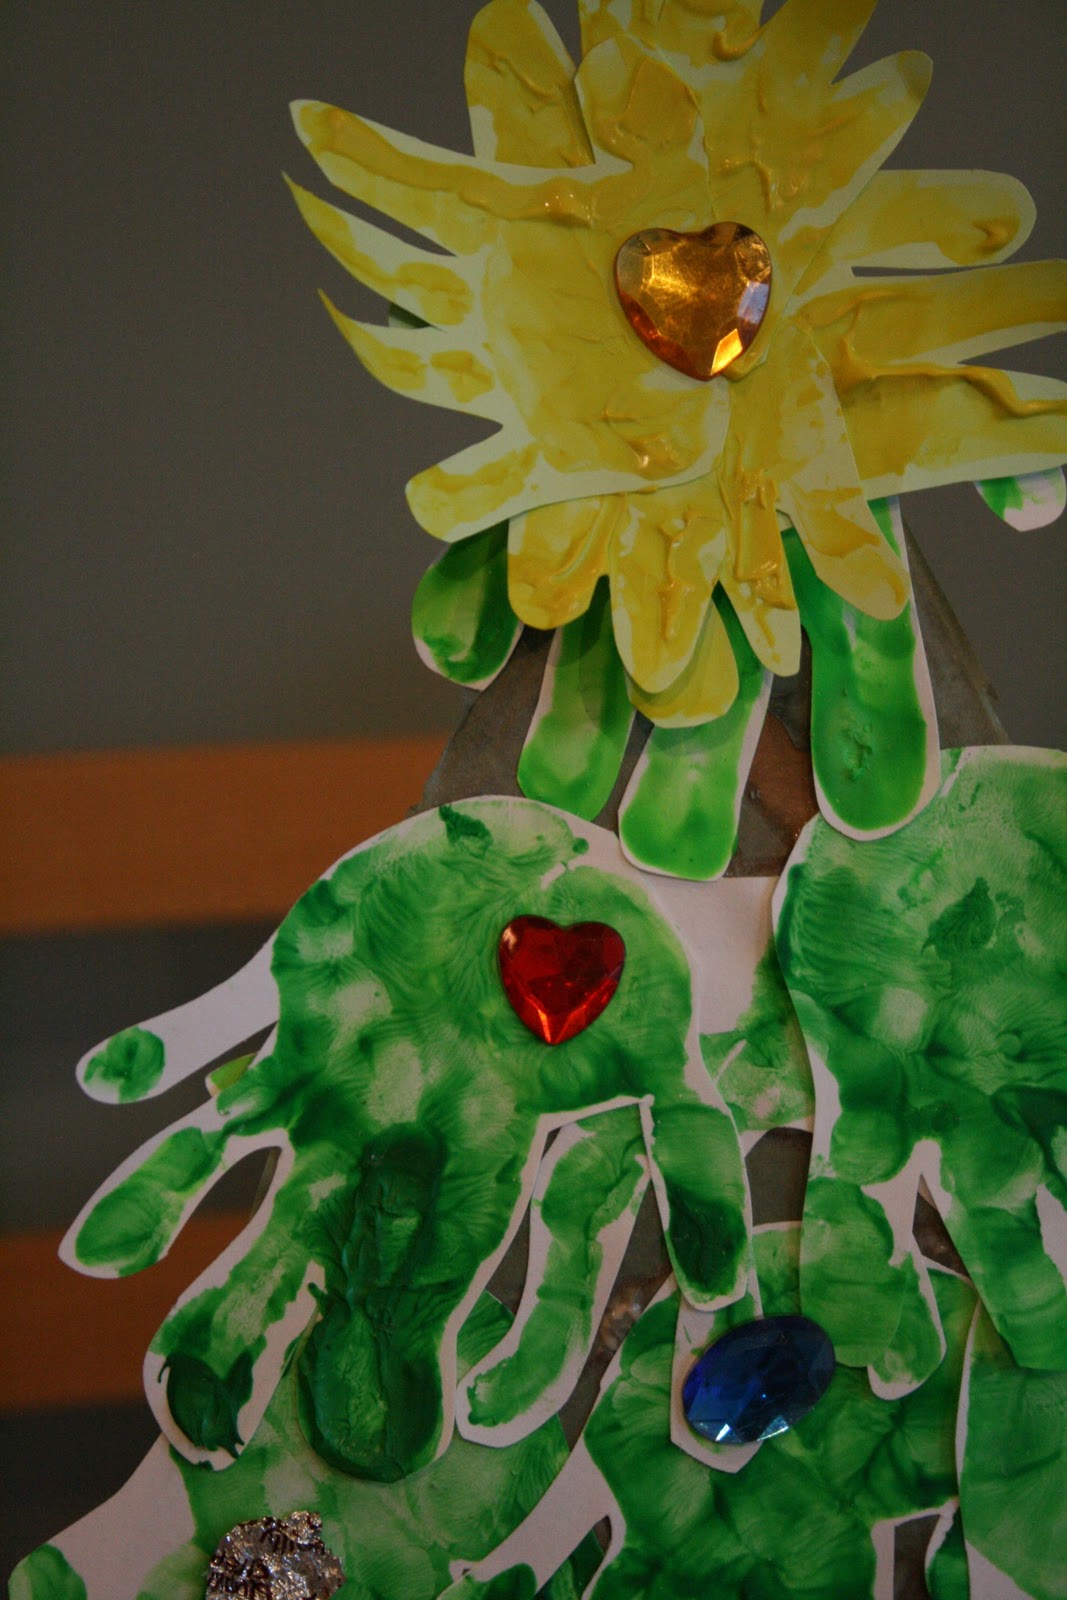
I arranged Little Pop’s four prints into something that resembled a star shape and stuck them together.
The finished tree. Time for decorating!

Cakie stuck on some acrylic gems and a few sweetie wrappers and pieces of scrunched tissue paper.
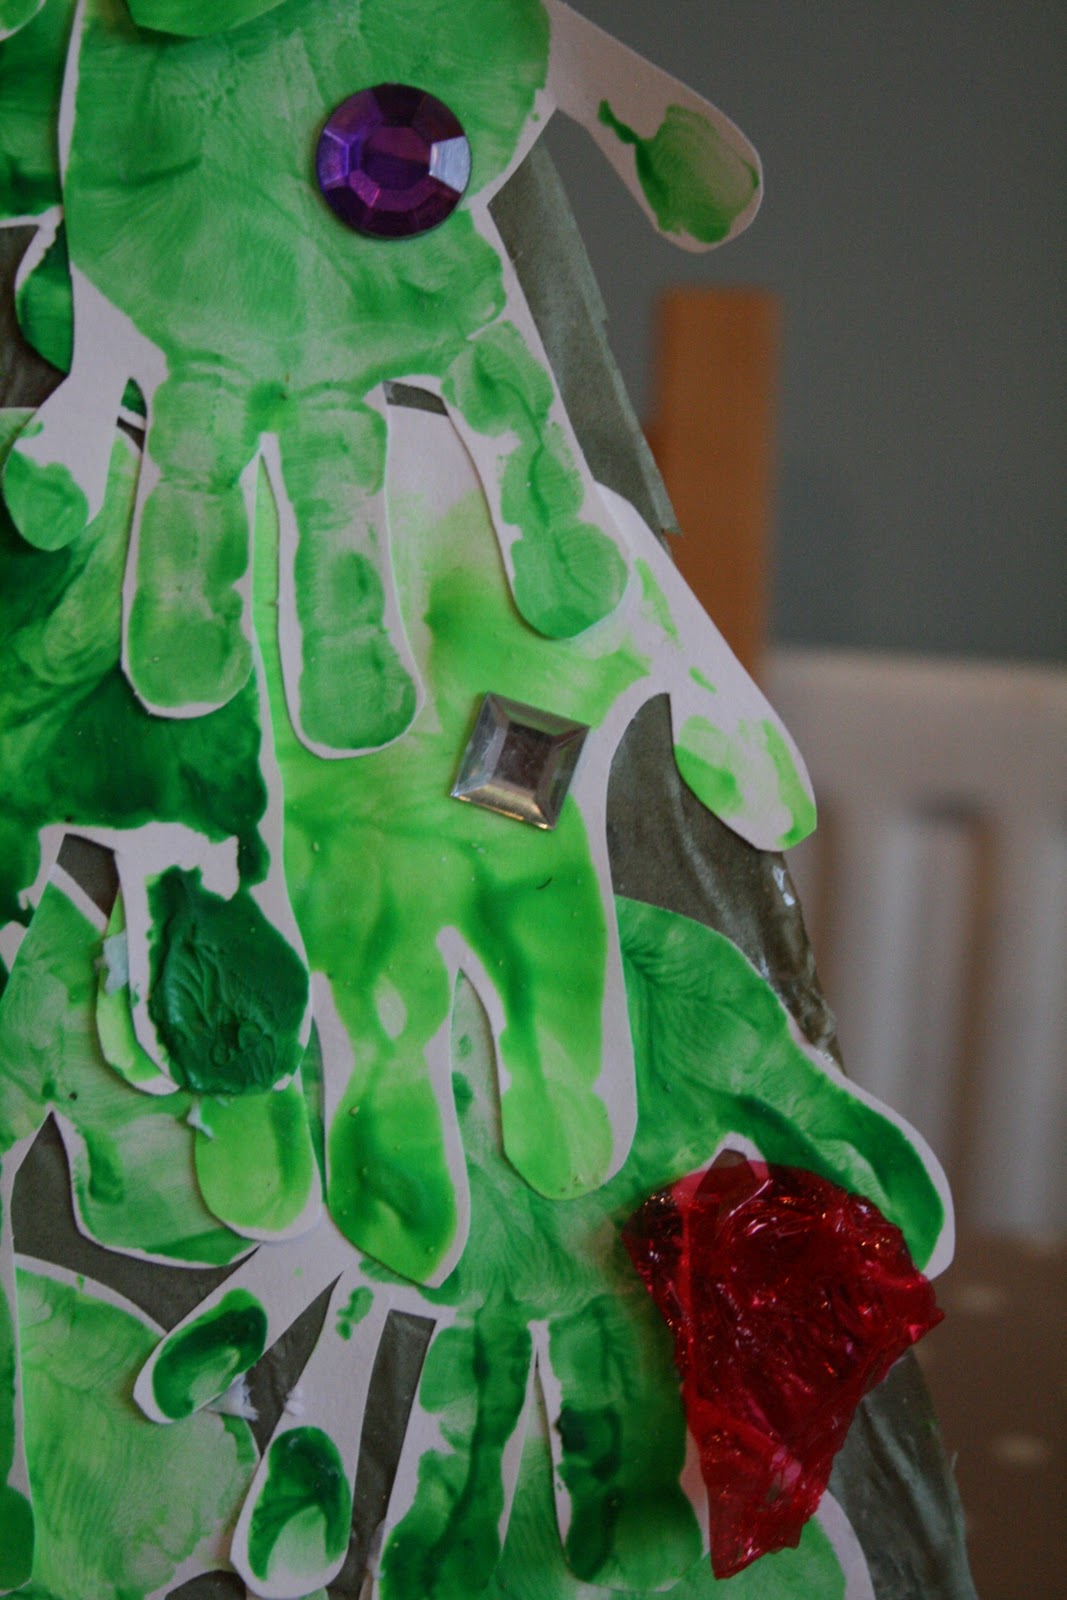
Any bits of colourful paper and junk material would look lovely.
“Ta Da!” (to quote a certain 2 year old!)
Now to go on display on the mantlepiece!
See our other Christmas crafts and play activities here
Oh I LOVE your tree. I actually love all the green hands lying on the table too. They look so cute! And the little star is perfect on the top.
Very lovely and cute!
Thank you for linking up to Kids Get Crafty! Great to see you there again!
Maggy x
Amazing!!!!
I love this tree! I am linking to it from my blog.
wow! I’m a new reader of your blog and LOVE your ideas. I now see that this is from LAST year but is TIMELESS, of course. It is such a GREAT looking craft for Christmas!
This is GREAT! My 4 year old and 2 year old will love this 🙂