Use this super quick DIY window paint recipe to create some art and mark making on the windows. The bonus is that it is very easy to wash off again when they are finished! Great for working on a vertical plane and thus developing gross motor control and early writing and drawing skills, plus plenty of great fun to paint on a new surface!
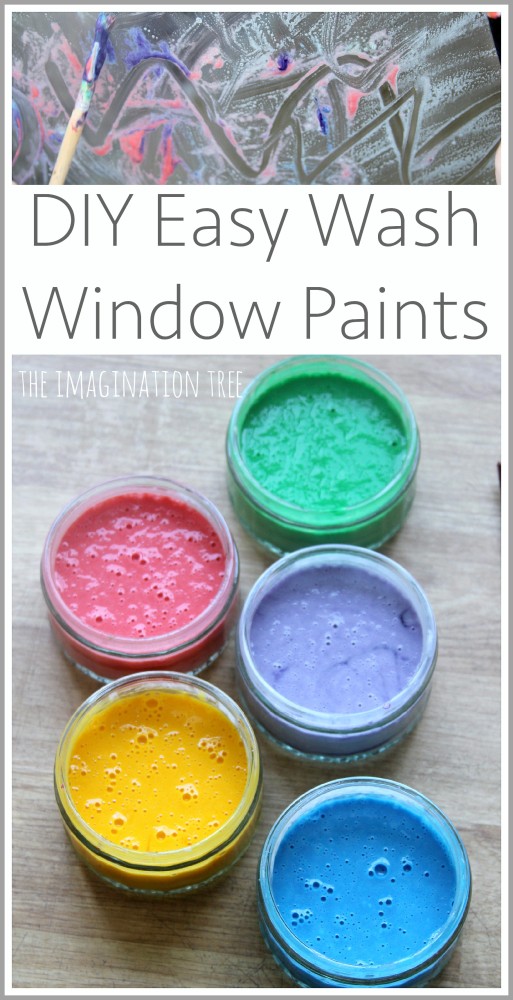
Miss 2 and I set this activity up as a fun afternoon for her and an after-school creative prompt for her big sisters later. I wanted to make some paint that could be used on the windows and that could be easily cleaned off again.
This is the recipe that we tried out together:
Into a large bowl we mixed :
1 cup of plain flour (all purpose)
1 cup of water
1 cup of washing up liquid (dish soap) * we used Ecover brand which has no SLS, therefore is not too bubbly. This helps keep the paint nice and smooth when it’s finished *
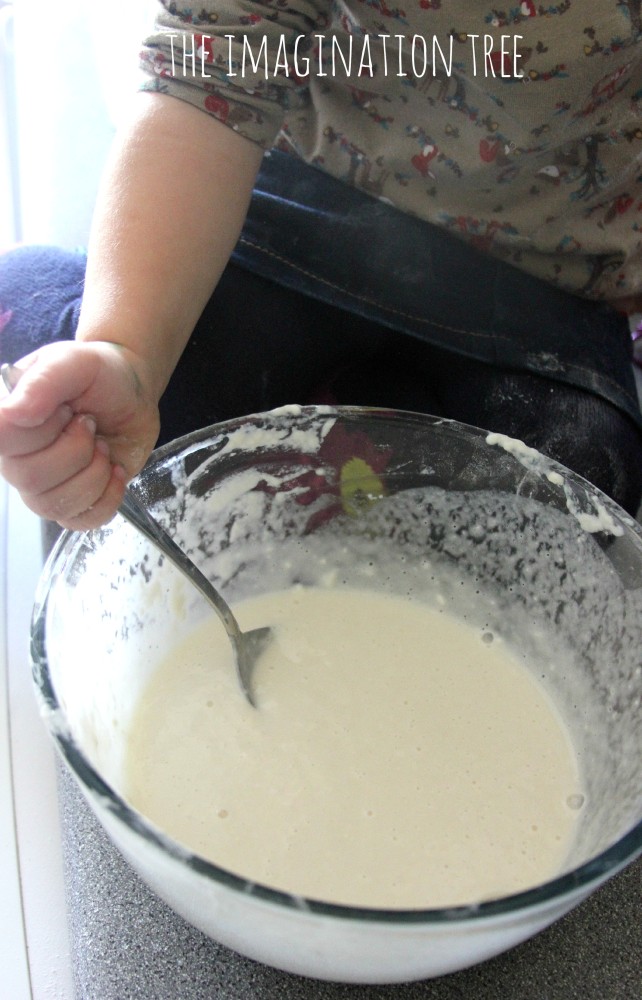
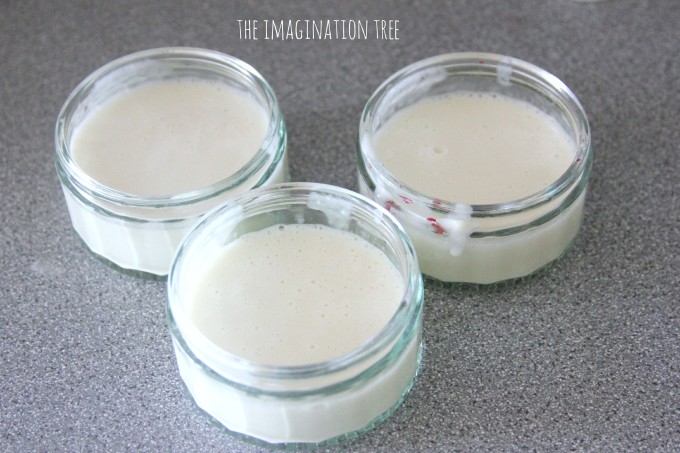
We stirred it up until all of the lumps were gone and it resembled a runny custard or sauce. Miss 2 was able to do most of this herself. Then we separated the mixture into small containers and added a very tiny amount of gel food colouring to each one, stirring it through to mix it completely.
We use these Wilton Gel colours for all play recipes and play dough/ salt dough that we make too, and they’re fantastic!
We ended up with some very vibrant colours, ready to experiment with!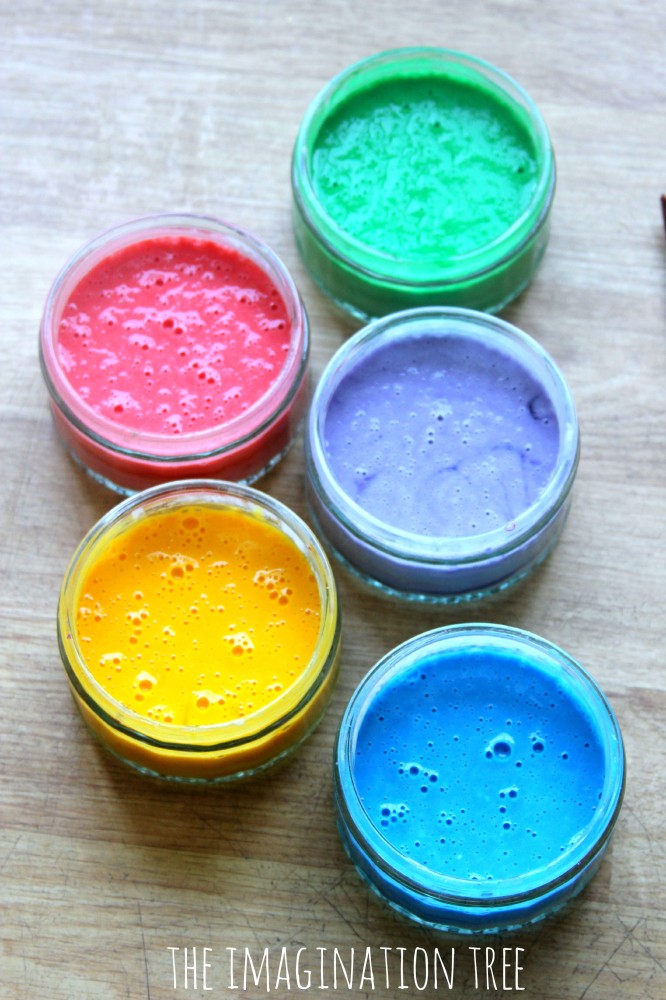
We took this outside but I think it would be ok inside too with some paper or a table cloth on the floor underneath. It would also work very well as an alternative bath paint (you see our shaving cream version of those here too.)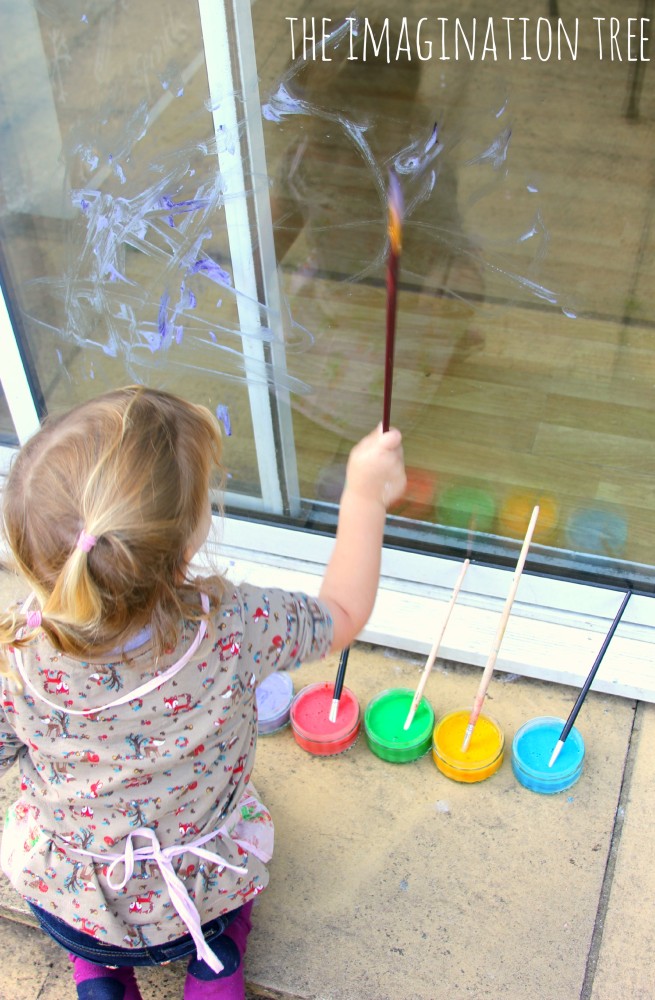
She had lots of fun added different colours to the window using thick and thin paintbrushes, singing and talking as she applied colours.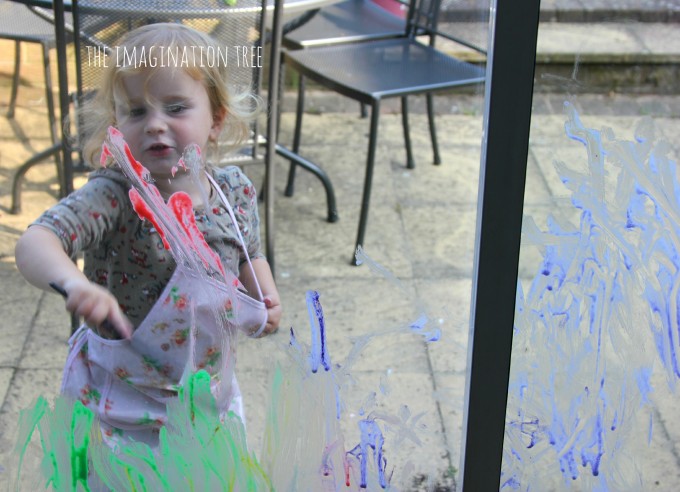
When big sisters joined in the fun, they covered the whole window area between them and then cleaned off their own areas ready to re-paint again. They all enjoyed using their fingers to draw into the painted surface too as it offered a lovely multi-sensory dimension to the art.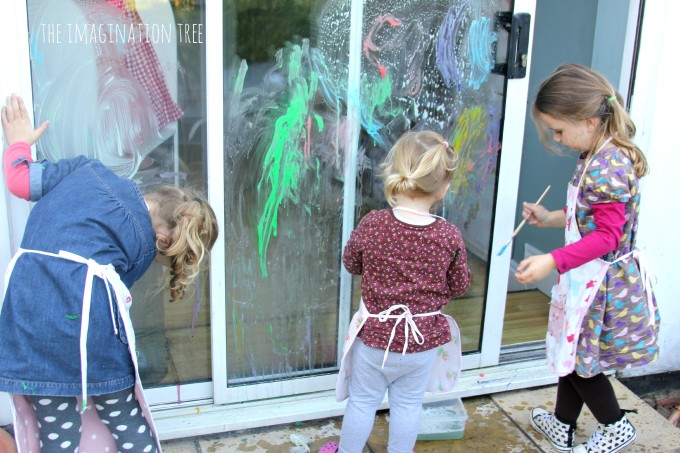
When it came to clearing up time, they actually enjoyed this the most of all (which did surprise me, knowing what my kids are usually like!) They shared a bowl of warm water and each had a sponge to start washing. Because of the washing up liquid ingredient in the paint, this seemed to really help the paint lift off very easily indeed, and before long they had cleaned the whole window area without me even getting involved. They used dry paper towels to wipe off the smears and dry it all up again and the windows looked lovely and clean again! 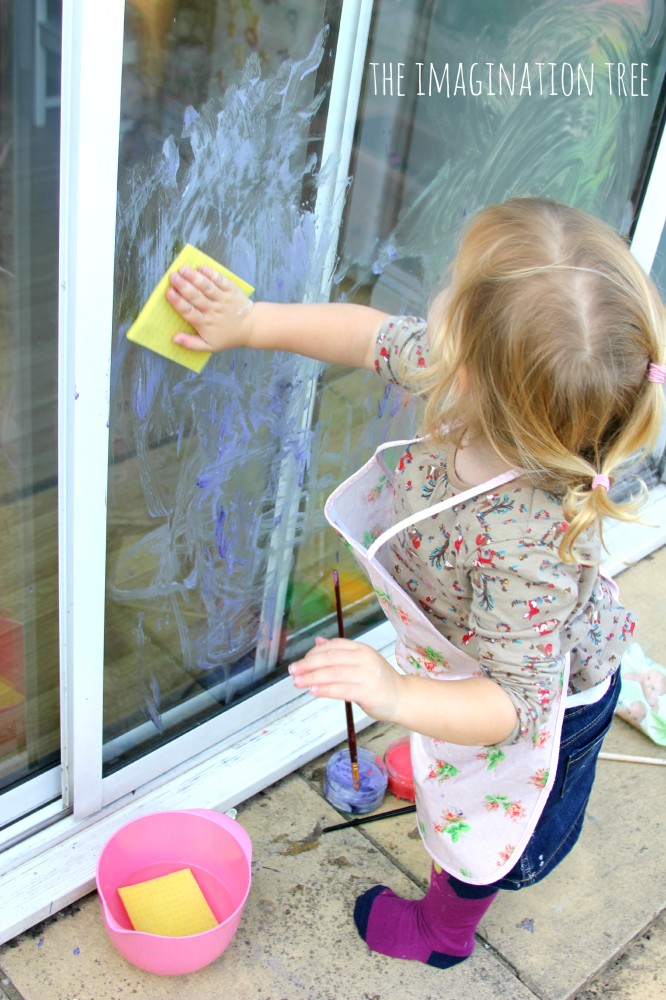
We have a lot of fun devising PLAY RECIPES and you can see them all here.
Here are more ideas about making WINDOW ART too.
[This post contains Amazon affiliate links for your convenience.]
Does it need to be gel colouring or can it be liquid? Or does the liquid not wash off? Thanks xx
Anna, the gel food colouring is much more concentrated than the liquid. The liquid would require an awful lot more to get the same colour intensity. Since flour is the base would be difficult to get a vibrant colour. The gels are more expensive but worth the money as they last almost forever and can be refreshed with food grade glycerin if they go stiff. You really only need the three primary colours to start.
I love this idea! Would also be interested to find out if liquid colurs would work as well.
how do you wash it off? just use windex? would the liquid food dye leave colors on my window? would the gel? thanks for the info!!
I’m curious how this cleans off of floors, window sills, etc. is it more of a outdoor summer activity or could it be an indoor winter activity? Thx!
I was wanting to do this for my 6th grade art class as a Christmas decoration on the front doors. Would it still be easy clean-up if we leave the paint on for over a month?
Thanks!