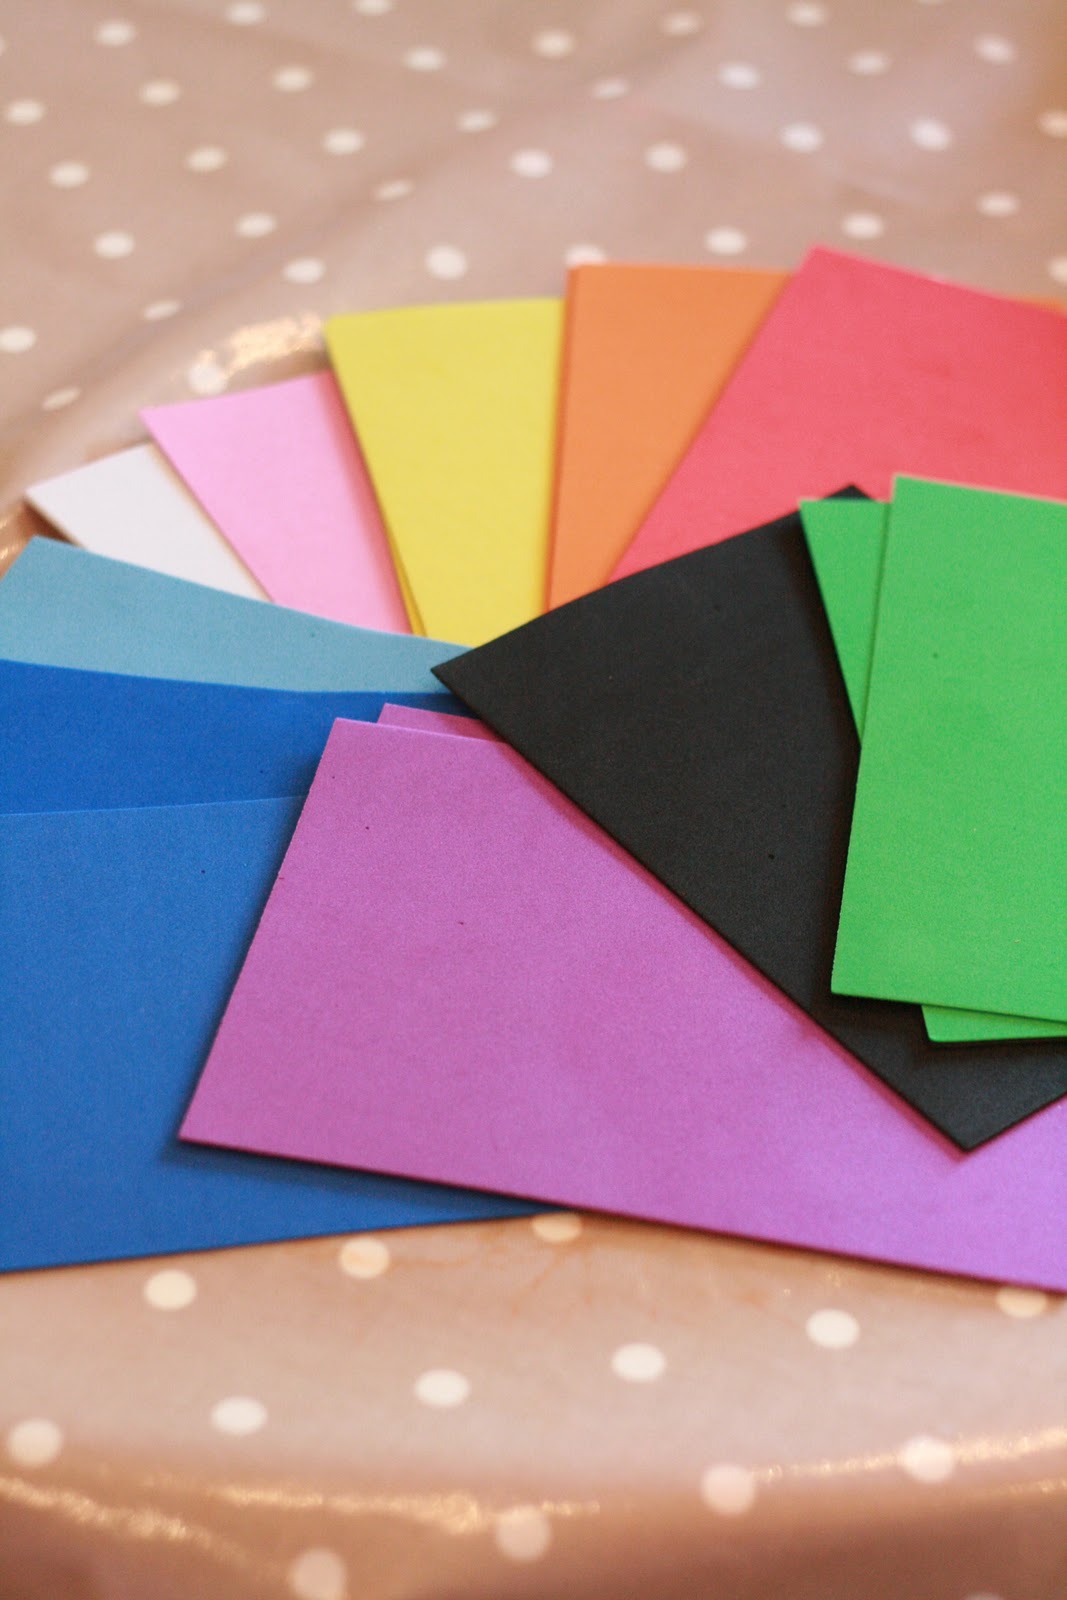
I used about half of the sheets and cut them into simple shapes- triangles, squates, rectangles, circles, stars, hearts and diamonds.

I also cut out some grass, clouds, fruit, daddy and pig (on request!) A lot of these items were also popular in her little toddler mind map. No surprise that they are still top of the list now then!

I gave her a little pot of water with a foam paintbrush (a sponge would work just the same.)

Then she set about painting the window and making it nice and wet so that the foam would stick to it. She particularly enjoyed this as we have been doing lots of redecorating recently and she immediately started to role-play.
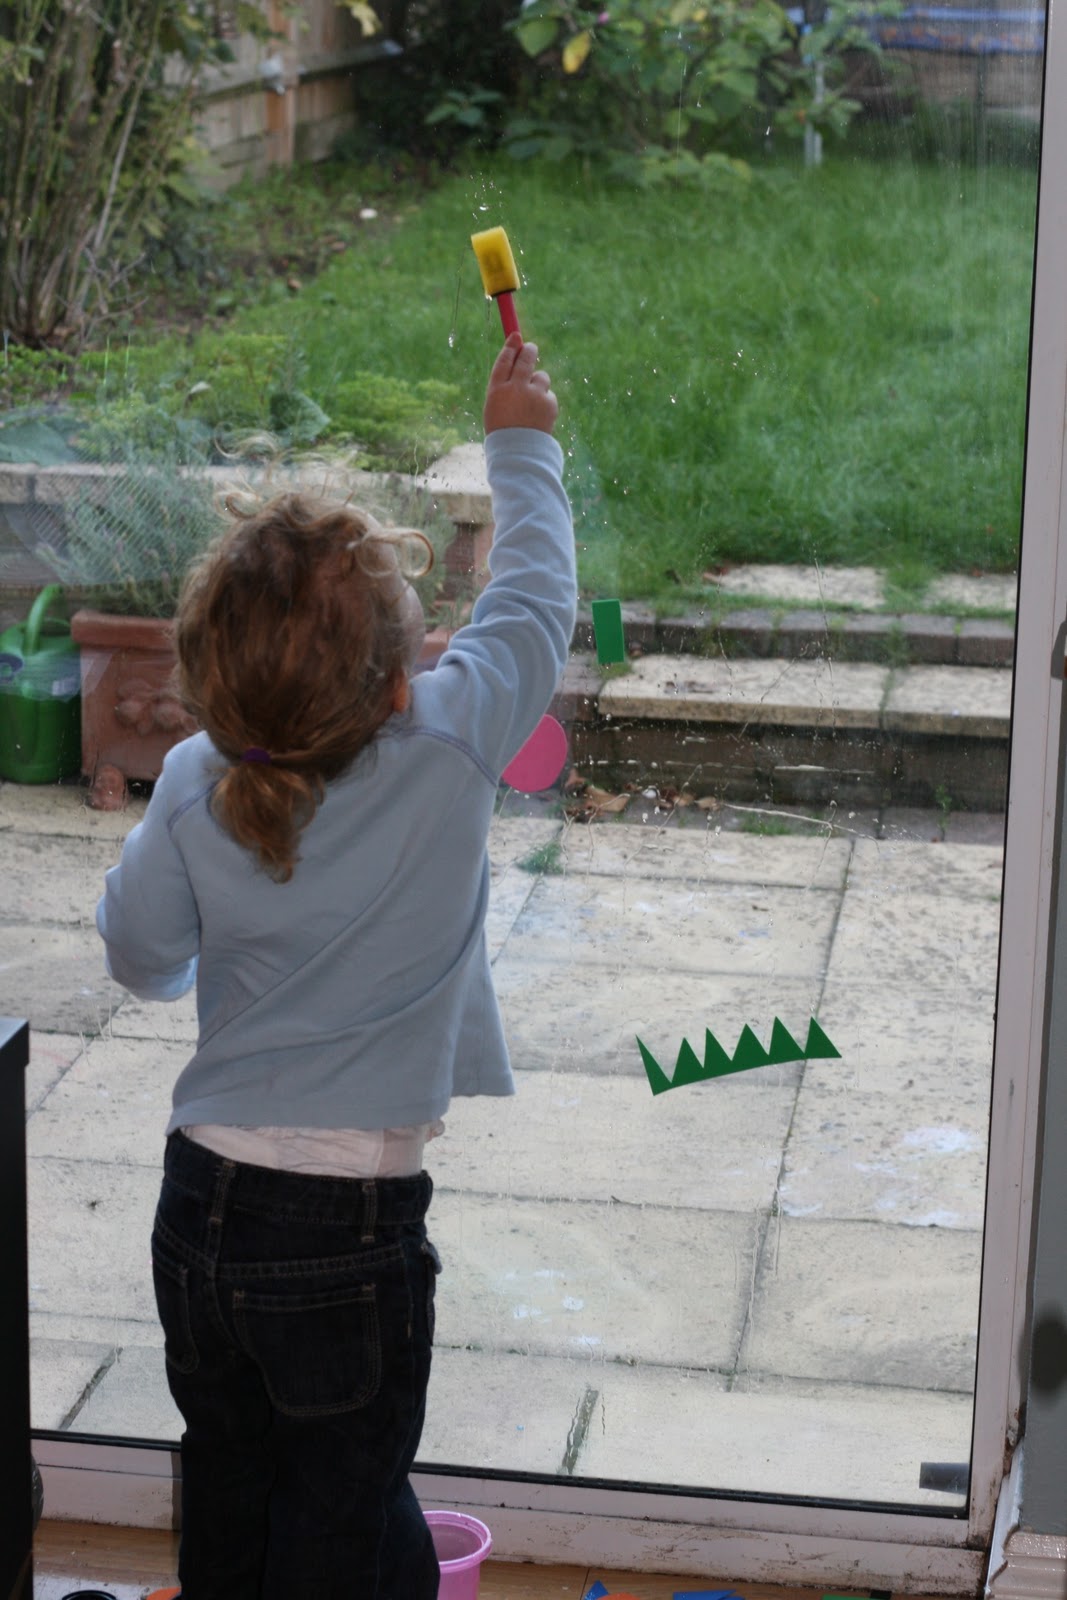
And then the fun began! Adding the foam shapes and being filled with wonder at how they could stick to the window like that!

“Oooooo!”

Hmmmm, what to choose next?

“Cloud mummy!”

I put the shapes together to make the little pig, as requested. The foam sticks easily on top of itself, so nice effects can be made by layering and building up a picture.

Again, this was mummy’s pattern! She loved looking at it and added some matching shapes to continue the long line of rectangles.

I love how it looks like these clouds are raining!

Then, all of her own accord, she went and got a felt-tip pen and started to add to the shapes by drawing on them. Technically, in this picture, she is drawing on the window. Oops.

The finished art work. Later on it would be great to add words to the shapes to increase the learning.

Quite a mural began to appear!

She started to realise that it was easier for the foam to stick if she made it wet directly, instead of making the window wet.

And later, (like the original post from Filth Wizardry suggested) we played with these in the bath. They stuck really well onto the bath because they were soaking wet. Here you can see Daddy (with requested tummy-button!).


This is so smart Anna, I love it. You are so clever and come up with so many fun activities for your daughter. Thanks so much for sharing.
I’ve used foam letters in the bath before, but never thought about using them like this! Awesome! And I can’t wait to check out filth wizardry!
Thanks for the inspiration! With rainy days here I need a lot!
this is really cool! I loe the mural on the window 🙂
This looks totally fun! 🙂 Have to give it a shot!
Do you know, Anna, I have a packet of this foam stuff sitting in the cupboard (bargain poundshop find) and I really didn’t know what to do with it. Now I’ve been totally inspired. Can’t wait for Max for wake up from his nap! Perfect rainy day activity. Thanks!
This is great. My son loves stickers and gluing collages but He always wants to take it off again. Unfortunately most of the stickers end up in pieces and he ends up heartbroken. This will be a great replacement! (And maybe my windows will be cleaner?) I just found you thorough We Play at Childhood 101. Great idea!
Jackie
http://www.readysetread2me.blogspot.com
Oh WHAT FUN! Red Ted would ADORE this! LOVE LOVE LOVE how you used the window as a base for your foam. Brilliant. This is a FABULOUS activity.
Thank you for posting it to Kids Get Crafty! Love discovering new ideas this way!
Maggy
Red Ted Art
Oh, I love this. What a wonderful way to play. My boys would just love this.
How fun! What a great idea! I love that it is reusable- you can have a new masterpiece every day!
-Kara
http://littlelearnerslounge.blogspot.com/
What a great idea to use the shapes on the window, I have only ever seen them used in the bath. Thank you for the inspiration 🙂
So great! What a clever idea using a window. Thanks for sharing this!
Came across this via NurtureStore – I love the idea for using them in the bath – must try that!
Love this!!! Thanks for sharing! I pinned this to my board at http://pinterest.com/pin/15919359/
This is a fab idea! I’m rubbish at craft etc but pages like yours really help people like me to be inspired. Today we made your nativity scene and we had so much fun. Thanks for the inspiration. And it’s wonderful to find a UK based page – with refernces to shops I can actually get to! I’ll be devouring the rest of your ideas – my boys won’t know what’s hit them!!!
Ahh thank you SO much Carolyn! Such a lovely comment to read 🙂
What a great idea! Thanks for posting. I know this post is old, but found it randomly doing google search on a completely different subject, gotta love google and how it distracts so easily. I pinned it to my board, but linked it back to your blog. If you’re not okay with that, I will delete, let me know.
tweetybird830(at)hotmail(dot)com
Lovley idea, thanks
do they fall off the window after they dry? do they stick to the window permanently if you dont pull them off quickly? please email me. thanks
Don’t worry about drawing on windows! It comes right off. We have window crayons that draw very well. It’s just as fun for the girls to wash the windows after.