How to make simple DIY Elsa and Anna peg dolls from the movie Frozen, using clothes pins (pegs.) Thses toys are so cheap and easy to make, and provide hours of imaginative play fun!
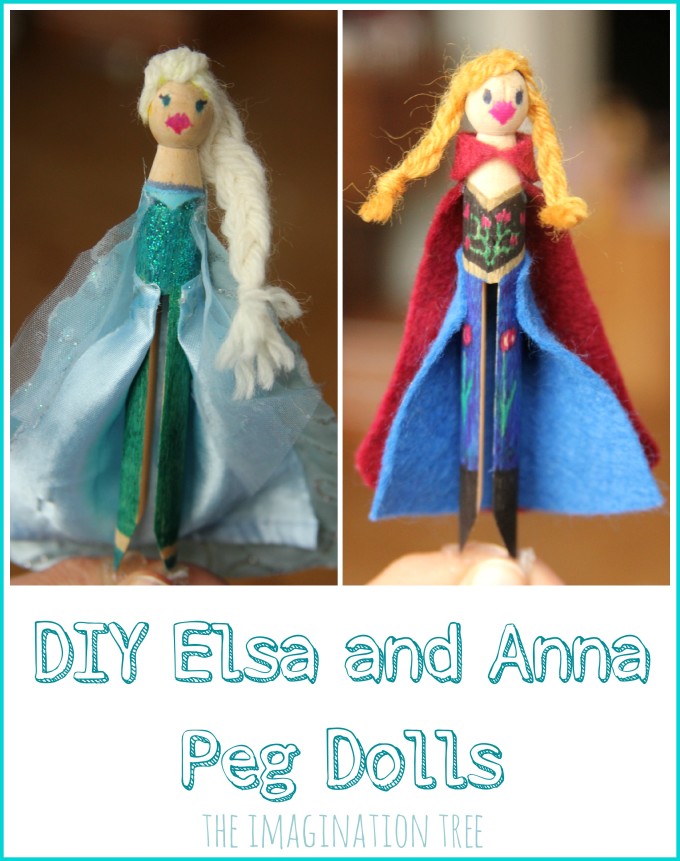
My girls, like many other children around the world, are still besotted by Frozen fever! I thought I’d have a go at making them some simple DIY Elsa and Anna peg dolls, as a little gift for some imaginative play. They were easy to make and based on these fairies we made a few years ago, where the wooden clothes peg / pin forms the basic head , body and legs, with some added fabric and wool for details.

Using Sharpie permanent markers, I simply coloured the wooden pegs to represent the characters’ clothing, including details where relevant. Then I added long pieces of yarn to the tops of the heads, sticking them with strong glue. I put equal pieces on either side of Anna’s head so that I could then tie them into plaits/ braids, and 6 strands on Elsa’s head over to one side, so I could tie a thick, double-strand braid over her shoulder. I also added smaller pieces for the fringes/ bangs at the front. [US and UK terminology for hair styles is so different!]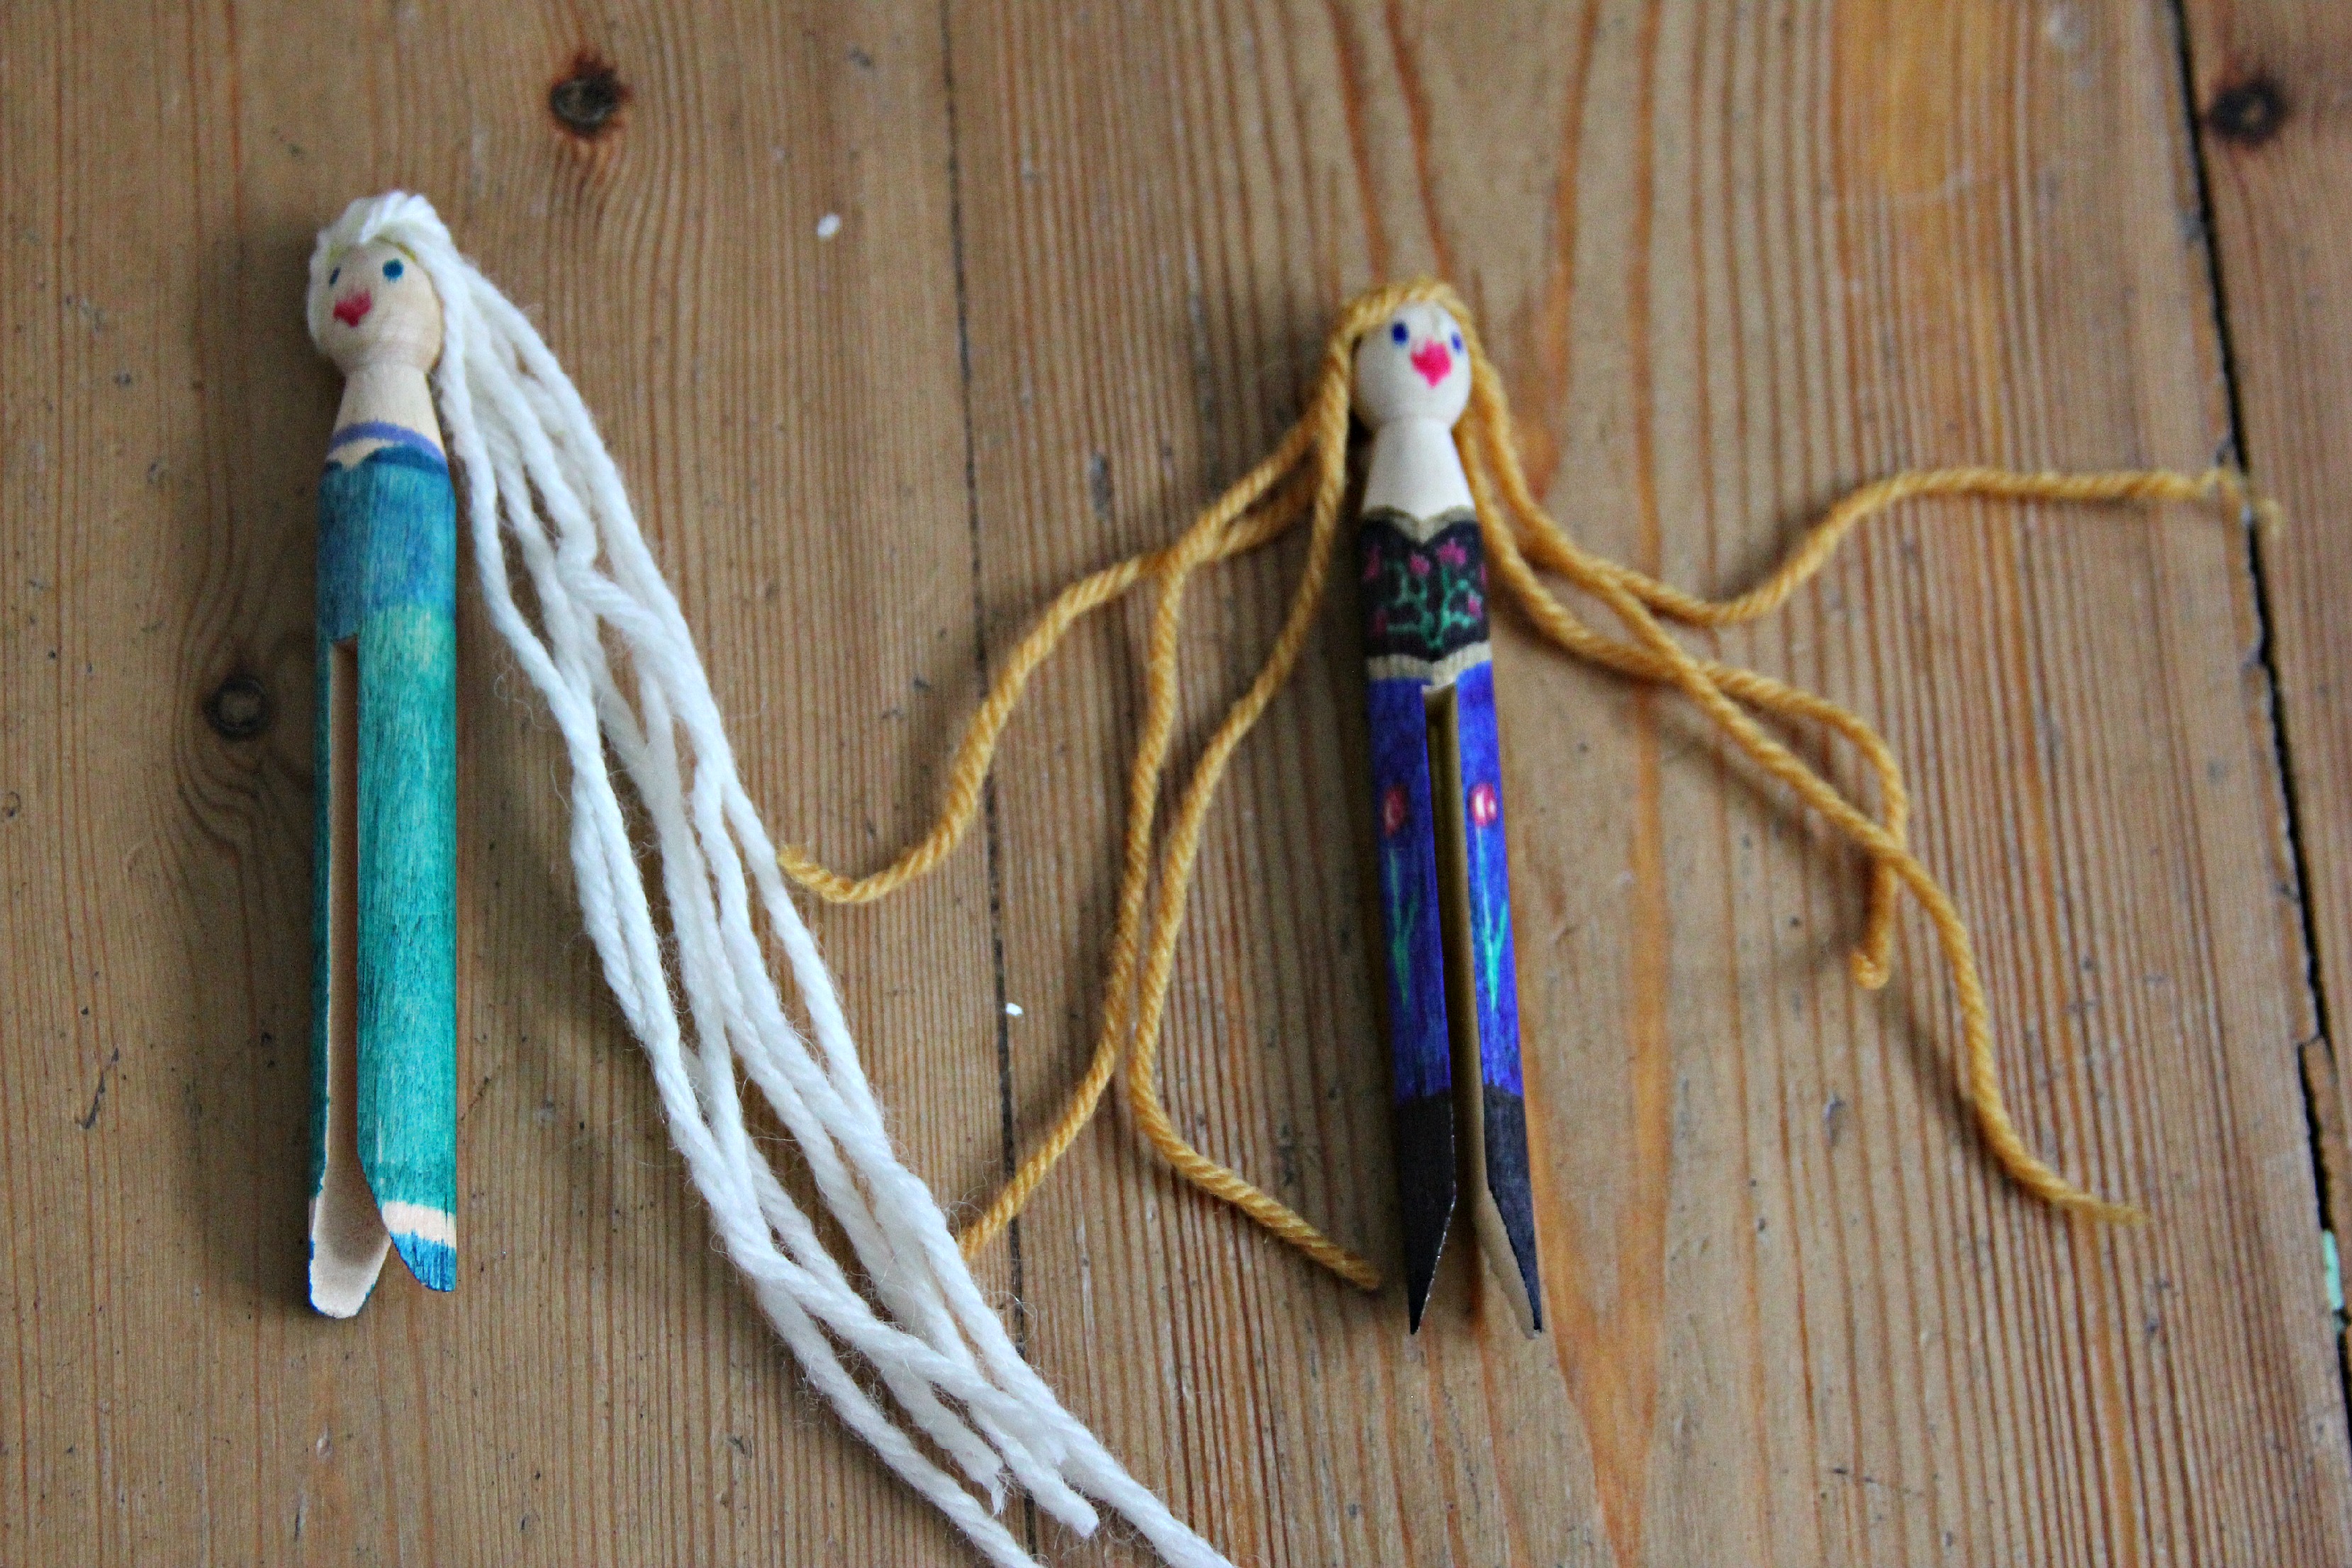
I drew on simple faces too, but the Sharpie markers bled a little into the word and they ended up with gigantic, botox style lips! In hind-sight I would have used fine tipped markers of even coloured pencils.
I spread some blue glitter glue onto Elsa’s bodice and allowed that to dry thoroughly before starting on the clothing.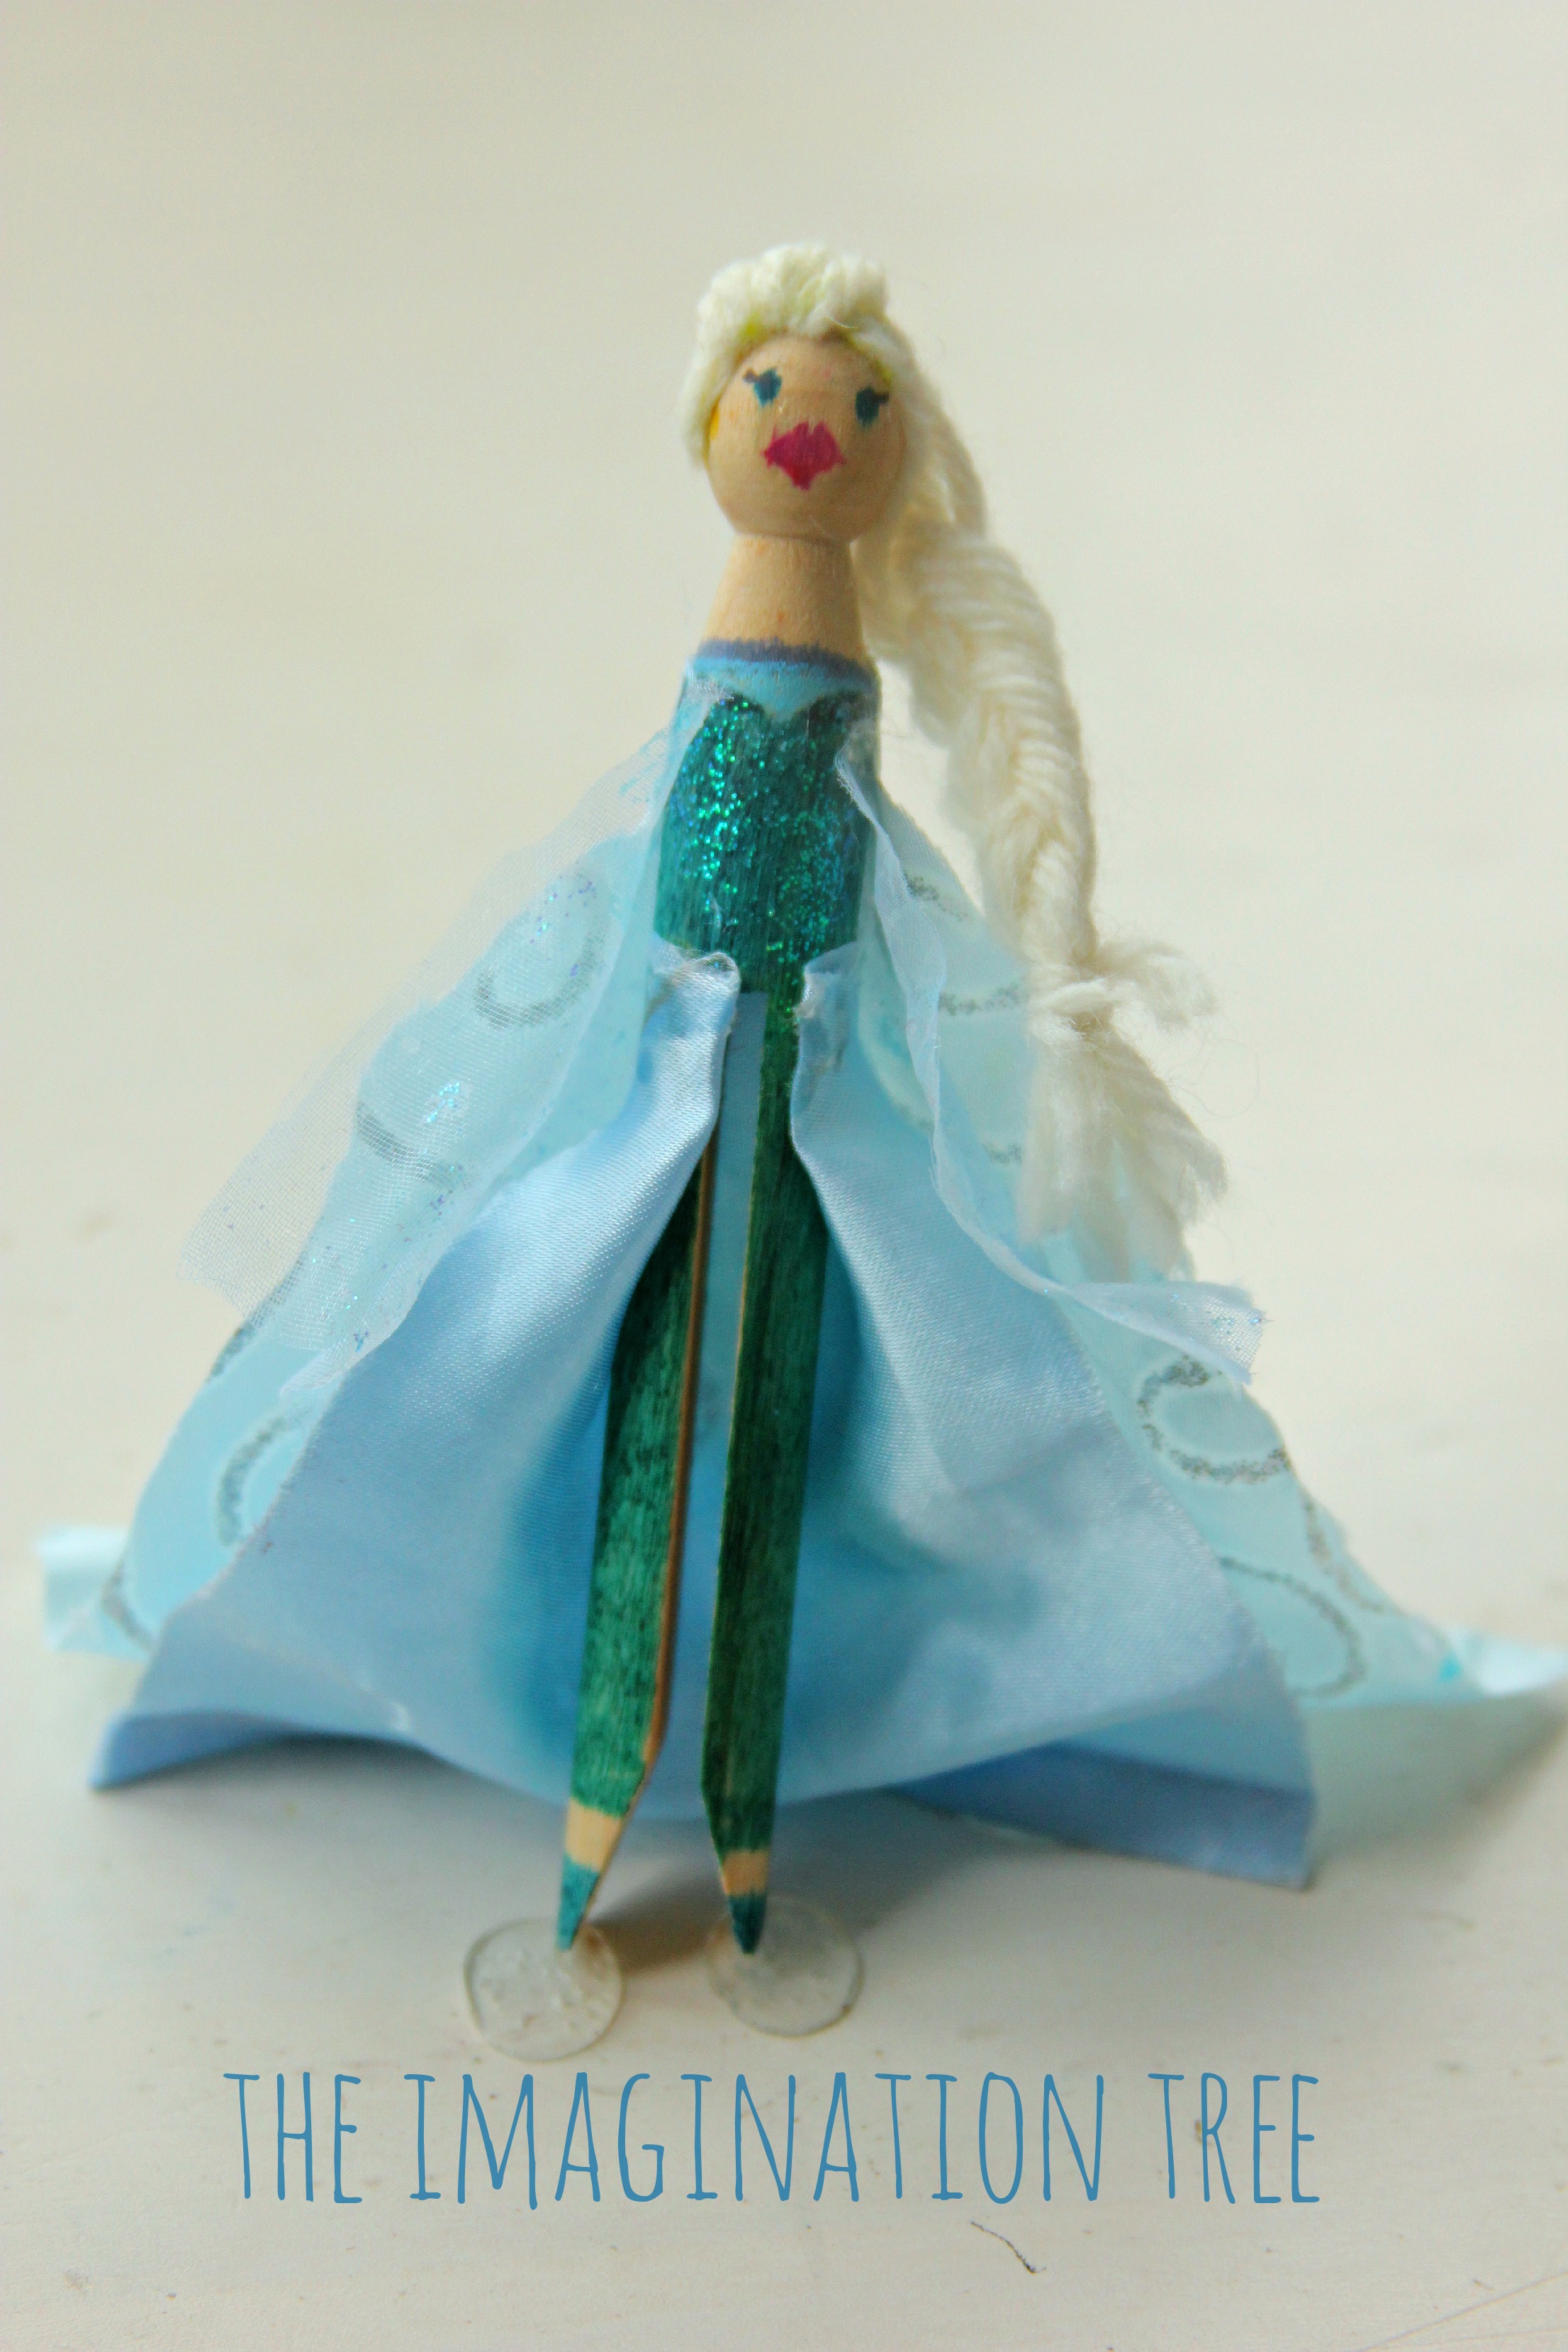
For Elsa’s clothing I used small pieces of shiny blue fabric cut form an old, stained dressing up dress , cut into triangular shapes and glued from behind and attached at the front, leaving the legs visible. I also added some shear fabric with more glitter glue spread over it, for some sparkle and layering.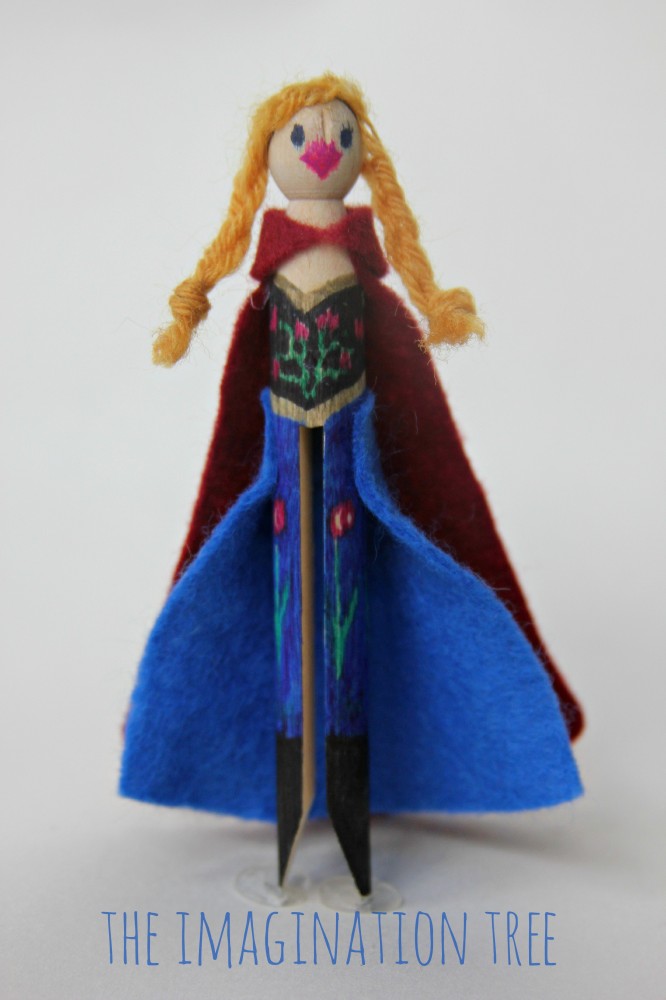
For Anna’s dress and cape I just used two pieces of coloured felt, cut into triangular type shapes and glued at the front. The collar was a curved, bow-tie shape, attached around from the front and glued at the back.
Their shoes and boots were also drawn on with Sharpie markers.
You could be really creative with these and even sew real little clothes that could be pulled on and off, and add a tiny crown to Elsa’s head made from tin foil! 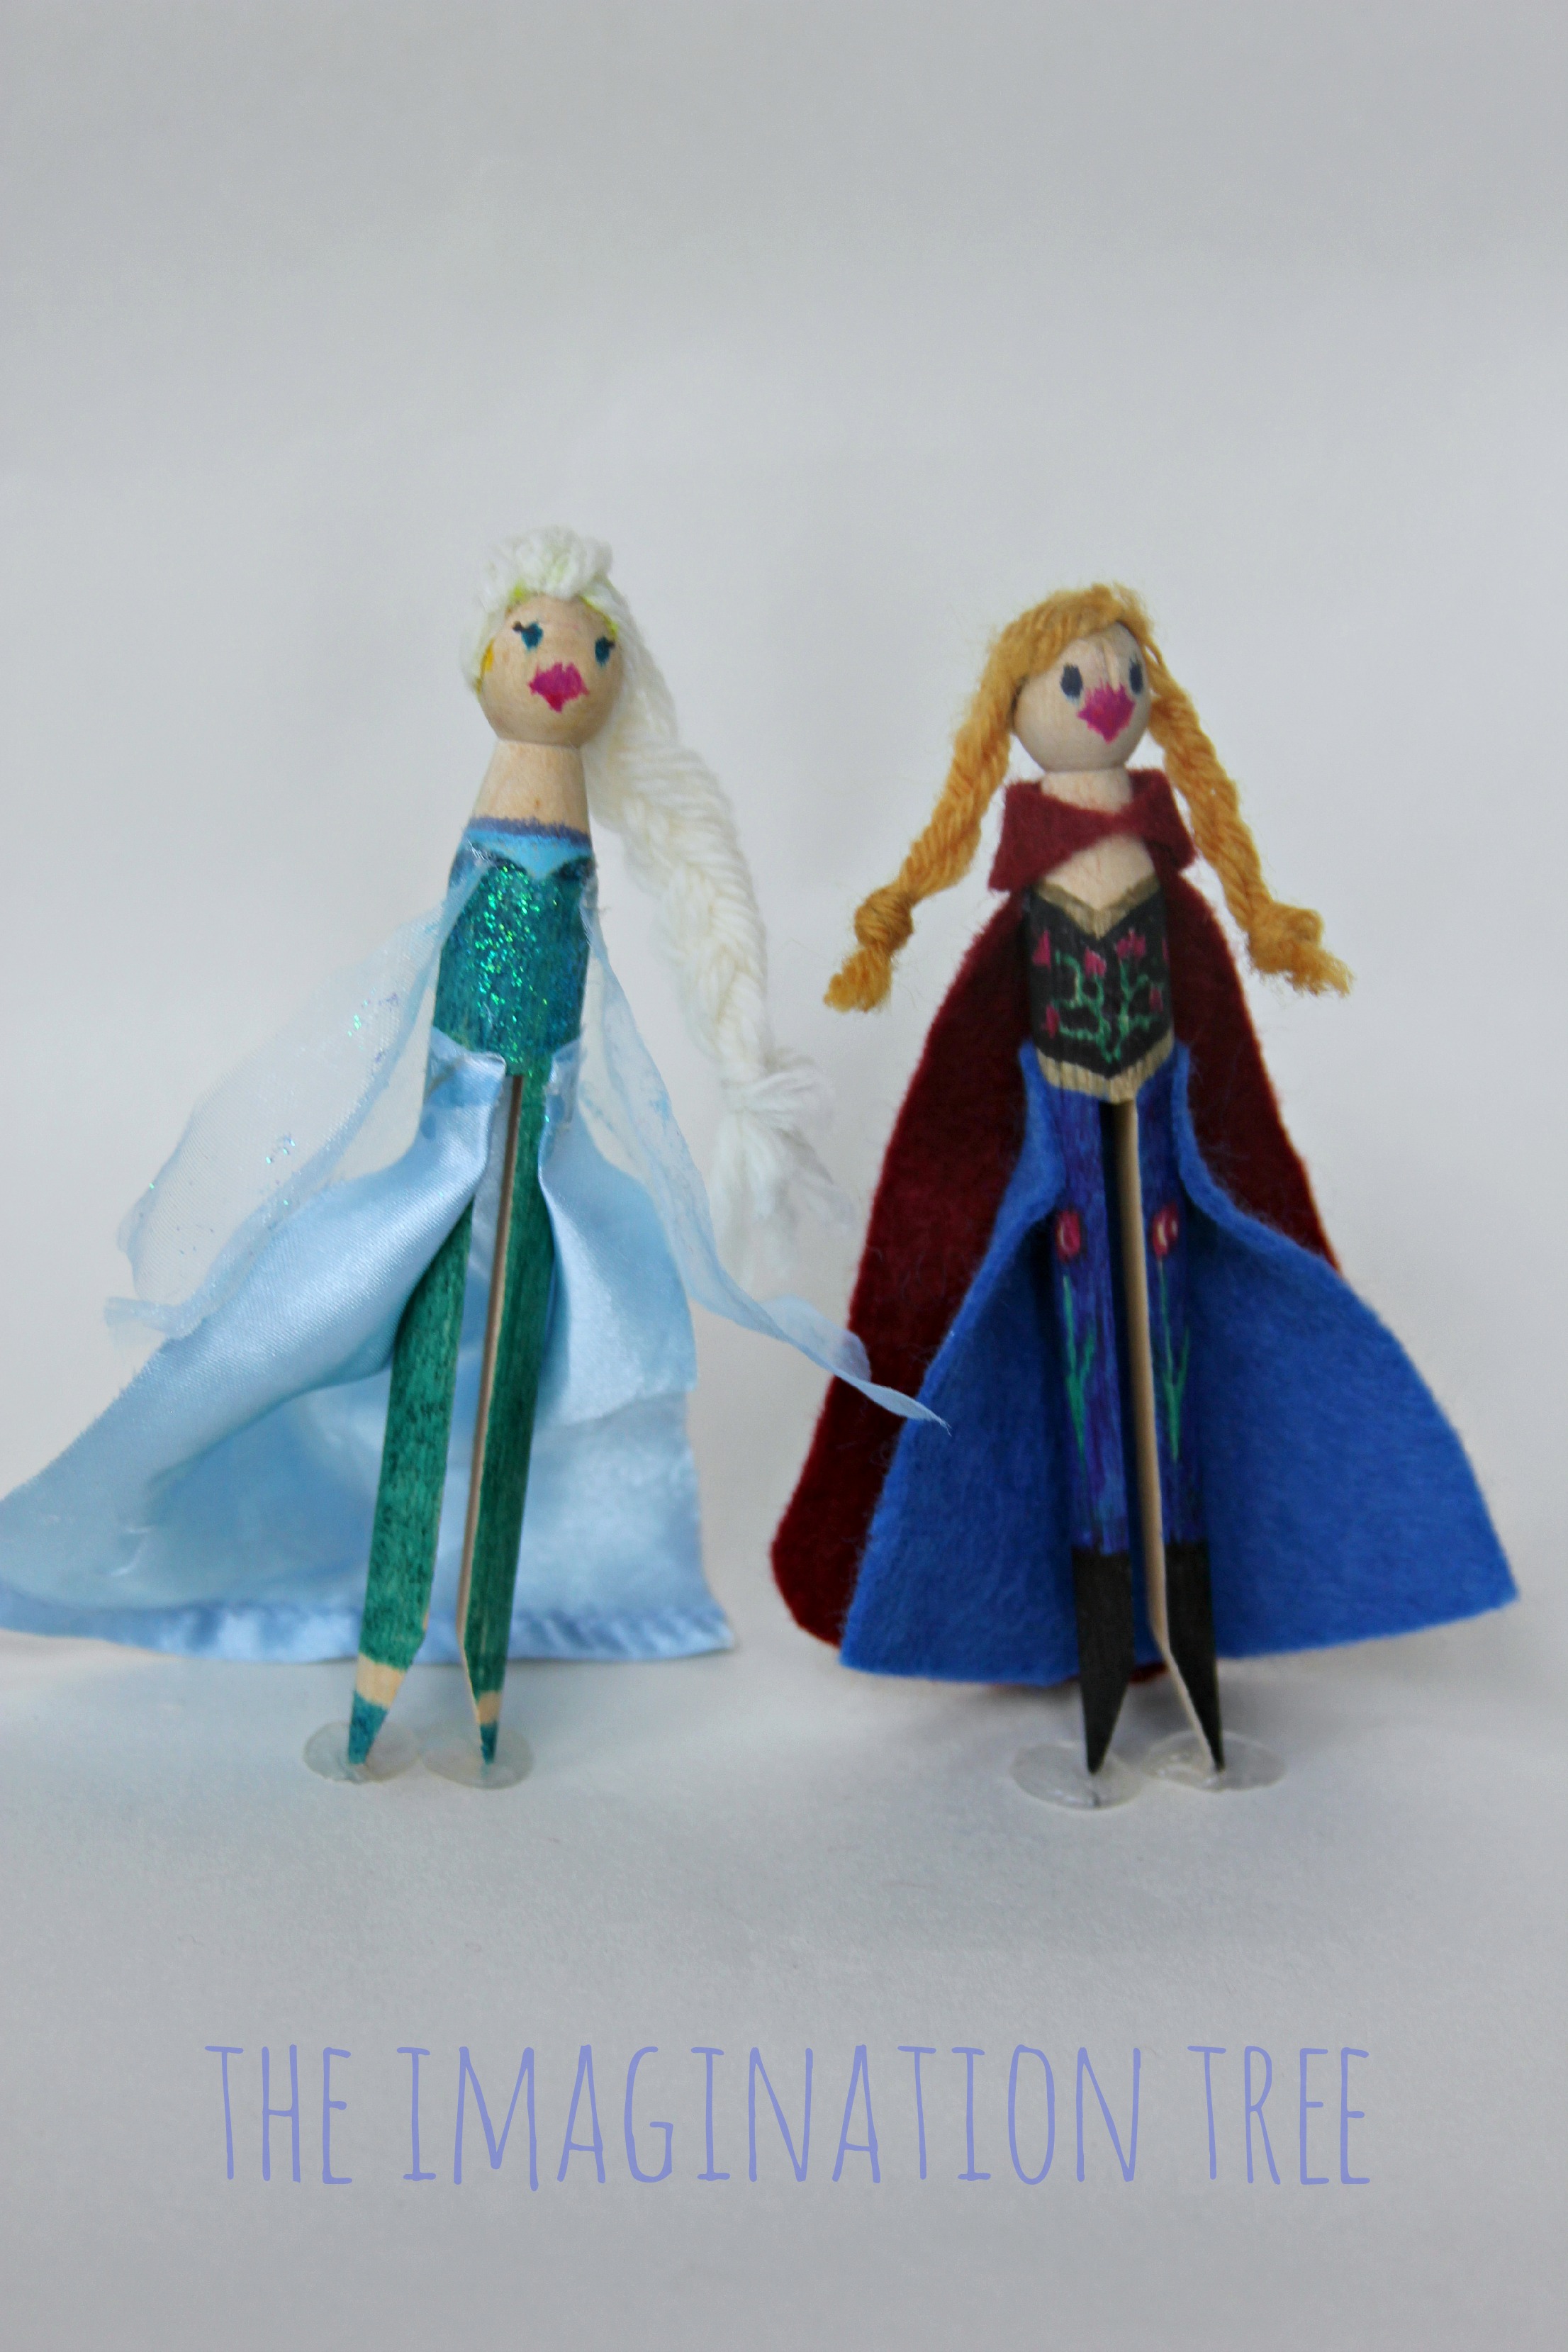
These have been one of those homemade toys that I know are not perfect, but that my girls have been SO in love with as they have watched the whole process from start to finish. They have adored playing with them and are now asking for all of the other main characters too, and a story set to play with them in! We will work on all of those together if we can find time, and post about them here again.
Here are 30 more really simple, yet engaging toys you can make for your kids!
They are really cute Anna. My girls would LOVE them!
My middle daughter (almost 3) would absolutely love these, what a great idea. am definitely going to make some for her – maybe for her birthday next month to go with the little sparkly swirly skirt I have just made her so she can sing and dance to frozen in proper style!
I’ve read that to stop the details bleeding when you use pens to draw the face you should apply some clear nail polish first. Once it’s dried then use the pens and there should be no bleeding. Hope this helps.
Lovely idea x
I’ve just done this craft with my almost-4 year old – I love the way your dolls aren’t perfect! Neither were ours, but she loves them.
Oh they look great. I didn’t think to use sharpies but it is lovely for the details.
This content is very interesting but it took me
a long time to find it in google. I found it on 16 spot, you should
focus on quality backlinks building, it will help you to increase traffic.
And i know how to help you, just search in google – k2 seo tips