I am beyond thrilled to have the opportunity to guest post for Anna today! My name is Asia Citro, and I write over at Fun at Home with Kids,
where I focus on simple and easy open-ended play for infants, toddlers, and preschoolers. Today I’d like to share a post on guiding preschoolers to design their own science experiment. As a former science teacher, nurturing children’s natural scientific curiosity is something that is near and dear to my heart.
where I focus on simple and easy open-ended play for infants, toddlers, and preschoolers. Today I’d like to share a post on guiding preschoolers to design their own science experiment. As a former science teacher, nurturing children’s natural scientific curiosity is something that is near and dear to my heart.
A good scientist is curious, always asking questions about what they see.
Kids are perfect scientists.
Science doesn’t have to be complicated or hard. It doesn’t have to involve hard-to-find chemicals or other special supplies. You can spark your child’s interest in science with simple materials in your own home.
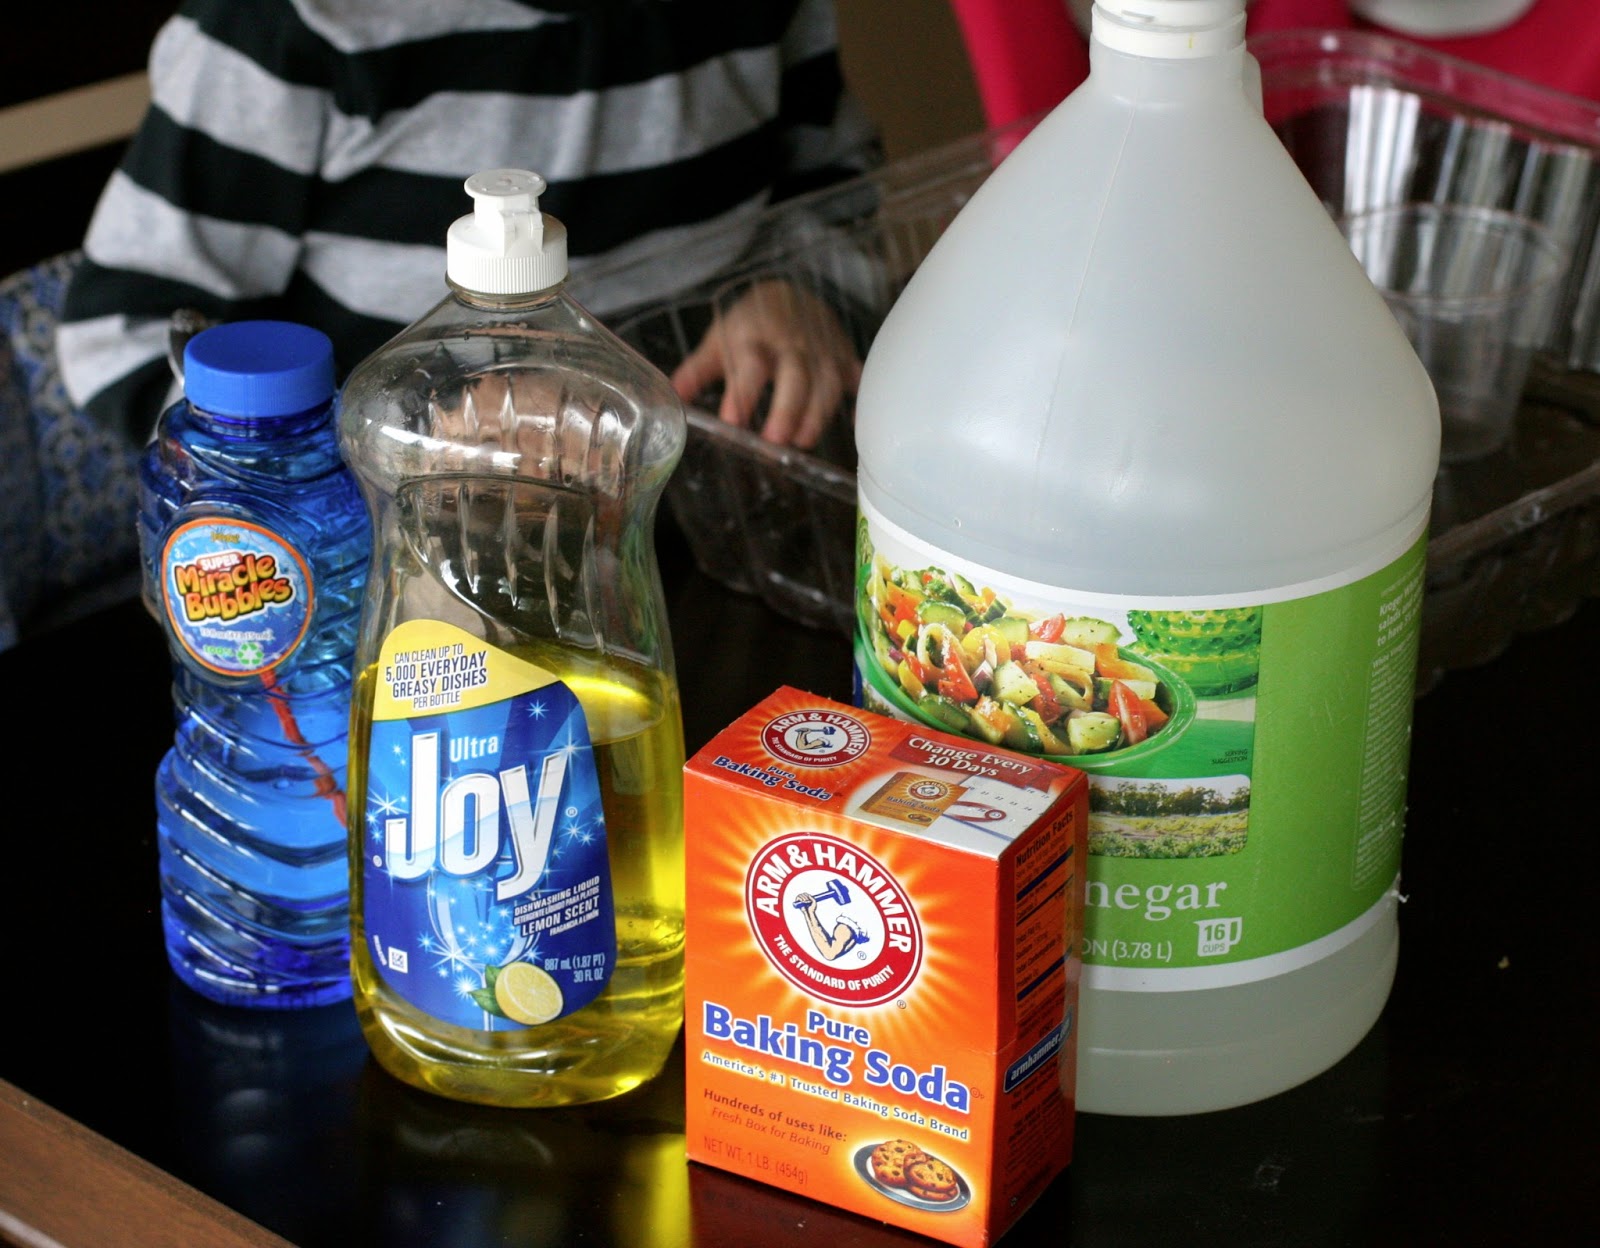
A scientific investigation always starts with a question. We often play with baking soda and vinegar, and my daughter is very familiar with the bubbling reaction it produces. I asked my daughter what she thought would happen if we added soap to our usual mix of baking soda and vinegar. Or what about if we added bubbles to baking soda and vinegar? She responded that she wasn’t sure…but now I had her complete attention! My question
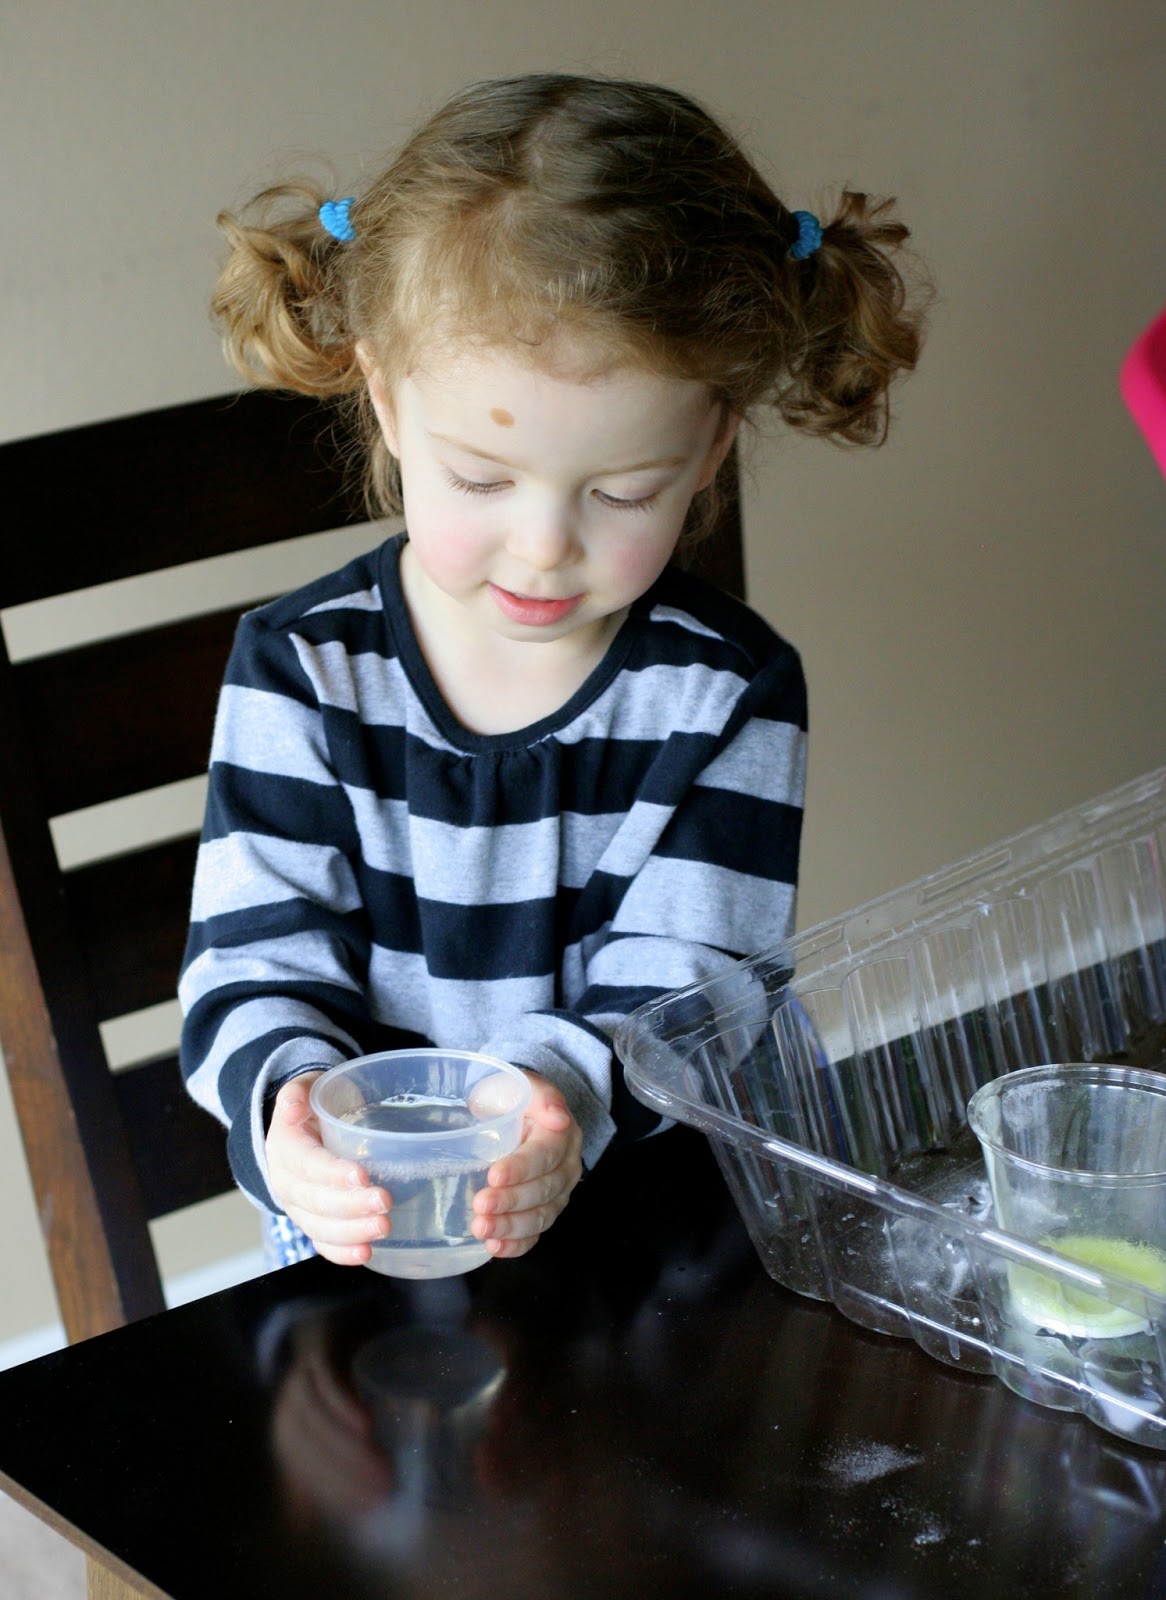
as to whether we should find out was met with eager nodding. I set out our supplies and we talked about how in an experiment, you try to keep almost everything the same – that way you can compare. So for our experiment, that meant that we needed to add the same amount of baking soda and the same amount of vinegar to each cup. After perusing the measuring utensils available to her, she decided that we would add 2 spoonfuls of baking soda and 3/4 cup of vinegar each time. We next talked about how we’d know if the bubbles and soap were doing something different than normal – we’d
need a cup of normal baking soda and vinegar to compare.

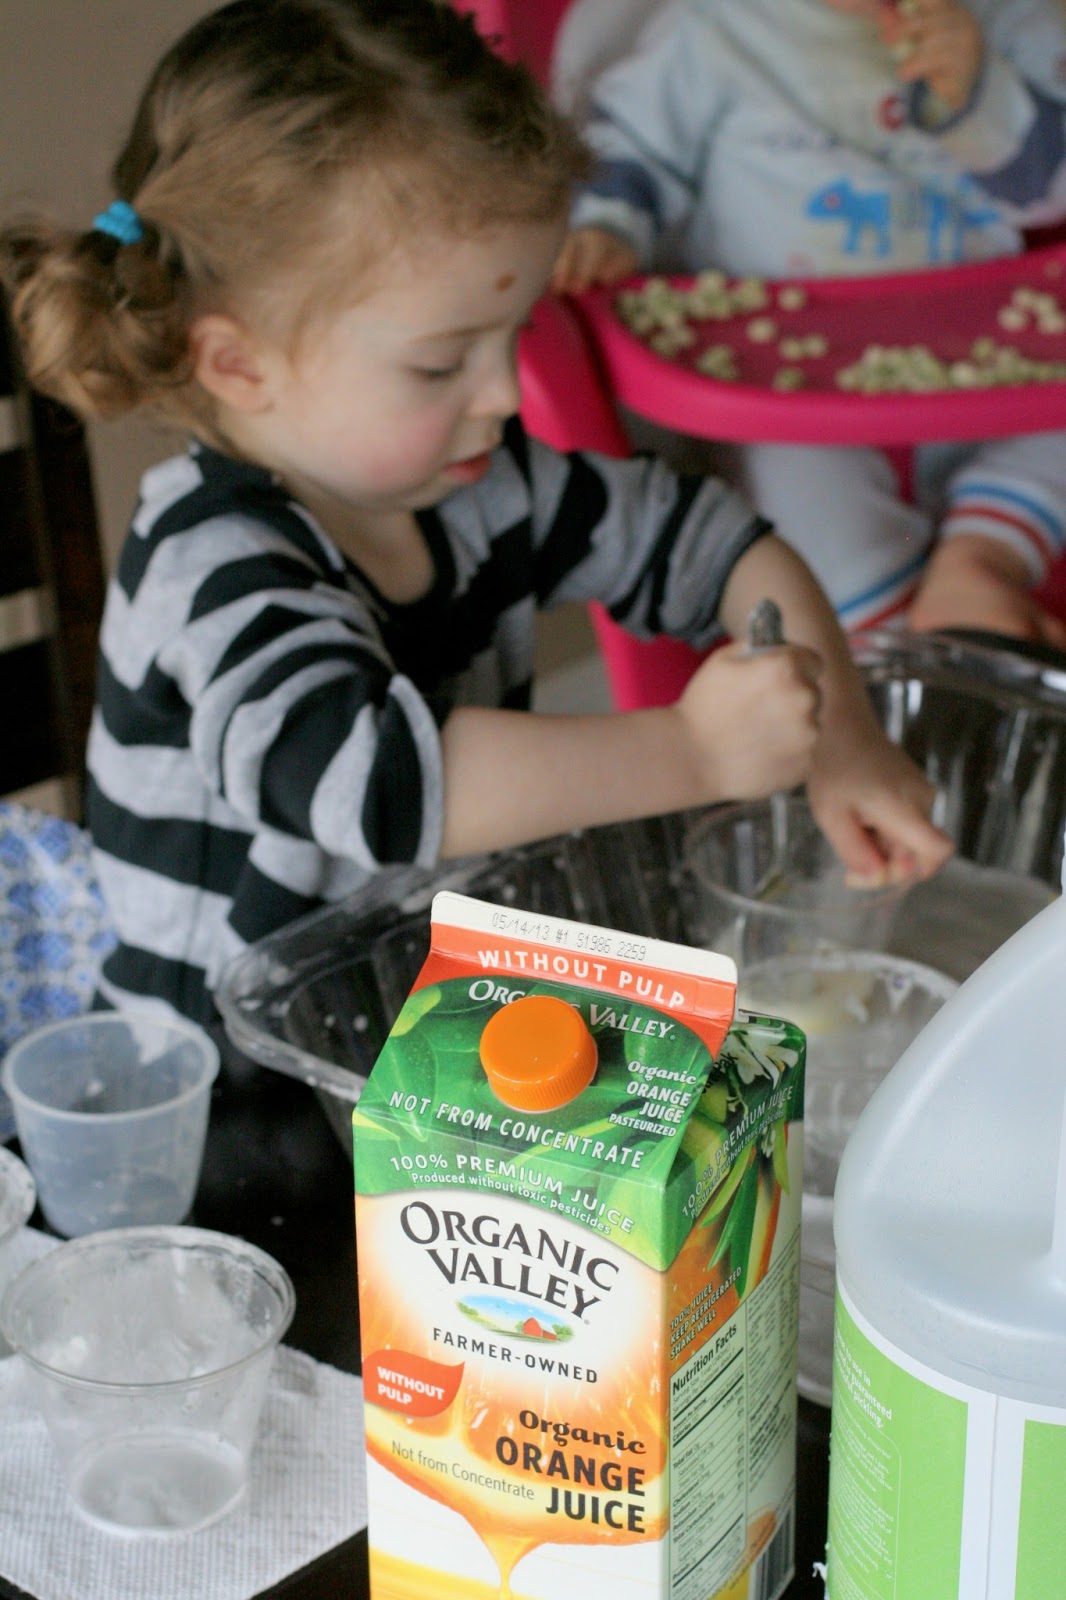
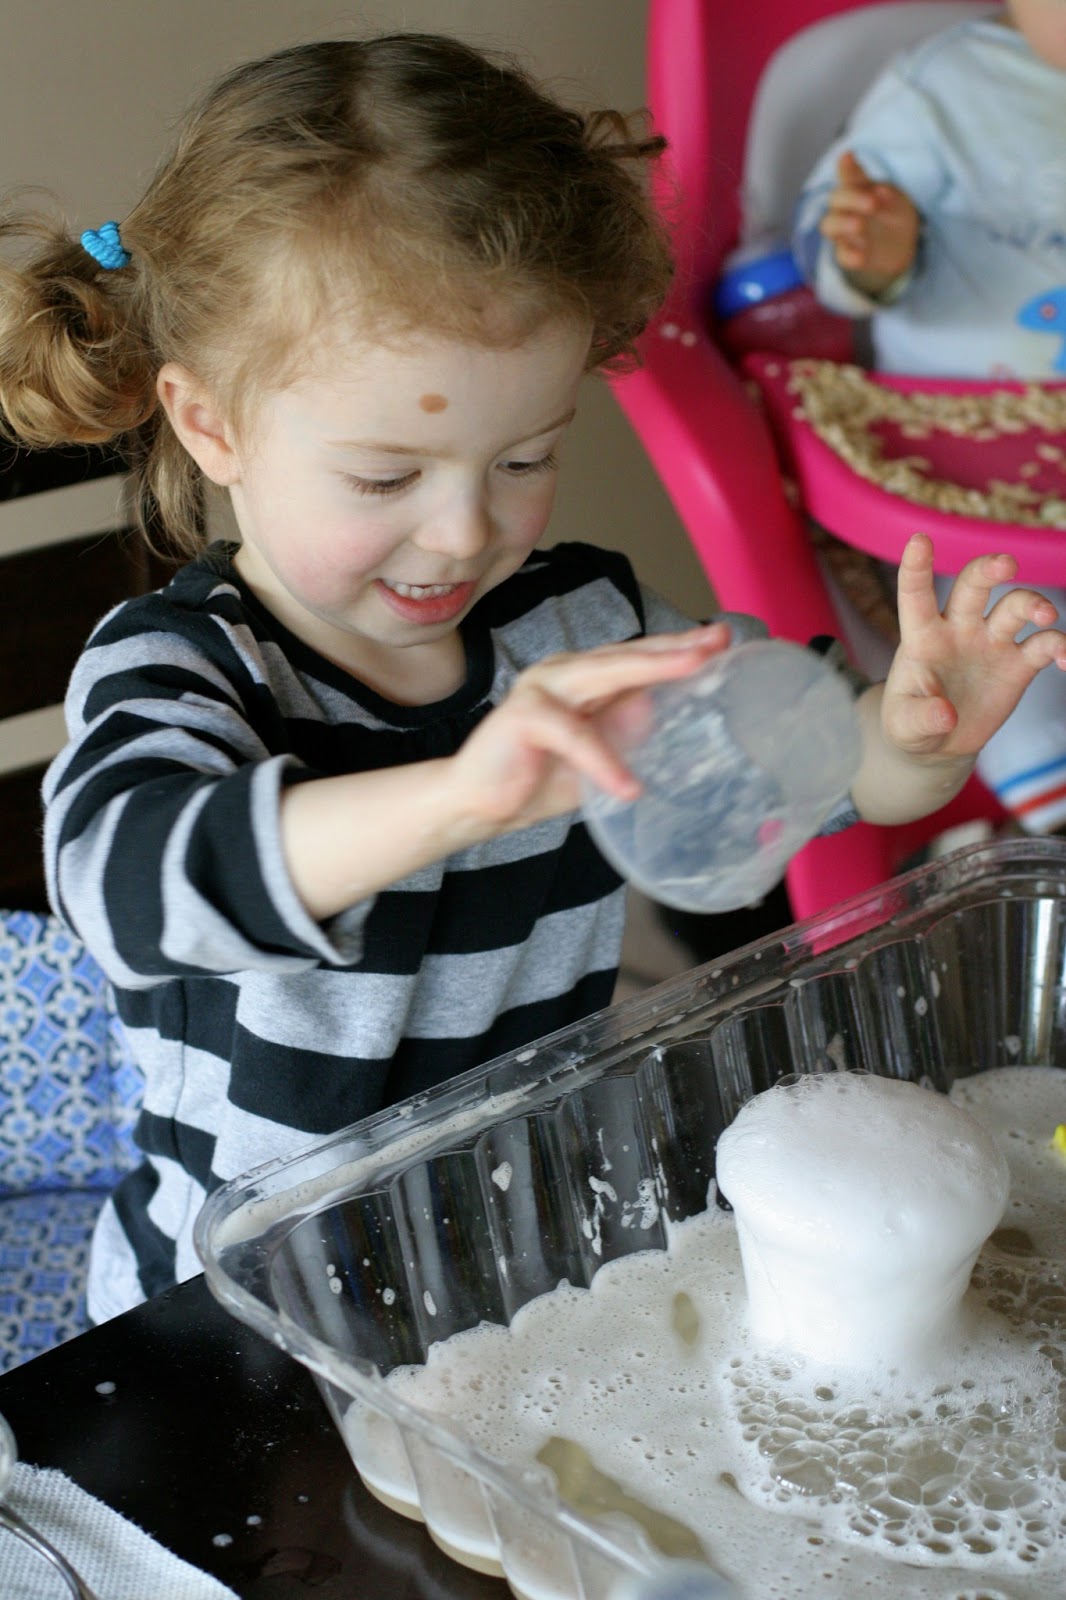
She did the measuring and stirring and pouring herself.
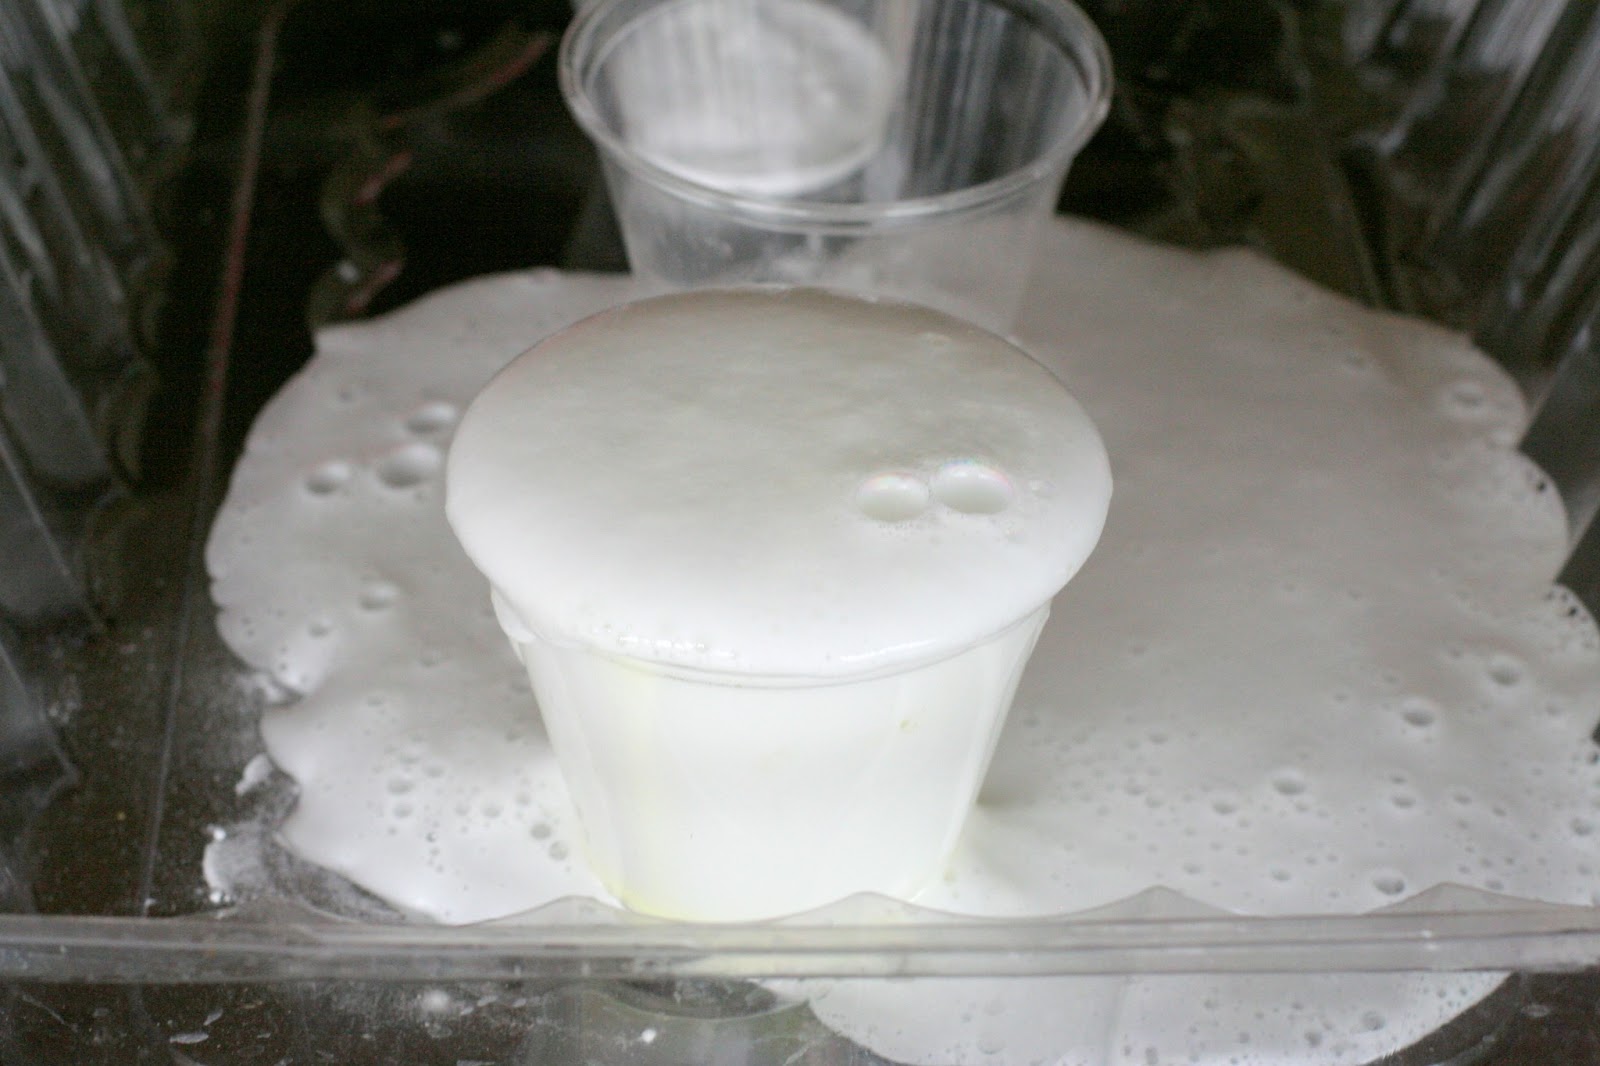
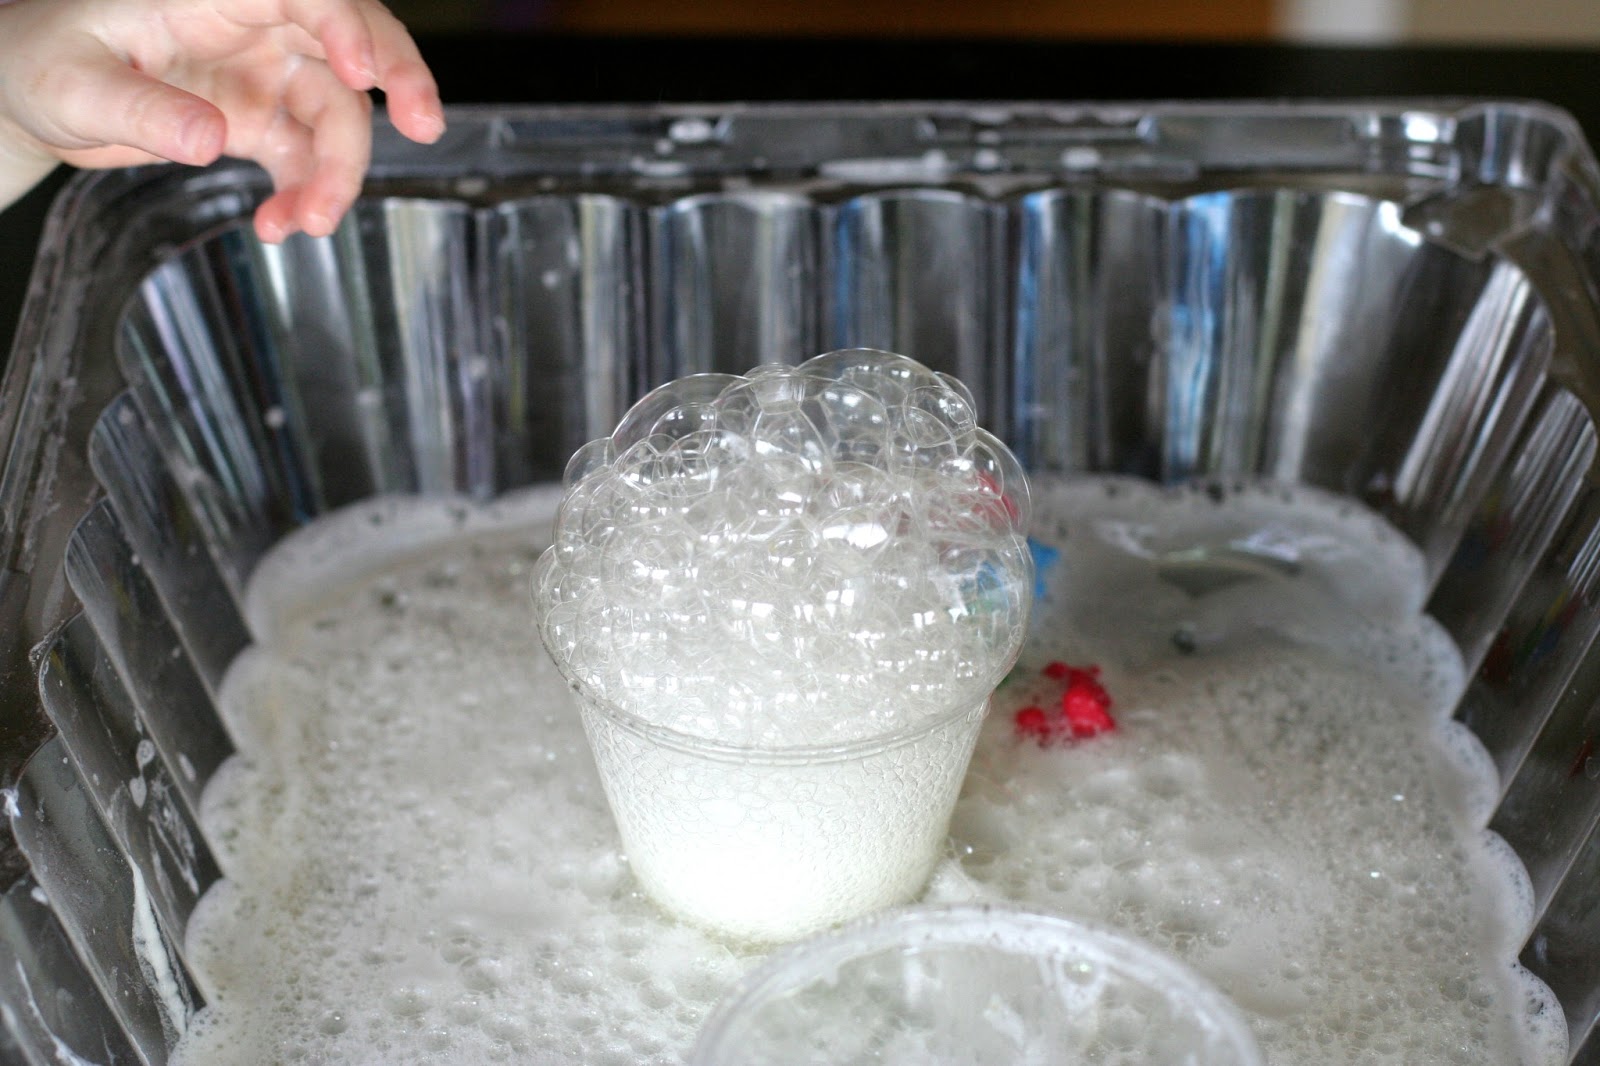
She decided to start with the soap and baking soda mixture. Interestingly, there was a lag of several seconds before it began reacting, though it eventually erupted with lots of small, tightly packed bubbles.
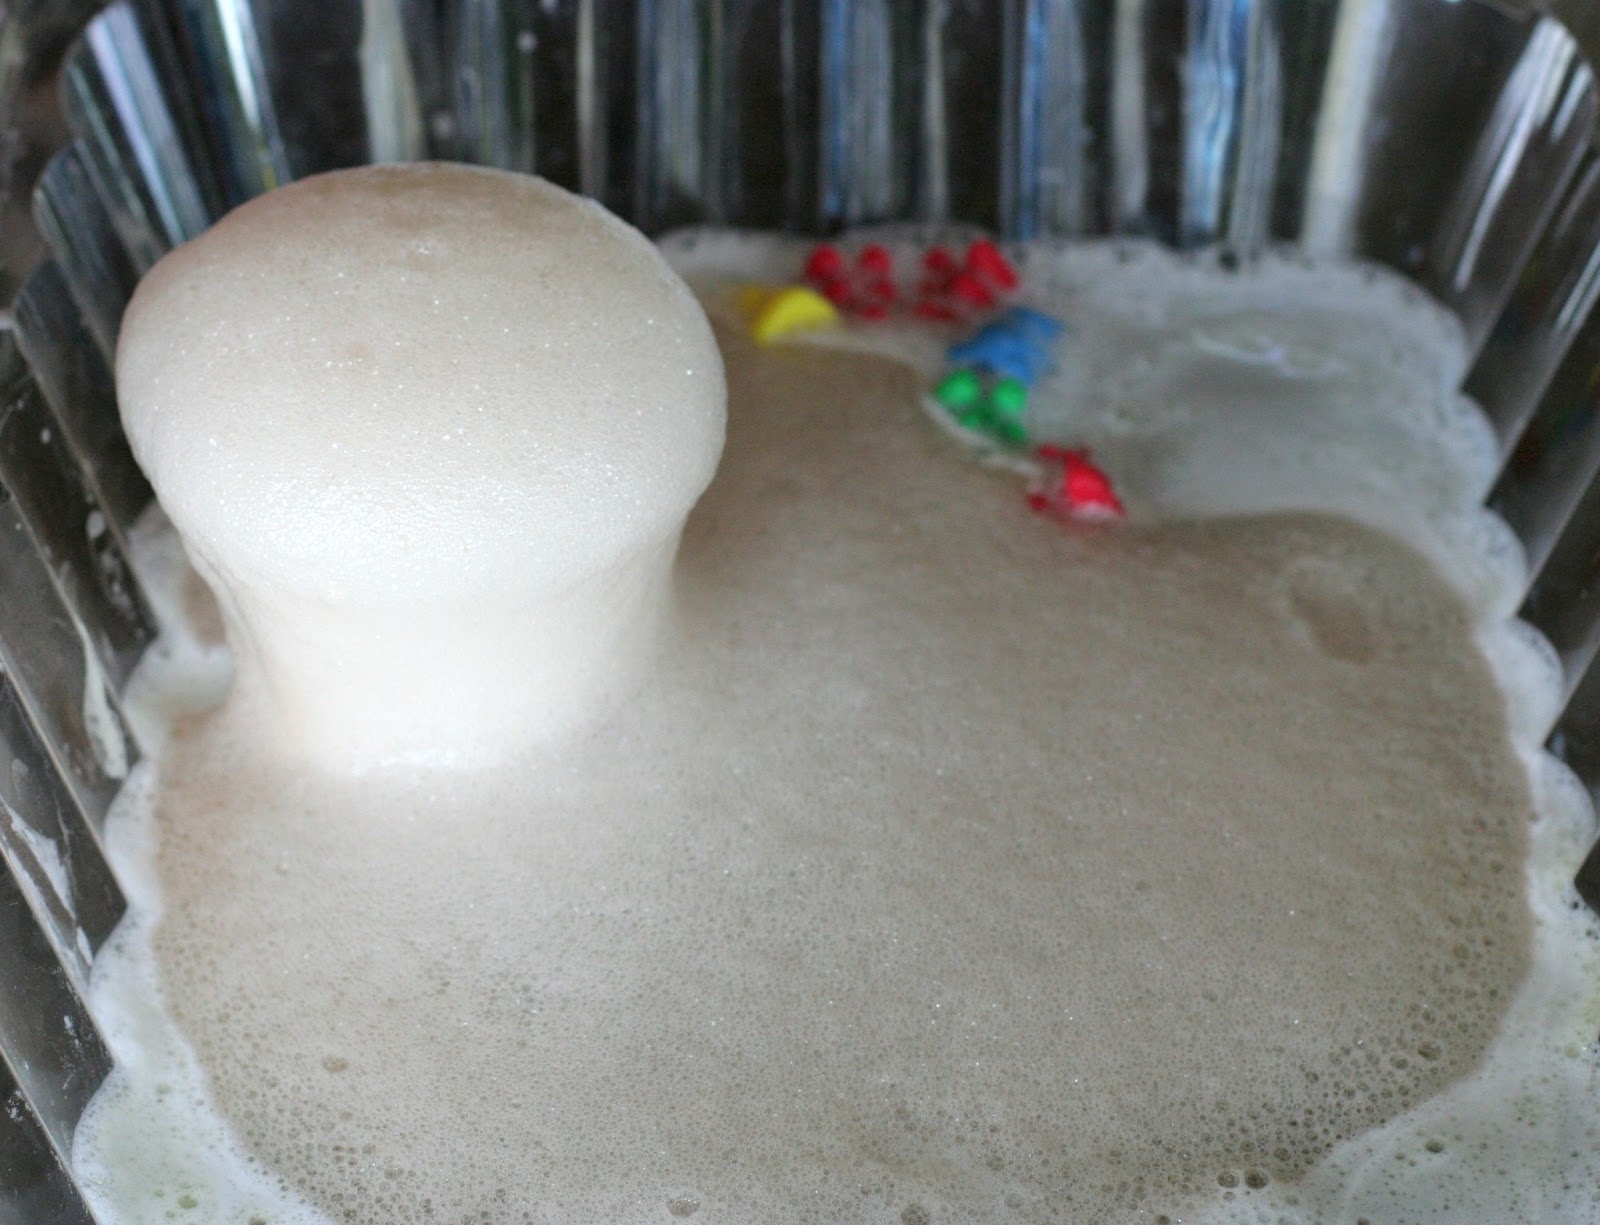
Next, she wanted to try the bubbles and baking soda mixture. It produced a much faster eruption with larger bubbles at the end. S and I noted the differences.
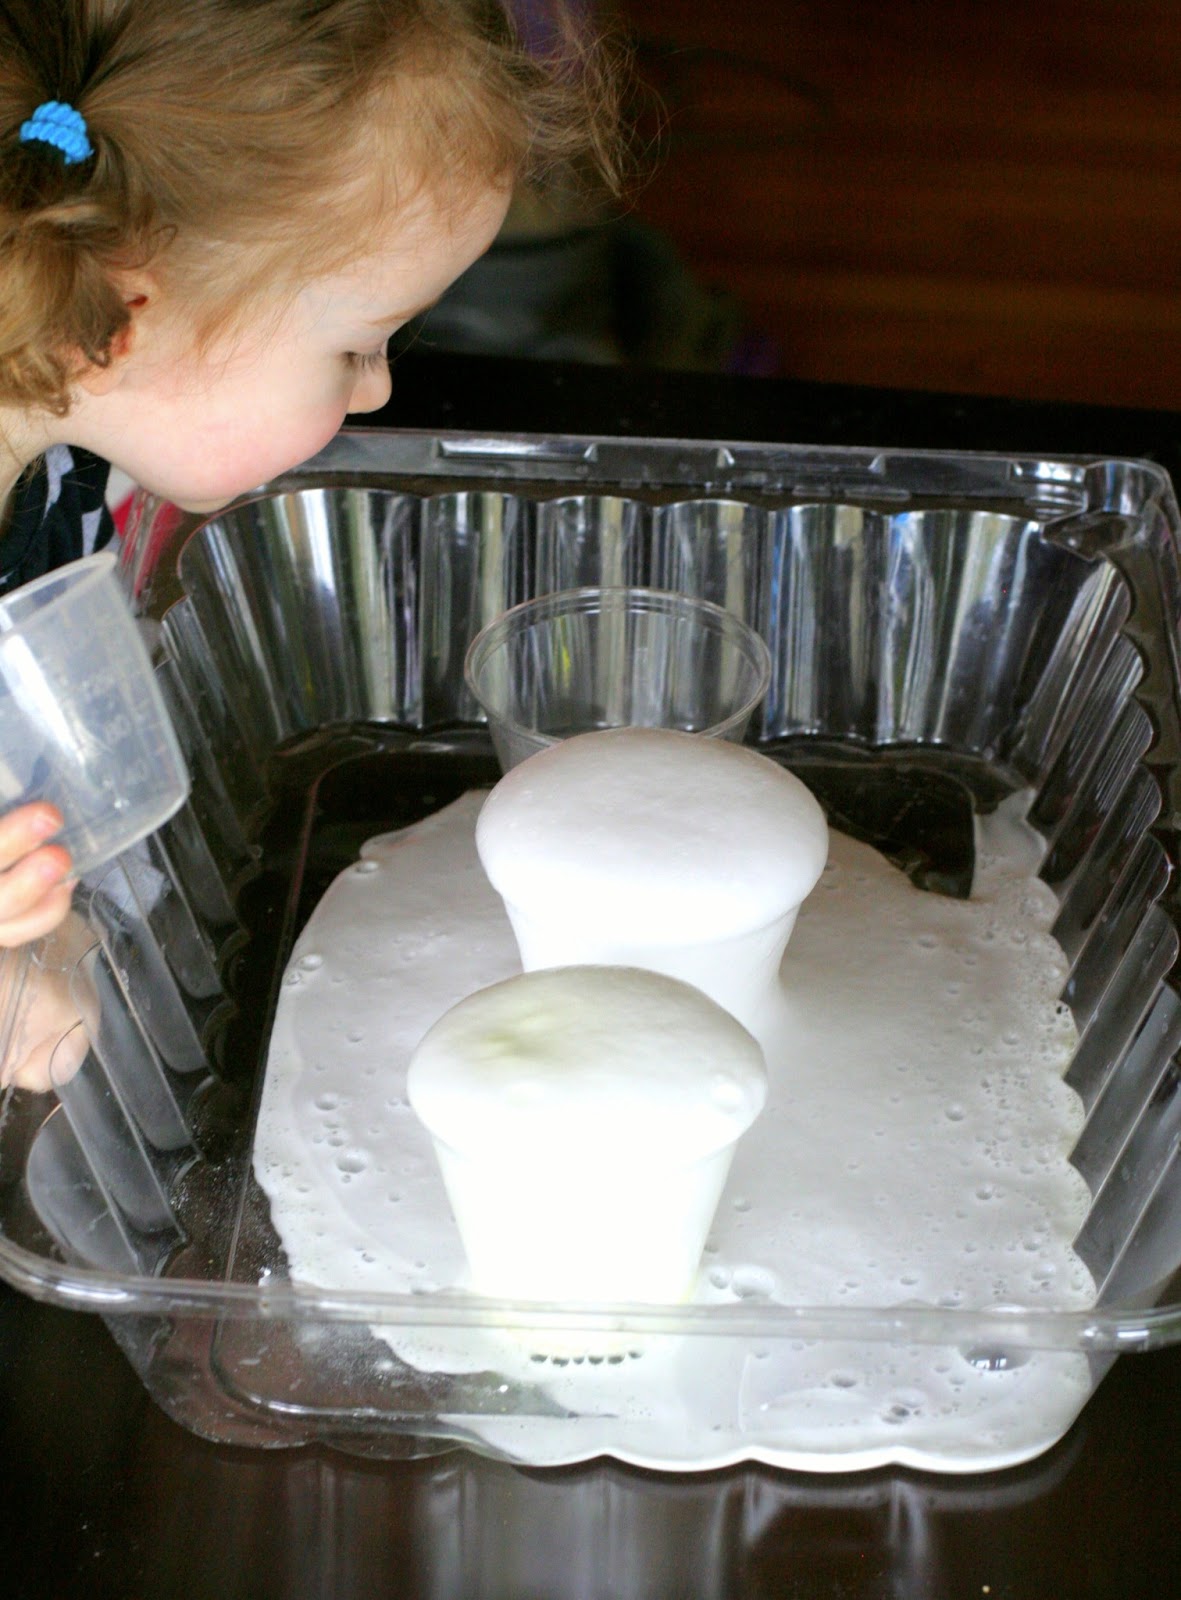
Last up was the regular baking soda. Compared to the other two, there was a lot less foam, a quicker reaction, and lots of large bubbles.

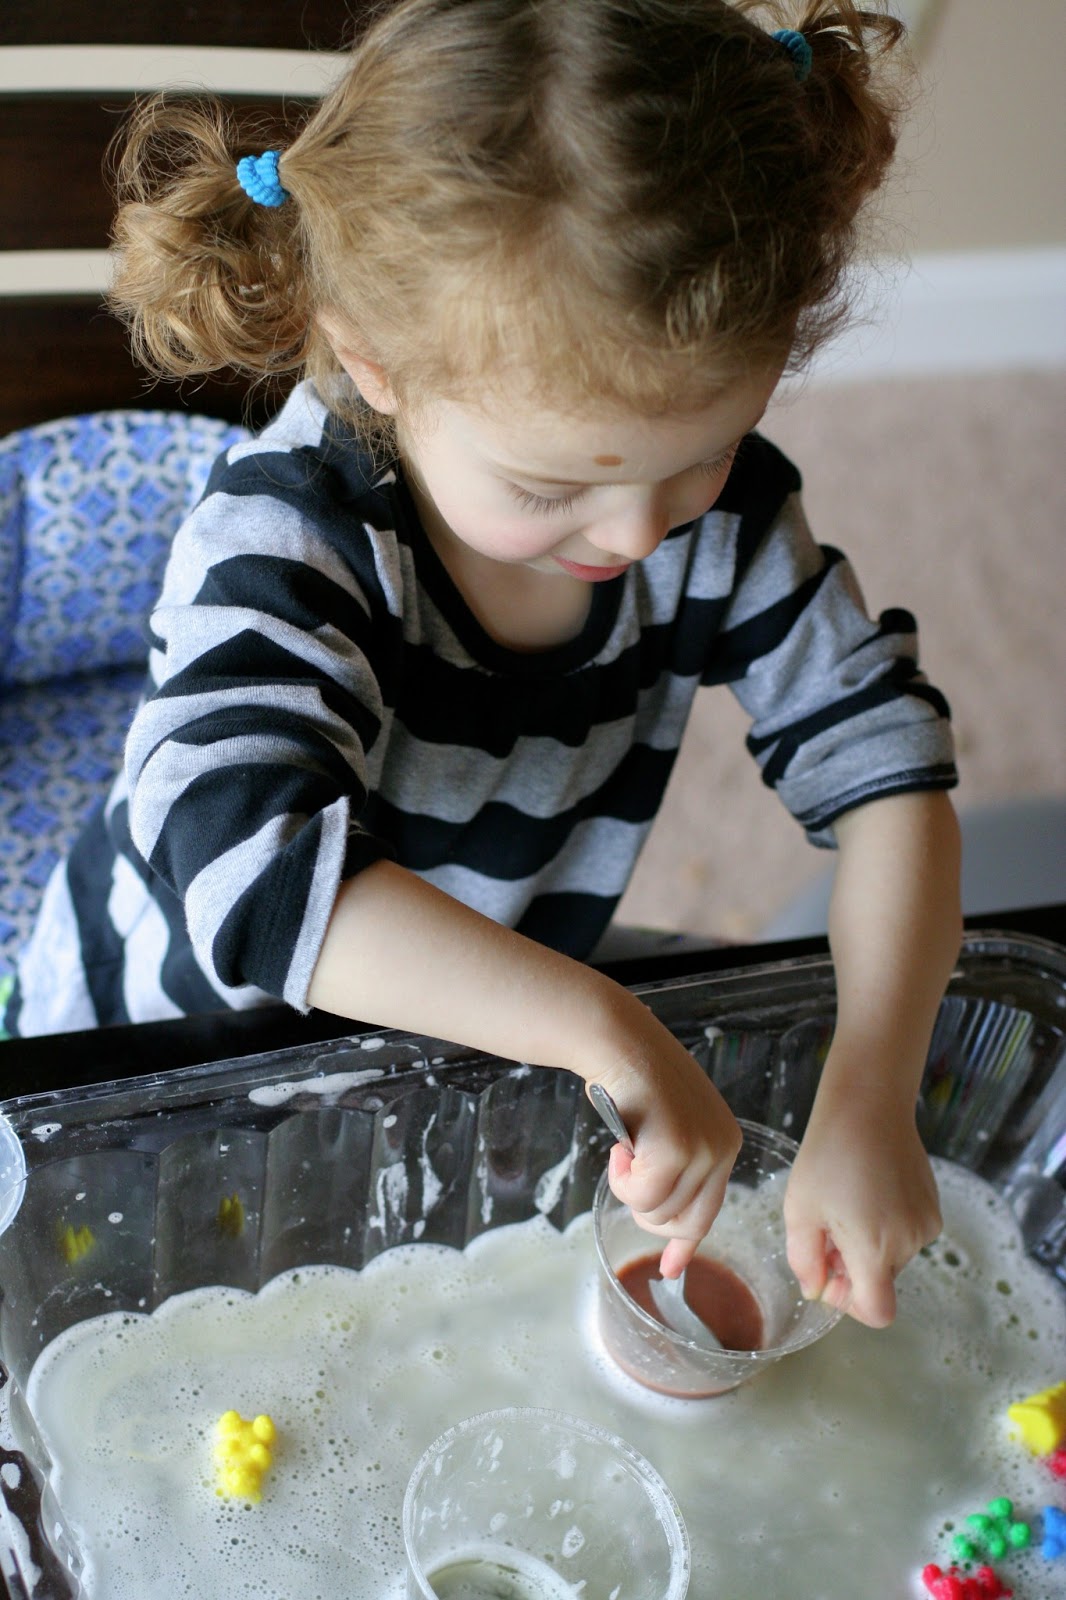
And now for the fun part! Having shown her how to set up the experiment, and having given her some loose parameters (mixing “X” into baking soda, then adding vinegar) – I asked my daughter what she wanted to mix in next. She giggled at the prospect, then thought for a moment and exclaimed “orange juice!”. She asked me what would happen and was shocked when I told her that I had no idea!
We followed the same steps as before and got a different eruption than the other three. It produced very large bubbles and it smelled like oranges!
She was on a roll now and next wanted to try chocolate (soy) milk next.
Following the same measurements, we were surprised to see how different this was! It produced a very thick, sticky foam – such a different consistency from the other two reactions.
She went on to try a carbonated beverage (Juice Squeeze) – because she wanted to know what would happen if you tried something with bubbles already in it! It fizzed when she added it to the baking soda and had yet another unique reaction.
To me, science with children is about following their lead. It’s such a great way to honor their questions and ideas and empower them to problem solve. It doesn’t have to be complicated! You don’t need to use scientific terminology or even have the complete explanations for the results. Over the next few months, we’ll be sharing how we “do science”, as my daughter calls it, with common household materials (ice, bubbles, plants, bugs, and more!) and hope
you, too, will give “doing science” a try.If you’d like to follow along with Fun at Home with Kids, you can find us on Facebook, Google+, Pinterest, or subscribe to our RSS feed!
you, too, will give “doing science” a try.If you’d like to follow along with Fun at Home with Kids, you can find us on Facebook, Google+, Pinterest, or subscribe to our RSS feed!
Great ideas and suggestions for doing science with kids!
Thank you, Melissa!
Thank you for this FABULOUS, fun post Asia! Great to have you featuring on the site 🙂
Thank you again, Anna, for the opportunity! I’m SO pleased that you liked the post!!! 🙂
great idea i will try it with my two kids & grand kids who is at smiler age thank you Asia
Thank you, Houda! I hope they enjoy it as much as we did! How exciting to have so many little scientists collaborating! 🙂
Informative blog, exactly what I was looking for.
Asia! I hadn’t seen this yet, this is SO AWESOME! So fun to try all these different combinations, and S had so many great ideas 🙂
ooooh great experiment. Thanks so much for joining our challenge.
I love how you compared bubbles and soap in this experiment. And then she added something carbonated. Great job following her lead. 🙂