Make some outdoor sensory play areas for toddlers and preschoolers with these two simple ideas; a DIY sand box and a gravel pit construction site!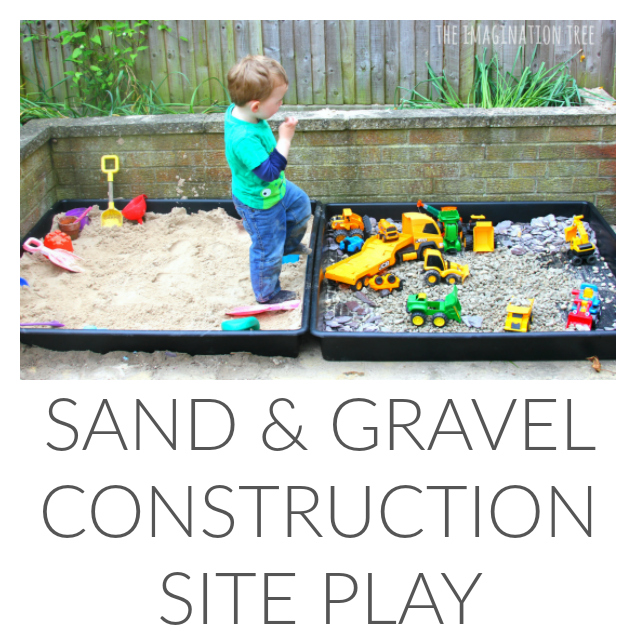
We are huge fans of outdoor play and learning and spend a lot of time in our garden or the woods and parks near our home. Because we live in a big city the space is tight and we have tried to make the best of our smaller outdoor area by filling it with lots of creative, sensory and gross motor play areas. You can see some of our OUTDOOR PLAY spaces and ideas here.
And here is a great list I created of our absolute favourite outdoor learning toys, sensory play tables and large scale play structures too.
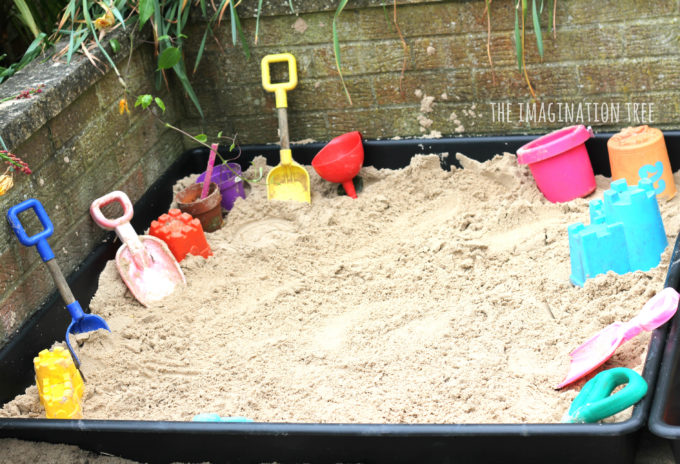
Just recently I ditched our wooden sand box because it had become rotten through many years in the British weather! It did a great job but it was time for a replacement and I found I didn’t actually like any of the options available, and certainly didn’t want to replace with wood again.
Instead of just making a sand box I wanted to create a large scale gravel digging pit and construction site (similar to this small scale one I made a couple of years back) as Mr 2 is completely obsessed with his trucks and diggers!
[ Find all of our previous digger play ideas if you have a similarly obsessed child!]
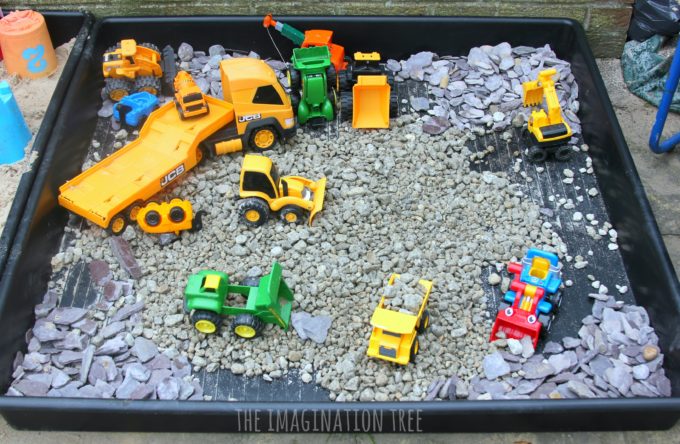
So I decided to go on a different tack and found these awesome, large (just over 1 metre by 1 metre!) square garden trays and thought they would be ideal for the job! Check below for direct links to everything we used.
Checklist of materials for making a DIY sand box and gravel pit:
[Amazon affiliate links]
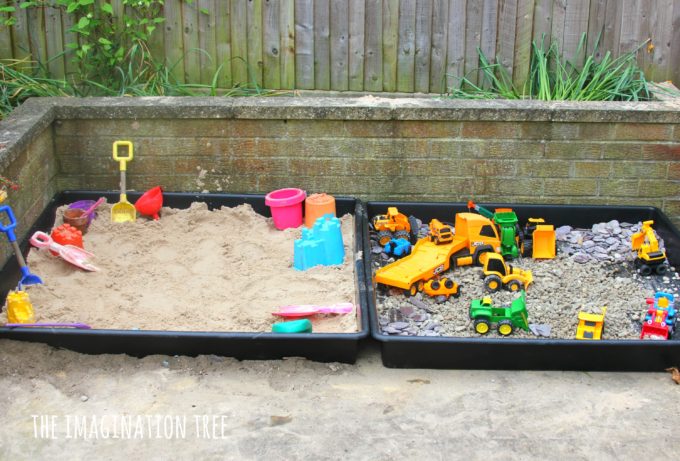
I found a flat base to situate the trays on and cleaned underneath it, before placing them side by side. They could of course be separate but our space is limited and also I foresee plenty of cross over with the types of toys and resources which will be used in each area.
He is already very fond of driving the dumper trucks in the sand box and filling buckets with rocks, and that makes plenty of sense of course!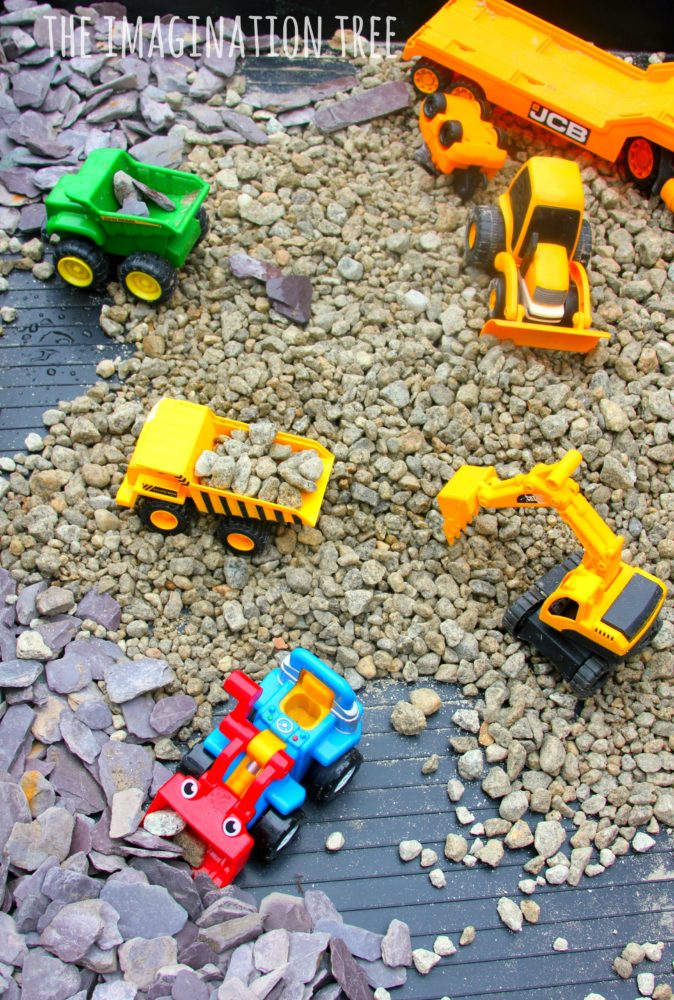
We had to hose off the slate and pebbles as they were covered in a layer of dust and then they were ready to go!
Miss 5 has really enjoyed making little worlds in the sand box and perfecting her sand castle construction. The bigger girls still enjoy this type of play too and will bring some of their small world imaginative toys for trips to the “seaside.”
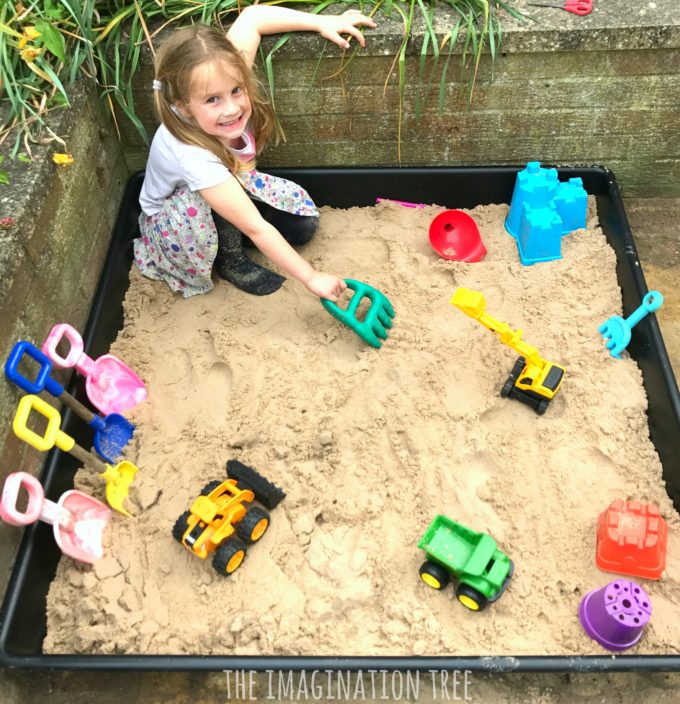
I also bought a piece of tarpaulin so that I can cover the trays over at night time or when we’re away, to protect them from neighbourhood cats and foxes. We haven’t ever had a problem with this but on the off-chance it could happen I would rather they are covered up. This can be weighed down with bricks around the edge or tucked underneath the box to keep it secure.
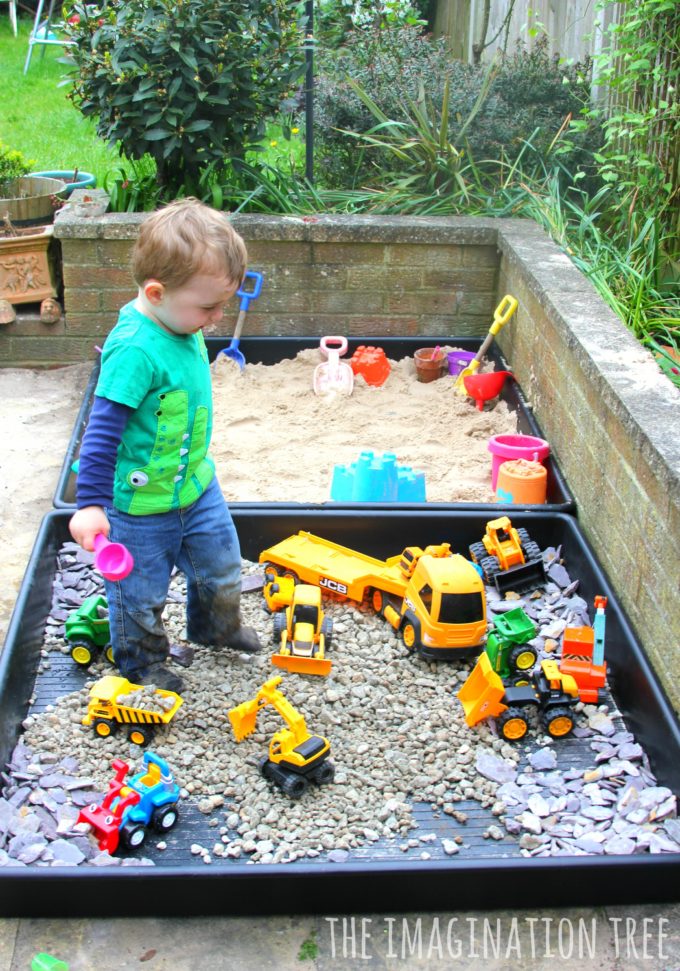
These would work very well as part of an outdoor classroom area and for making large scale small world scenes that the children could actually enter and play inside! I think we may have a go at making a few of those so I will share them here and on Instagram when I do.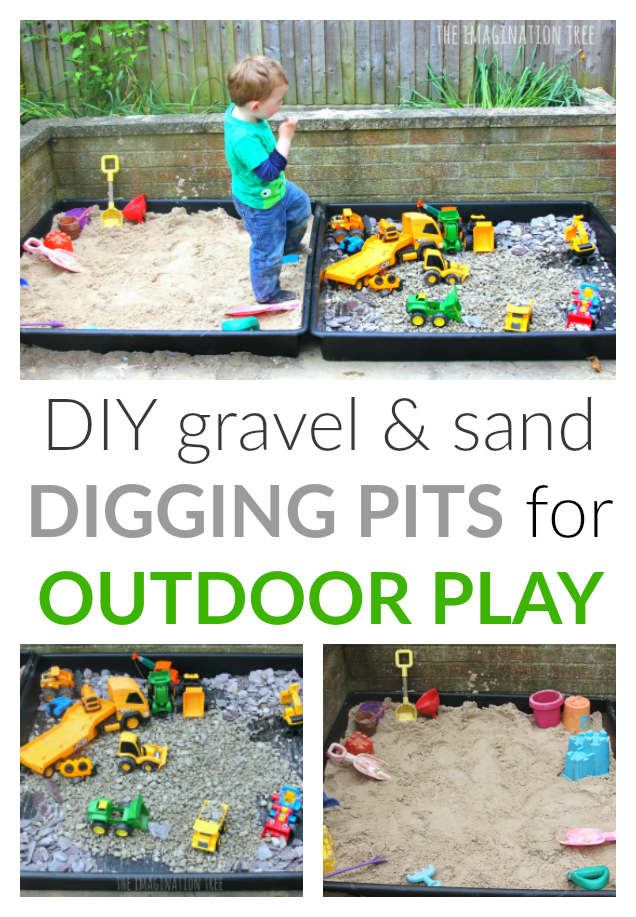
We have SO many more ideas tucked away in the archives of PLAY AREAS and OUTDOOR PLAY too. Have a browse and pin your favourites!
[This post contains some links to Amazon to help you find products we use and recommend. Thanks for your support!]