Create some real DIY plaster casts for teddies and dollies to make doctor role-play even more authentic and educational!
My 3 year old daughter is currently obsessed with all things medical related and has declared with all certainty that she WILL grow up to be a children’s doctor when she is older! We have written on here about our doctor role play and hospital role play pre-writing ideas and we have a doctor themed birthday party planned for her 4th birthday in the Spring!
As much as possible with imaginative and role play scenarios, I try and provide real life objects rather than the plastic toy versions, as there is so much more that can be learnt and explored using real items. For Christmas she received a real stethoscope and a real First Aid kit, both of which she has adored playing with. There’s a lot of scope for developing language and understanding of how and why things are used in real life situations (and is also why I wouldn’t advocate ever setting up a role play area that the children haven’t already experienced in real life first.)
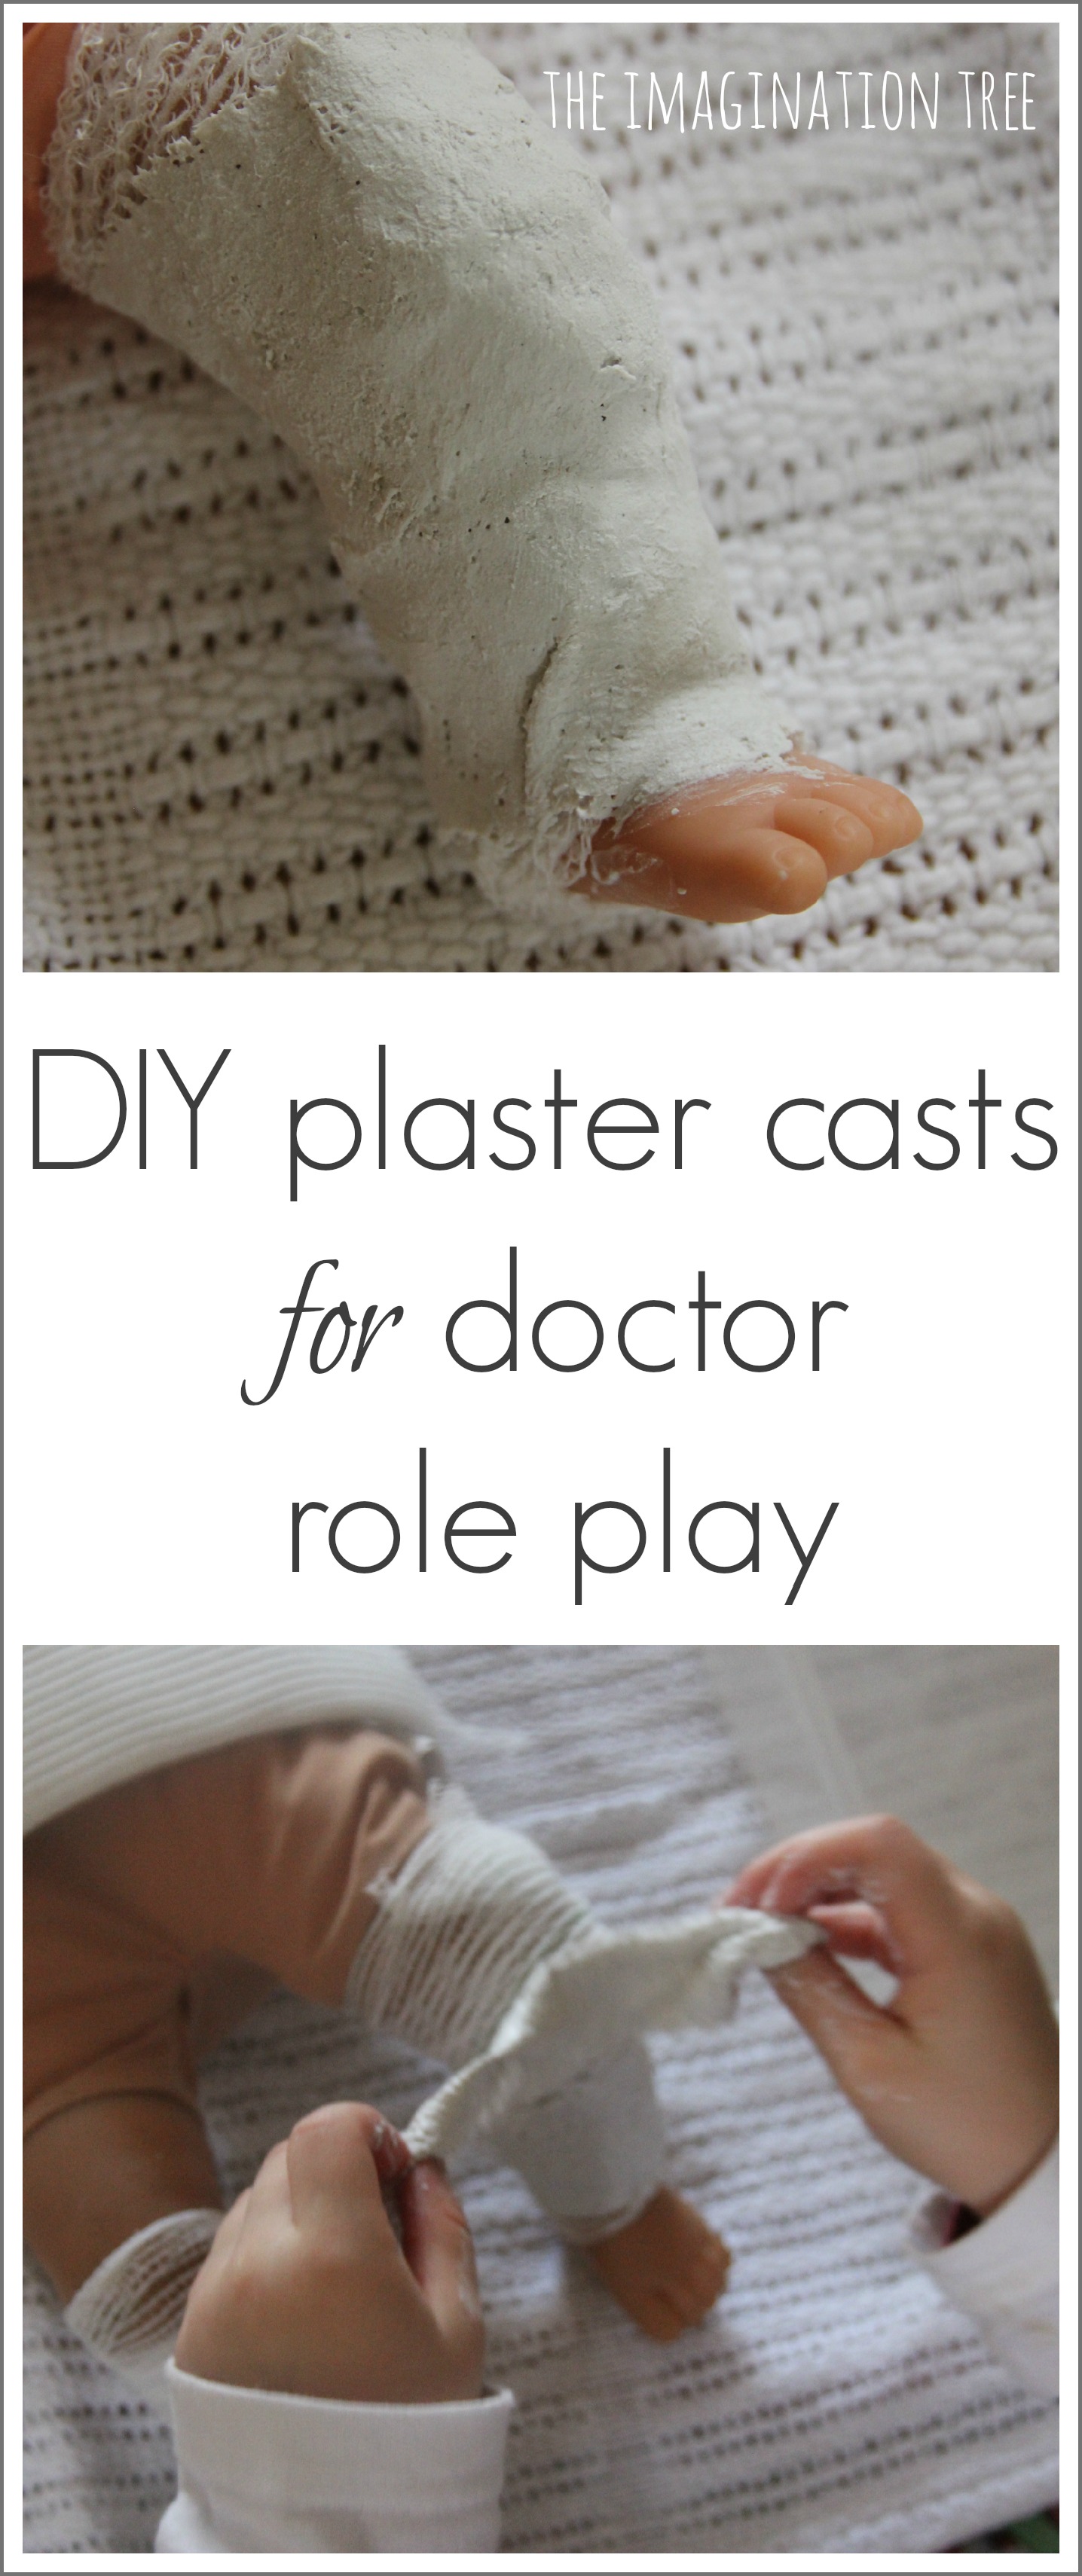
So recently I thought it would be fun to enrich the medical play even further by adding a new dimension to the role play – making plaster casts! When I was teaching art I often used a wonderful sculpting material called Mod Roc which is very easy for kids to work with and has the added satisfaction of drying quite quickly (no waiting around for days to add more layers like with paper mache!)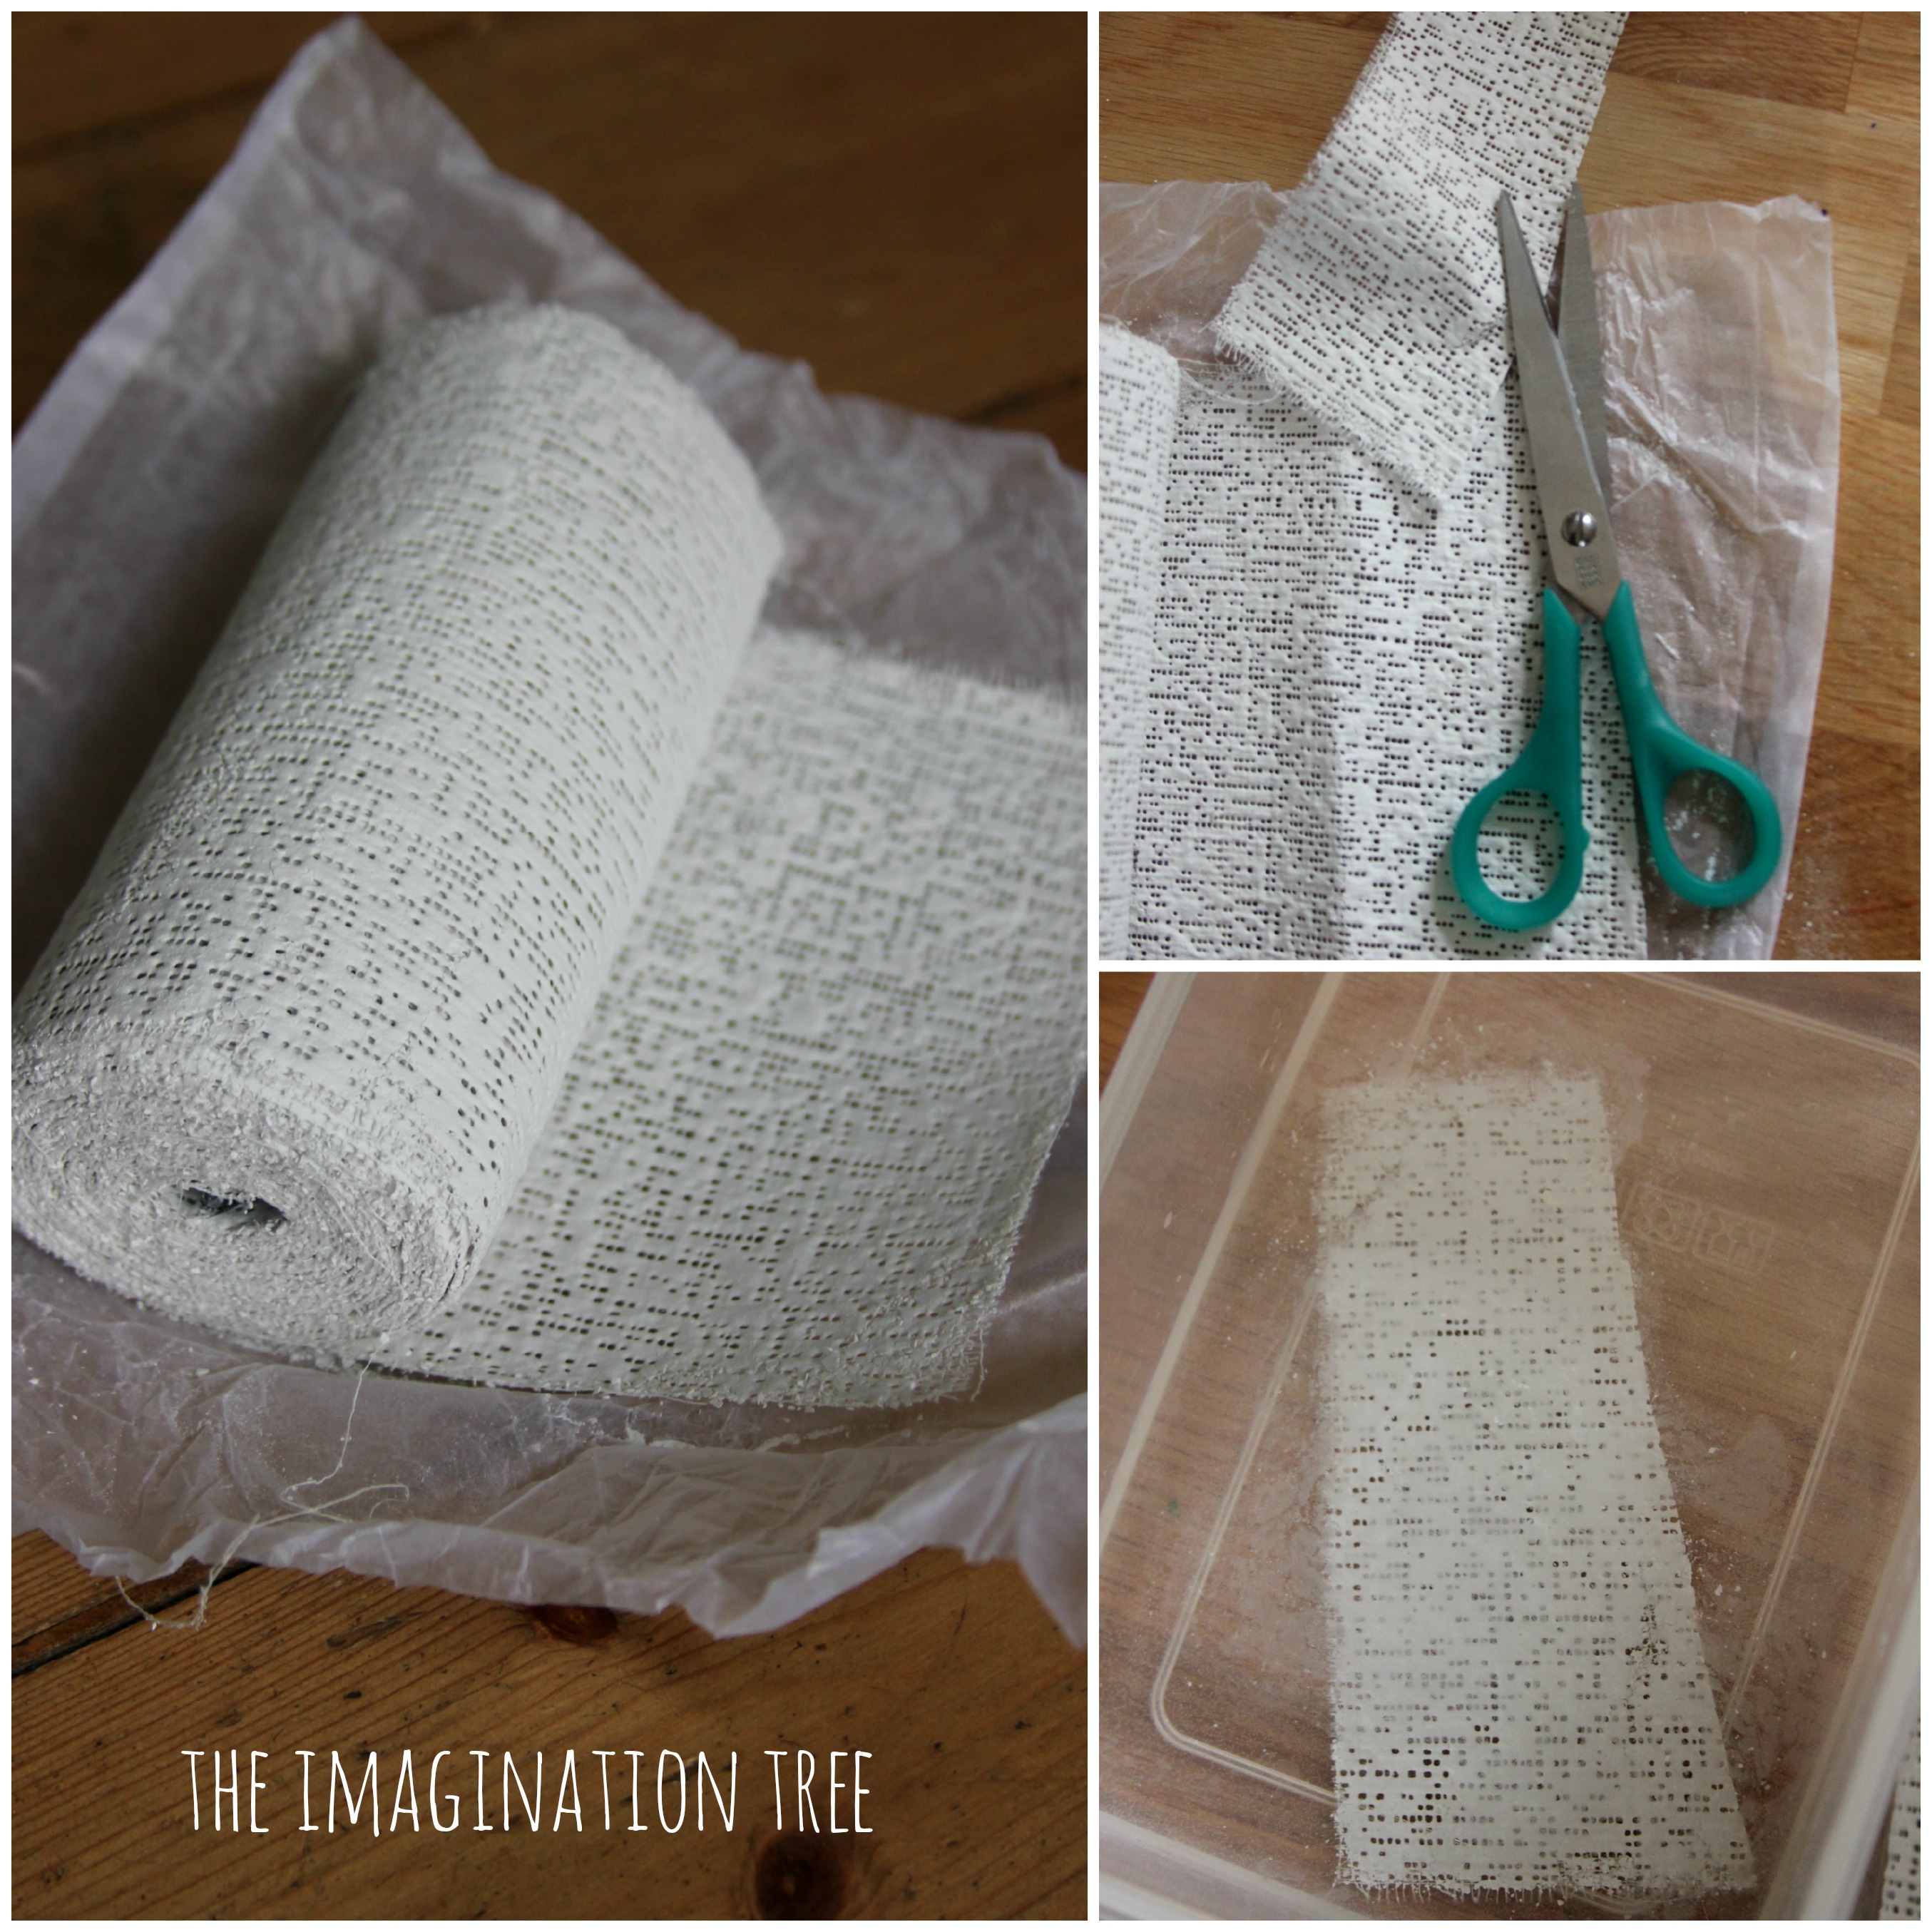
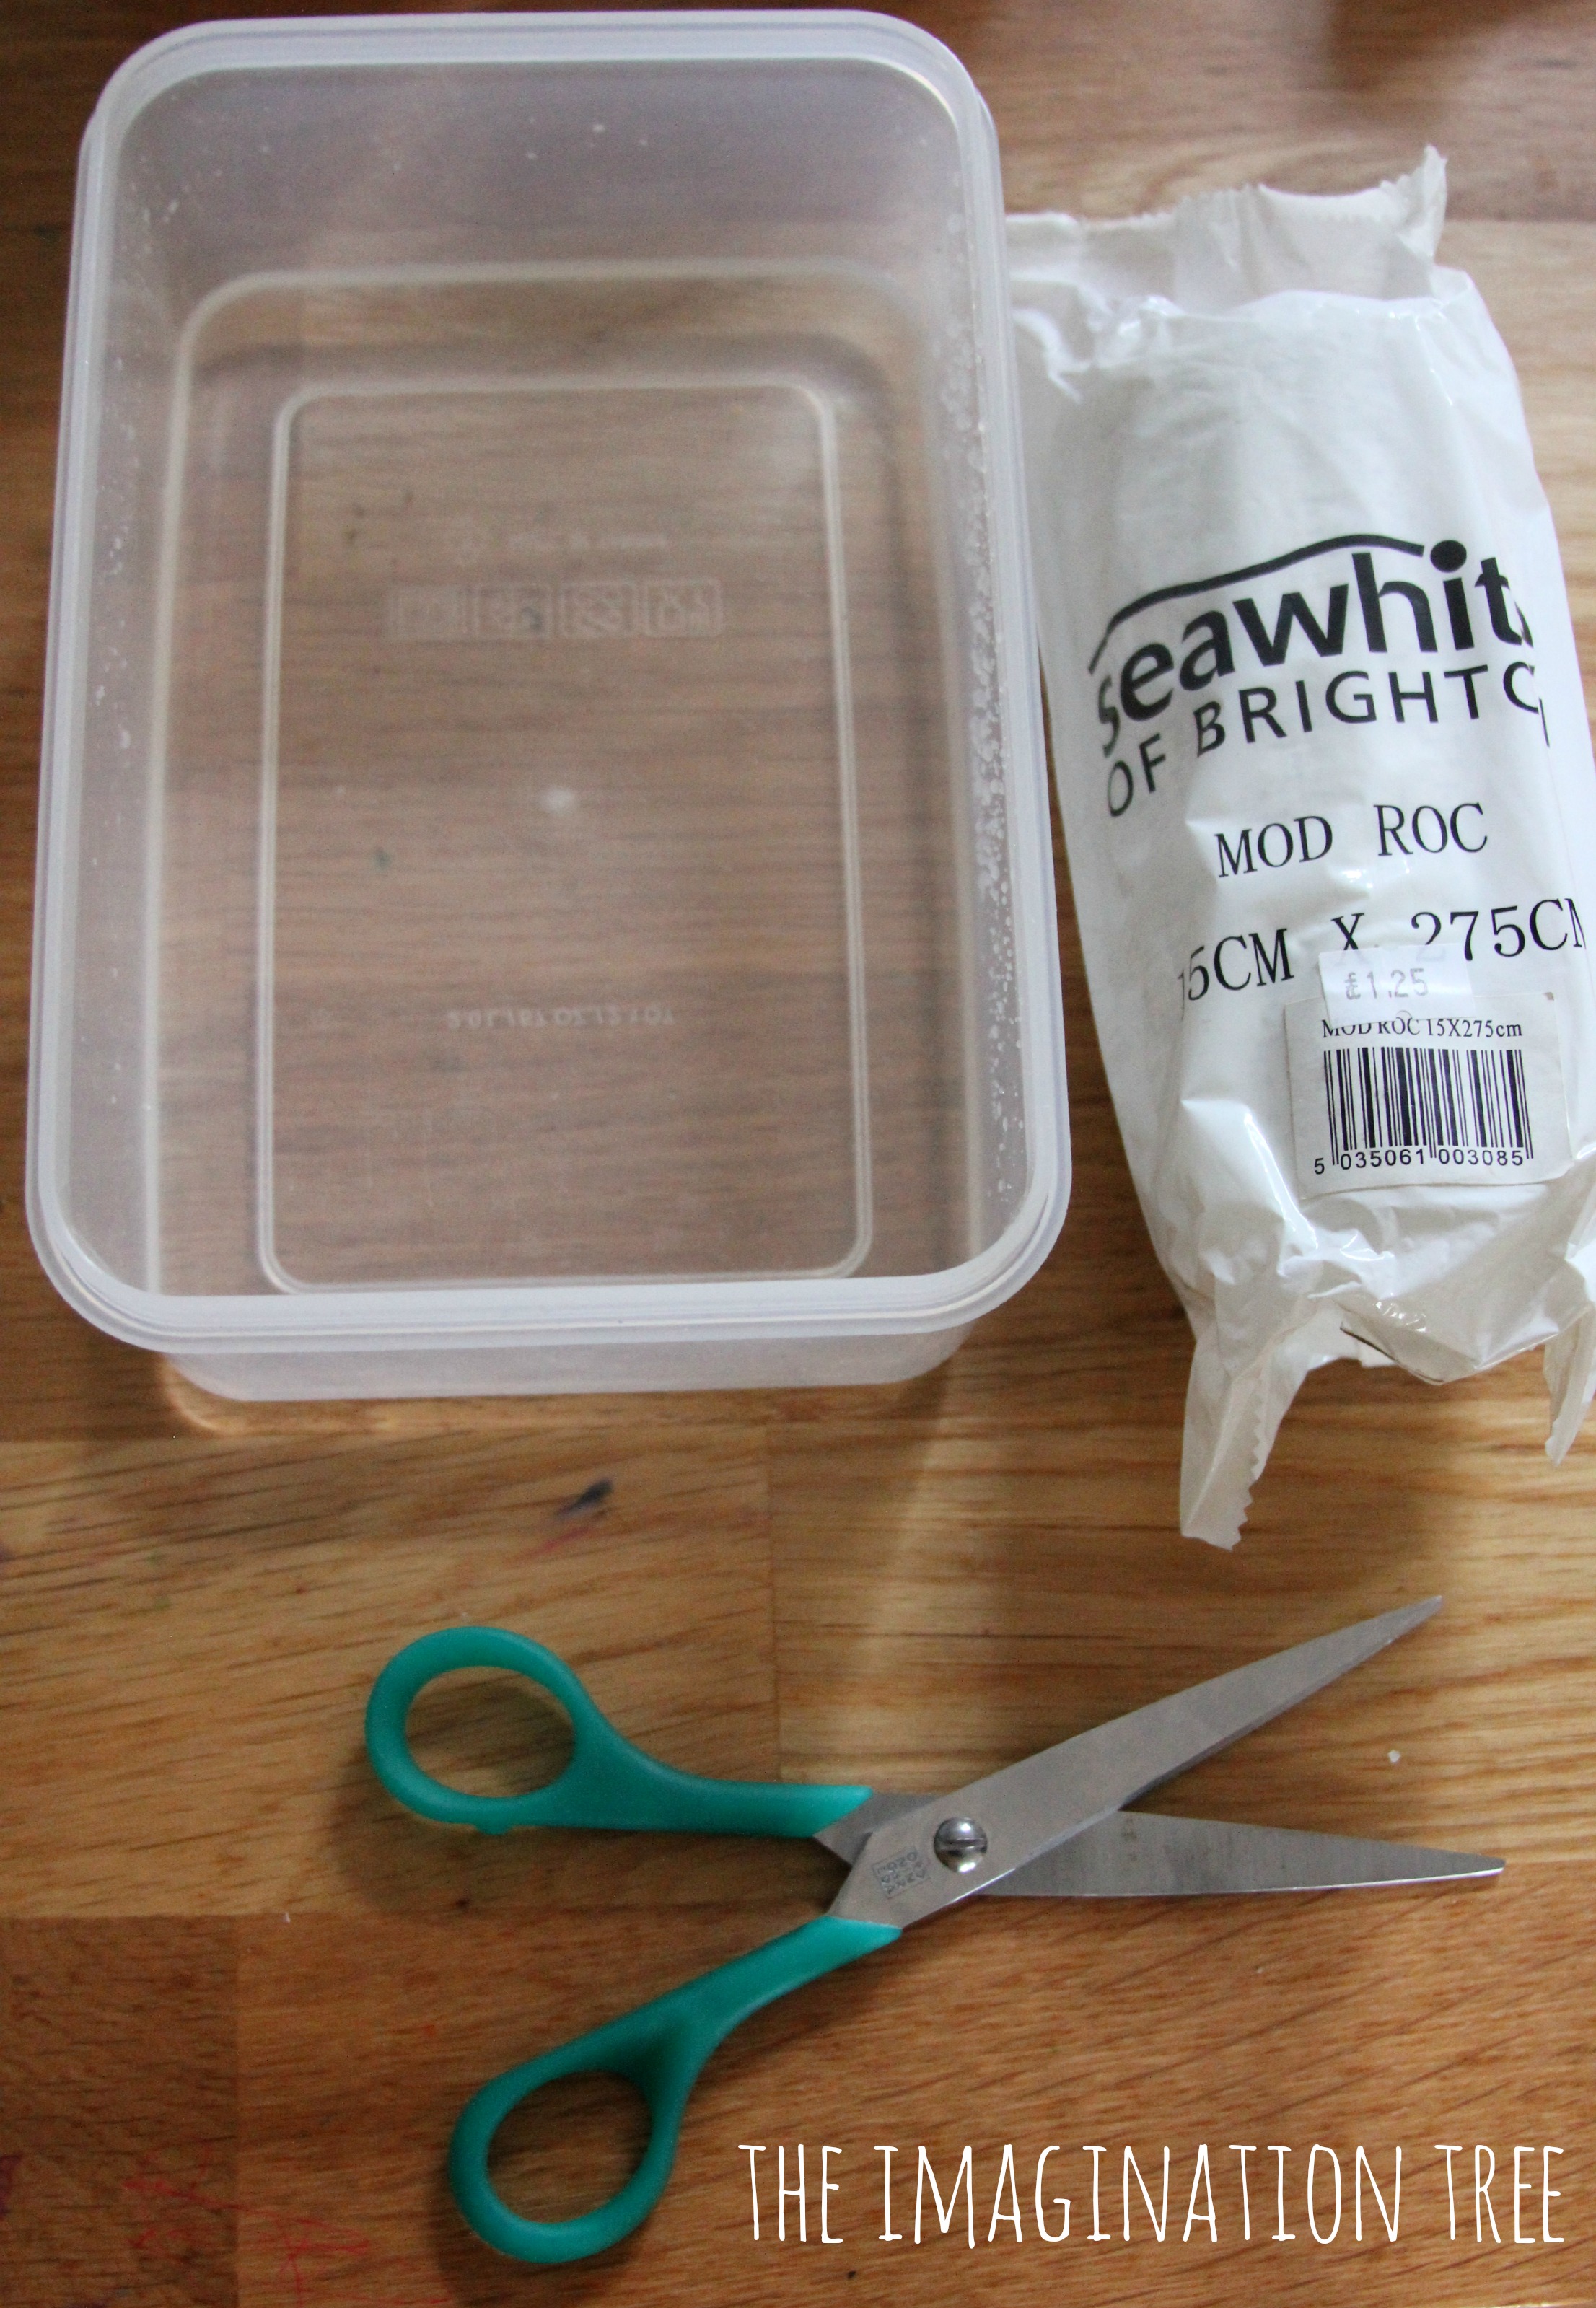
It is essentially rolls of gauze, lightly layered with plaster, which can be wrapped and moulded when wet. It’s the perfect material for making DIY plaster casts! [I found ours at a local art shop but you can also find it here on Amazon.]
We cut the Mod Roc into small strips and I set out a small tub of water for them to be dipped into.
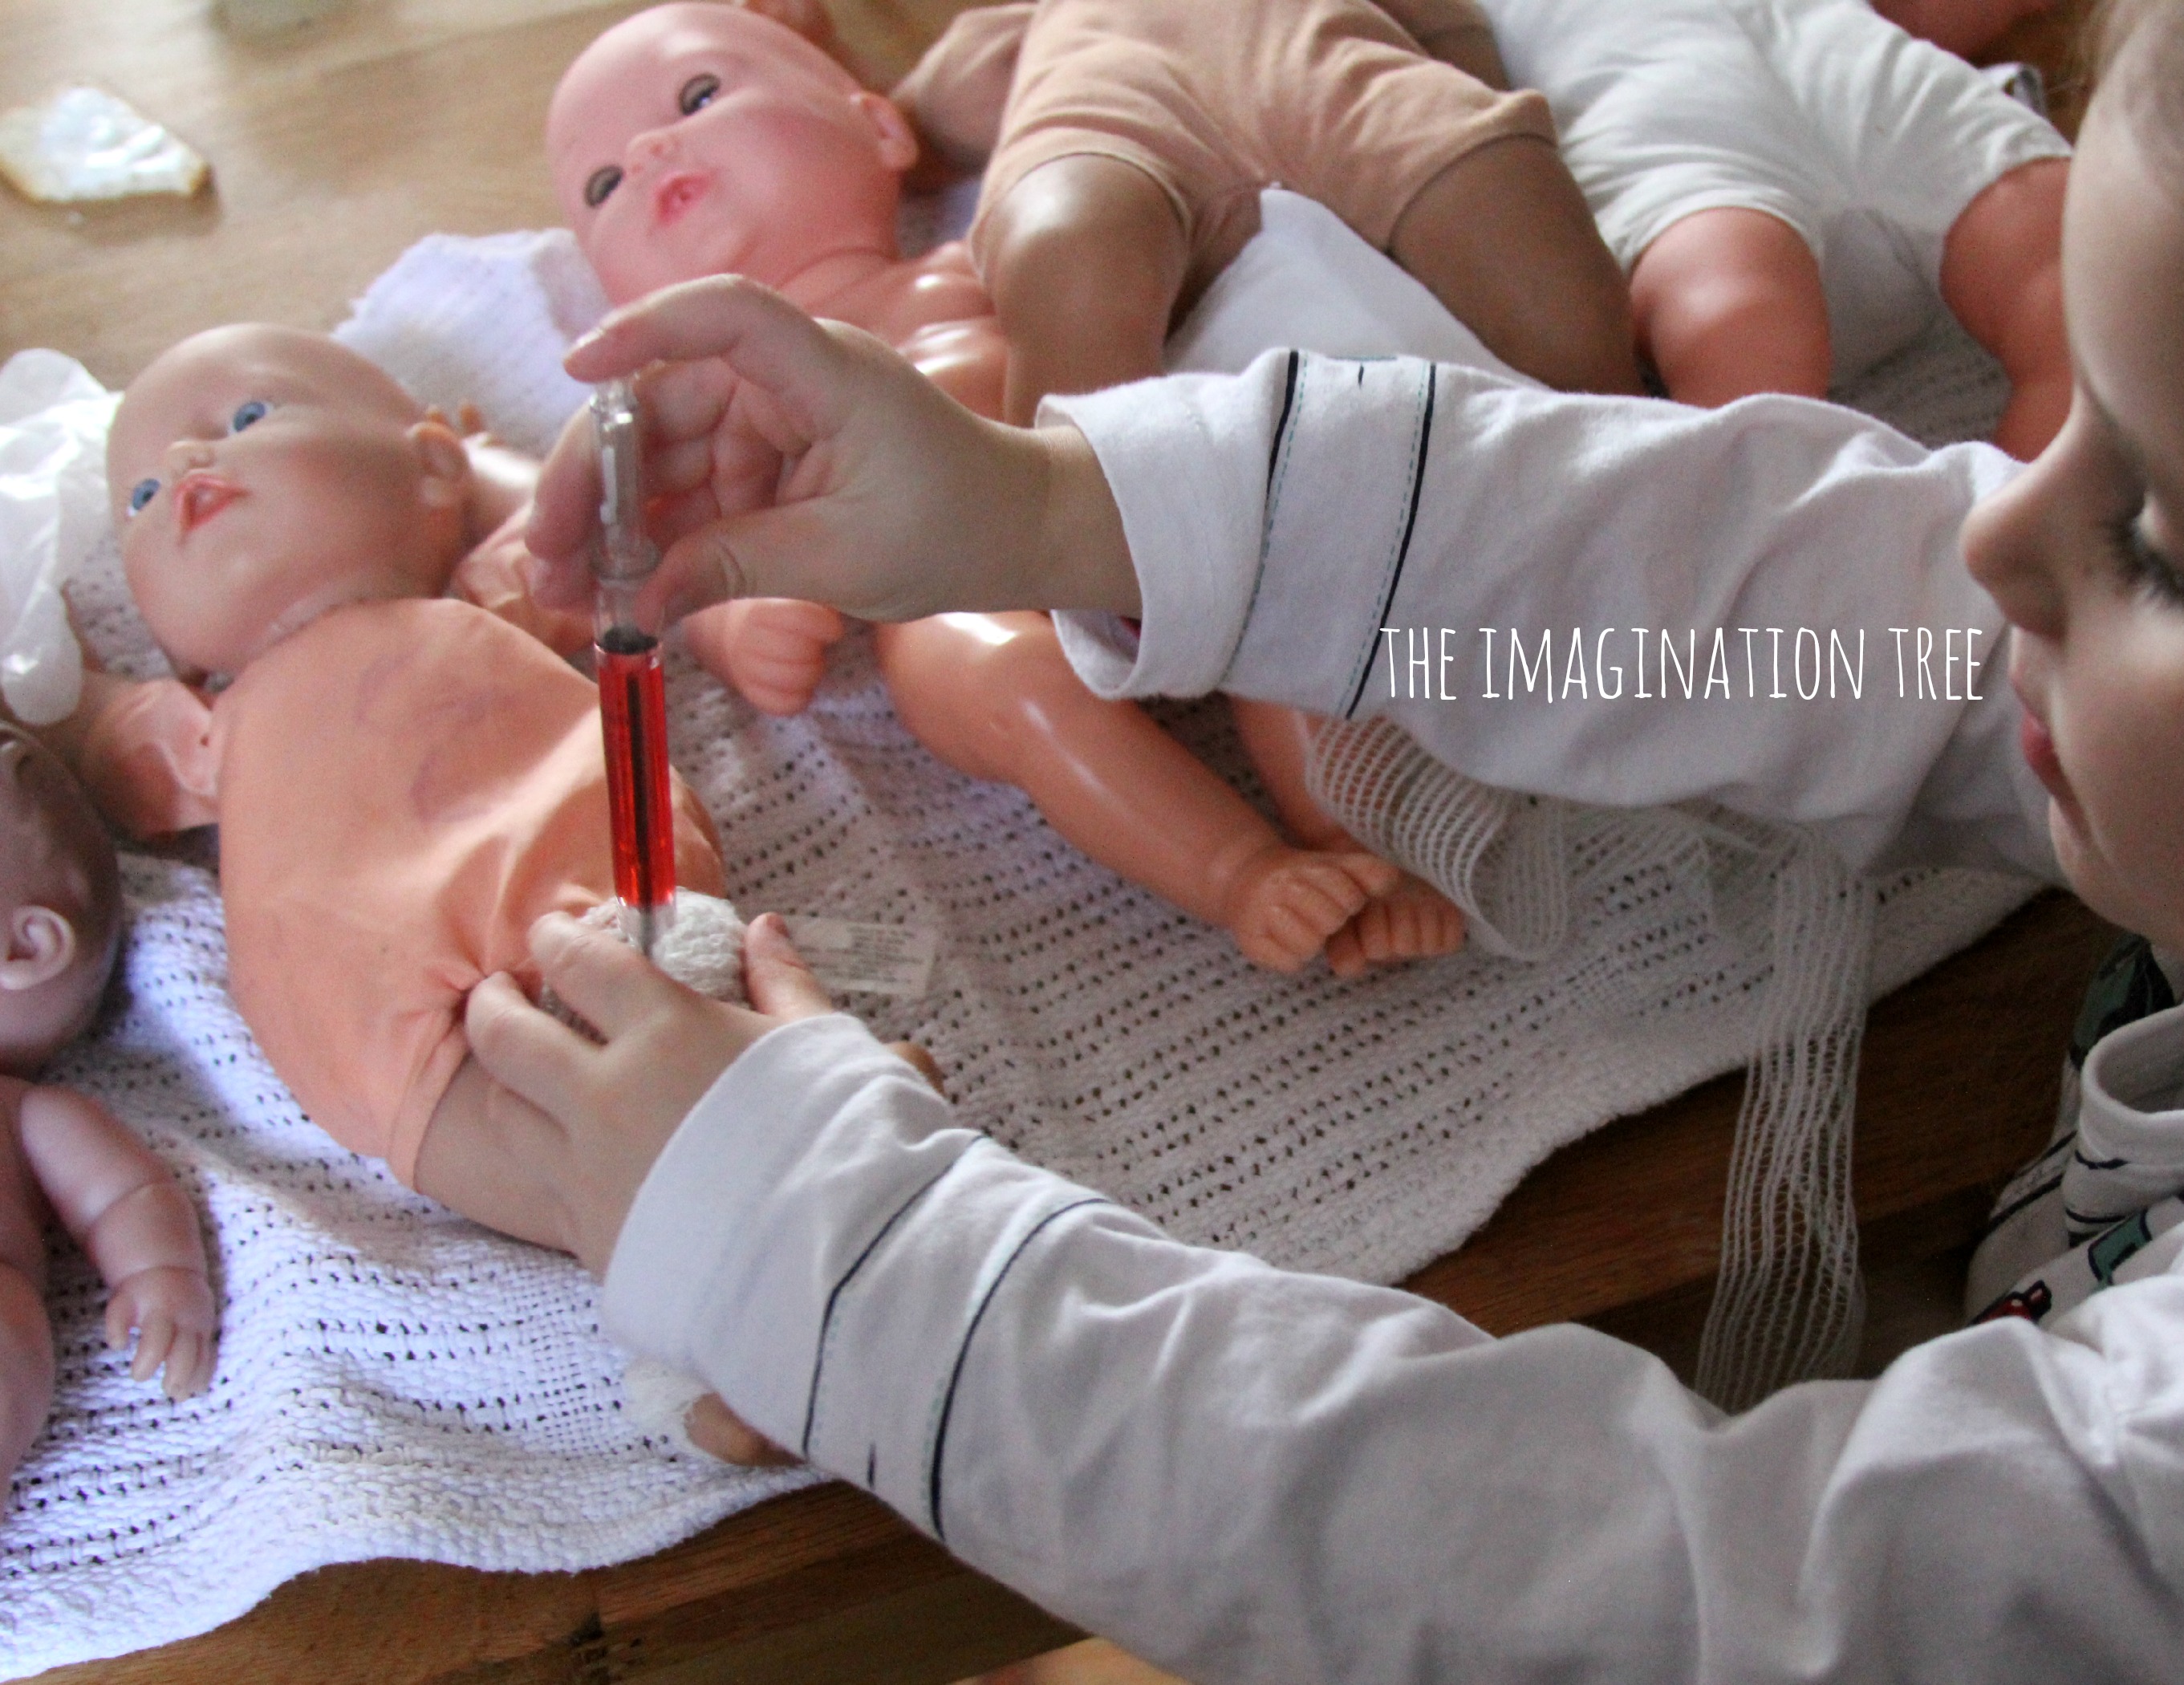
First of all we opened up our fracture clinic and Pop examined all the patients to diagnose which bones were broken. Interestingly, they all seemed to have broken legs, with just one case of a “broken head” to add to the mix! [This activity would be even better with a light box and real X-rays, which we are hoping to get her for her birthday!]
She then wrapped all of the broken legs with real bandages from her kit, and gave them all injections to relieve the pain, using her pretend syringe pen.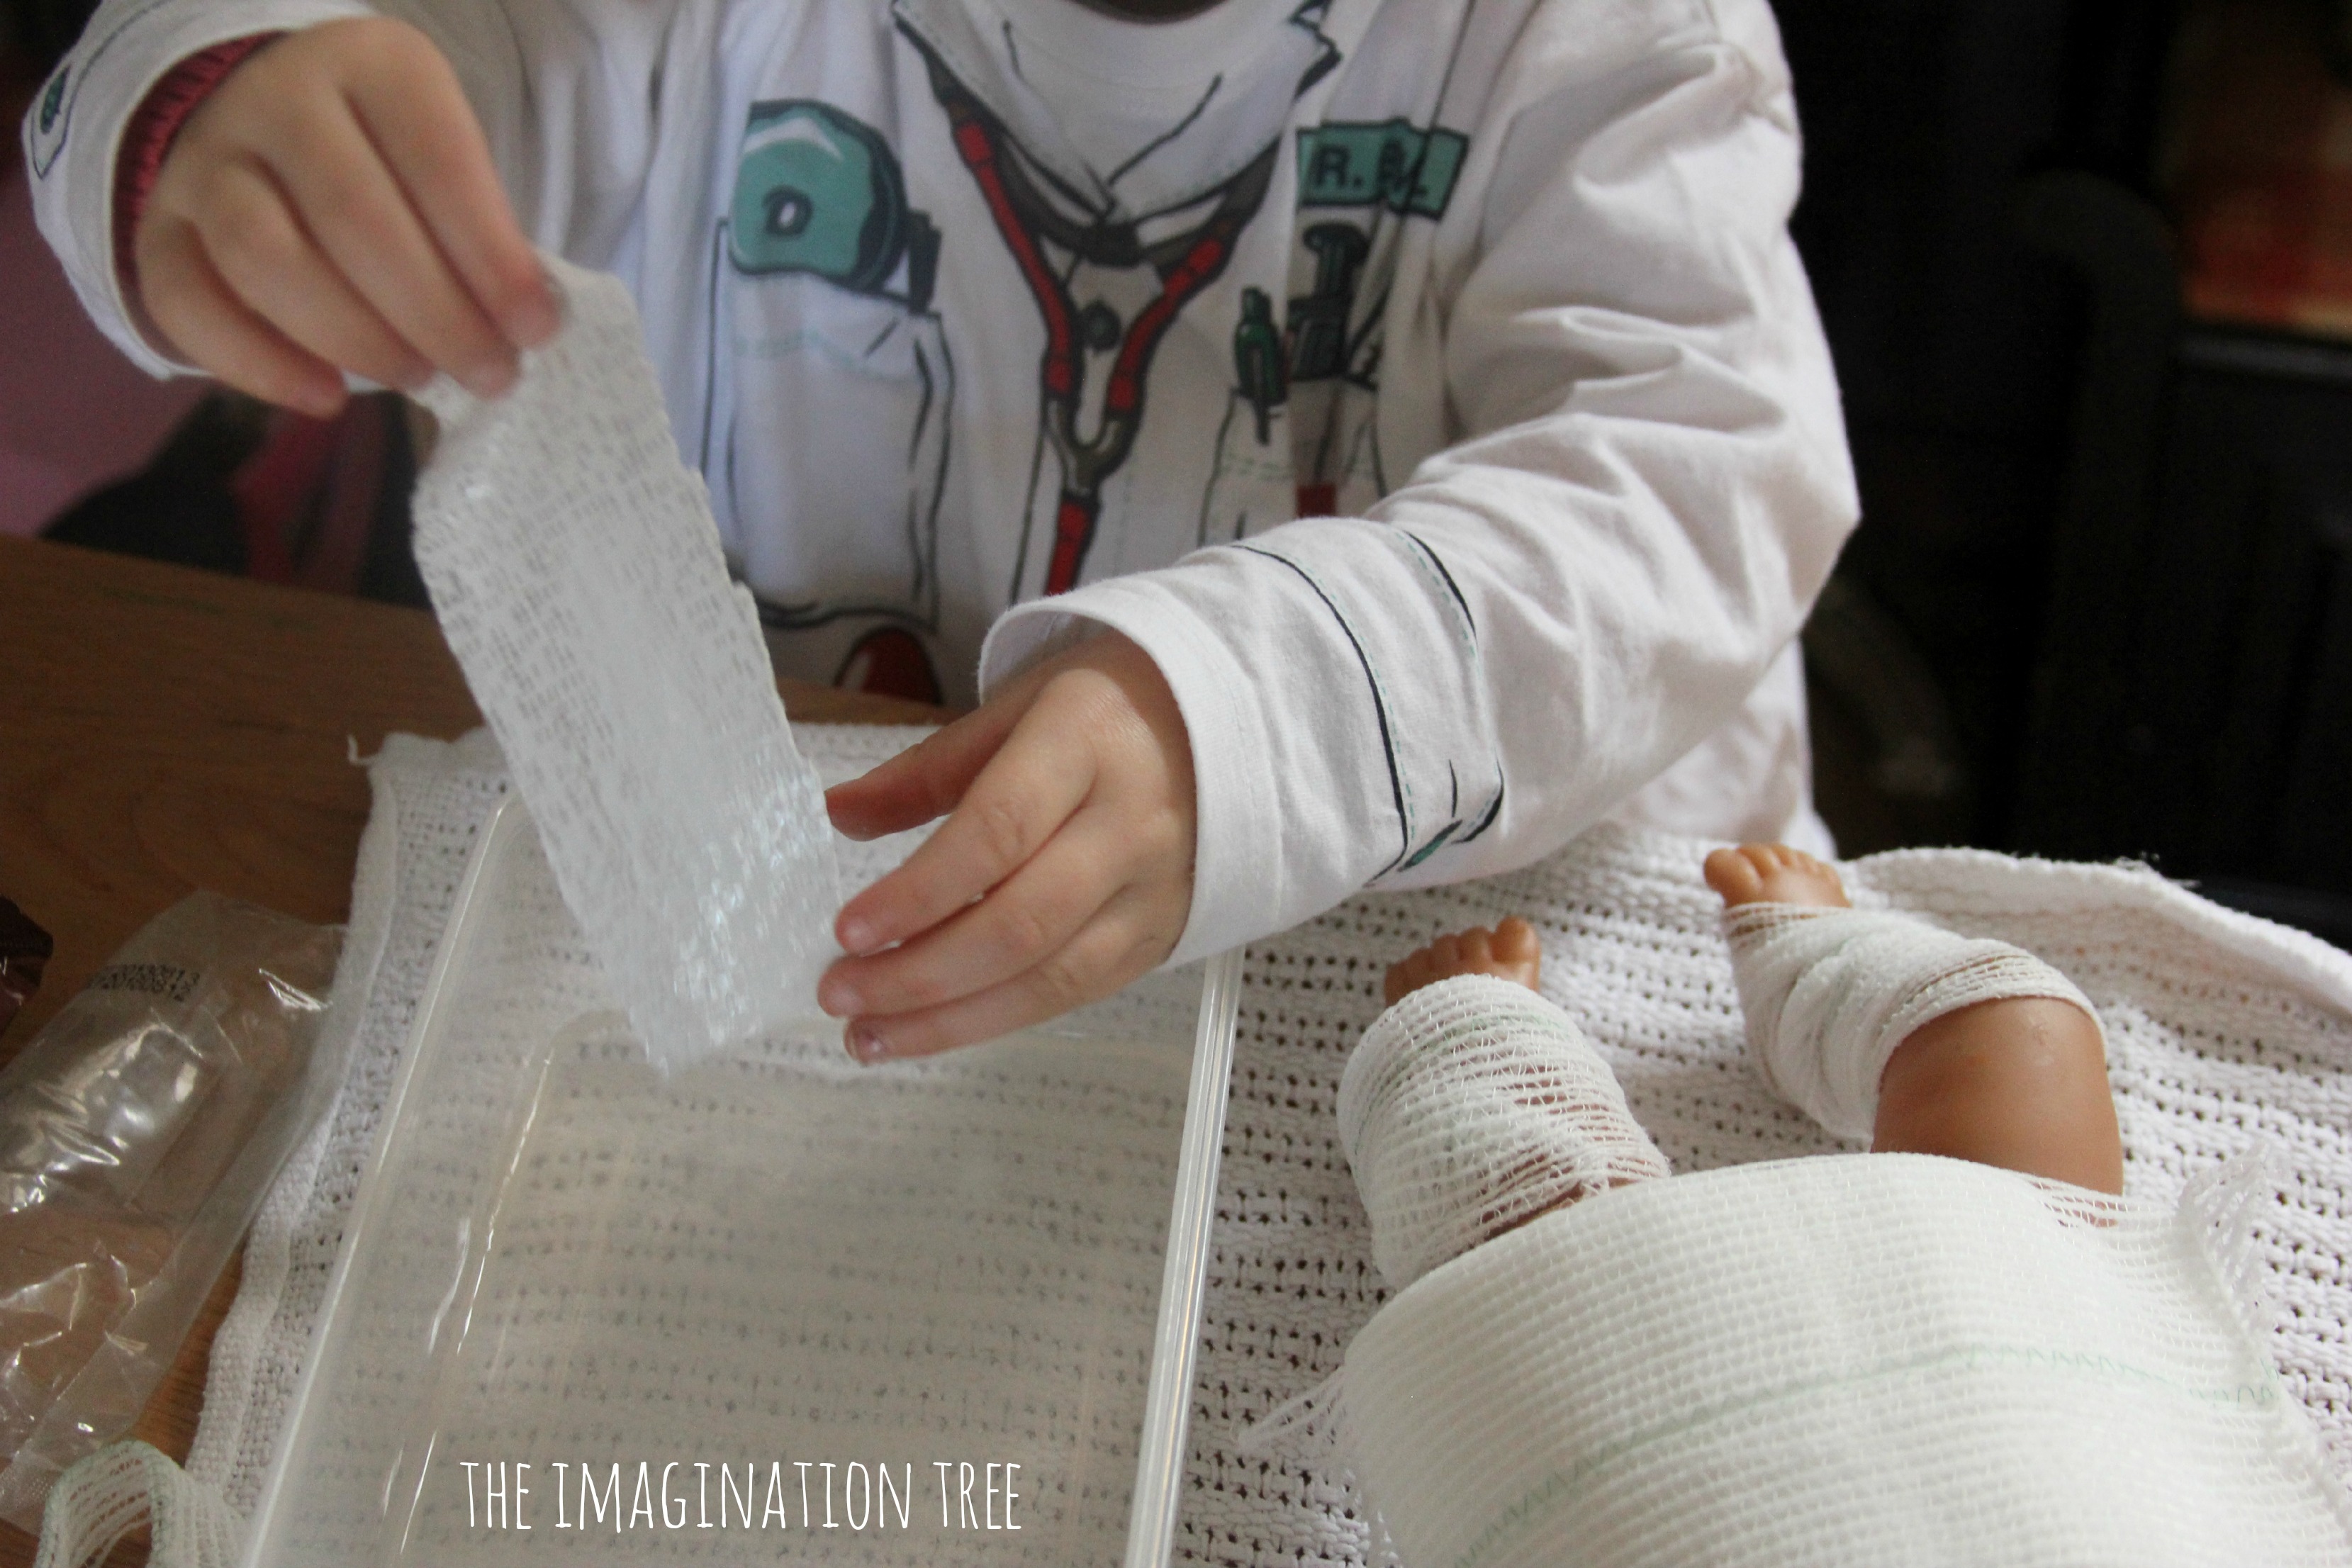
Once the bandages were secured she dipped the first strip of Mod Roc into the water, then, holding the top in one hand, she smoothed down the length of the strip using one finger at the front and one at the back in scissor-like pose. This squeezes some of the water out and, mrs importantly, joins the little holes together to make a smooth surface of plaster. Don’t leave the Mod Roc in the water for too long (5-10 seconds is ample), otherwise the plaster just dissolves off the strip altogether.
We then continued to add strips in this way, building up layers and wrapping around the legs carefully. If the strips seemed a little dry in places, we dipped our fingers in the water and smoothed over the surfaces and joins to make it all even.
Once they were all applied, we tucked them up in the recovery room (i.e. on top of an old blanket!) and left the casts to dry for about 30-60 minutes.
The dolls are still in plaster as their bones haven’t healed yet, but the mini casts should snip right off very easily with a pair of scissors when the game is finally over!
A few common sense points to bare in mind:
Don’t ever do this over real body parts- just on dolls!
Mod Roc can get a little messy if it drips, but it should sweep up easily once dry (similar to crushed chalk.) Probably best to use a wipeable doll rather than fabric, or teddy bear etc (although it would wash fine I’m sure)
Don’t leave kids to do this alone or allow them to put it in their mouths
What they are learning as they play:
knowledge of the world: medical vocabulary, understanding what equipment is used for
creativity: using sculpting materials, pretend and imaginative play scenarios
sensory: exploring materials with fingers
phse: thinking about and caring for others, empathy
Cakie: 5.4
Pop: 3.10
Bean: 1.11
[This post contains Amazon affiliate links for your convenience.]
oooh Anna, I remember you mentioning this a while ago, my girls will love it, I’m off to buy some now.x
That’s a fun idea. I’ve actually done this with students on their hands and faces. you just need to really slather on the vaseline. As long as you are just using plaster strips it should be fine. Then you can pull them off and paint Leave a hole around the mouth to breathe of course.
Anna this is just too wonderful. The x-rays will be great. She’ll love them. You could draw some on OHT paper. What a wonderful exploration. I love it.
How fun and a very timely post for us with our recent post on doctor play and writing prescriptions! Love your ideas!
Wonderful put up, very informative. I wonder why the opposite experts of this sector do not realize this. You should continue your writing. I am sure, you have a great readers’ base already!|What’s Going down i’m new to this, I stumbled upon this I have found It absolutely helpful and it has aided me out loads. I’m hoping to give a contribution & aid different customers like its aided me. Good job.
This is such a great idea. My DD Loo-Who loves pretending to be a doctor. I can’t wait to get this stuff to extend her play. 🙂 thanks for such a great idea.
I would love it if you added a pinterest button to your blog posts. I would love to pin this post and others I’ve seen on your site. I don’t have the add-on myself because I have to agree to let them view all the sites I visit. I think that’s icky 🙂
wow, awesome article post.Really looking forward to read more. Really Great.
handyman
I think this is a real great article.Really looking forward to read more. Really Cool.
Handyman