Make a gorgeous DIY mini roads set for encouraging fine and gross motor development, building shapes, letters of the alphabet and hours of imaginative play on the go too!
Perfect as an easy homemade gift idea, and even more brilliant when paired with a vehicle related story book.
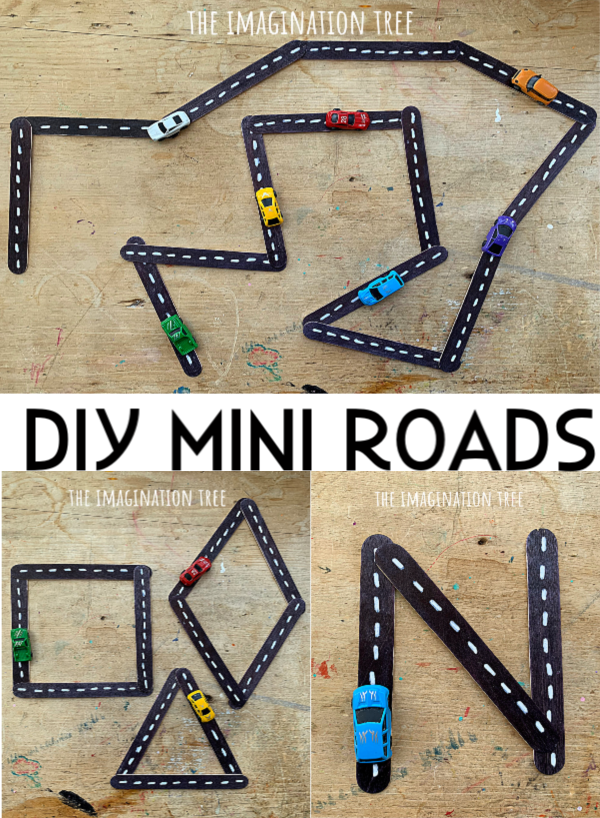
Let’s make a DIY mini roads set!
Materials:
black chisel tip Sharpie marker
[Amazon affiliate links]
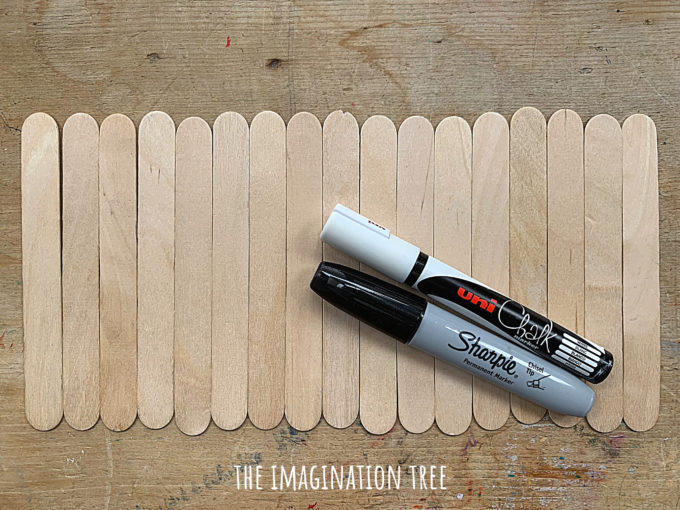
This project takes less than 10 minutes to make!
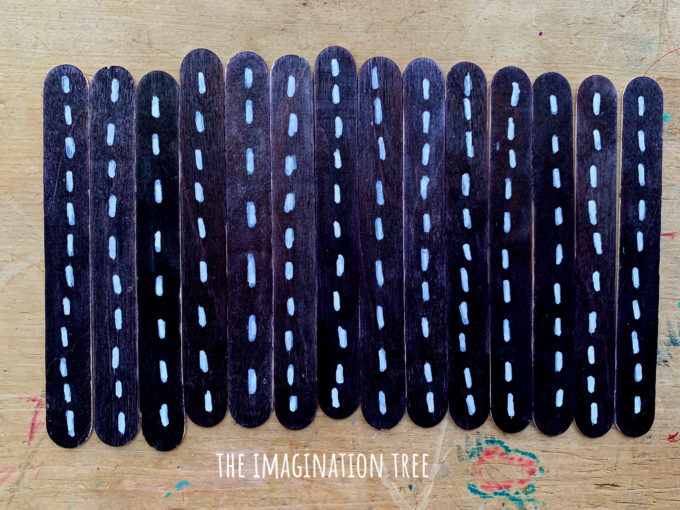
Simply colour both sides of the lolly/ craft sticks using black Sharpie marker (or paint if you have longer!)
Then use the white chalk marker to draw on road markings down the centre.
Done!
Watch the easy-peasy process in my video here:
Now add the mini cars and set them out ready as an invitation to play.
There are so many ways to use these as they’re a completely open-ended resource (always a sign of a good toy!)
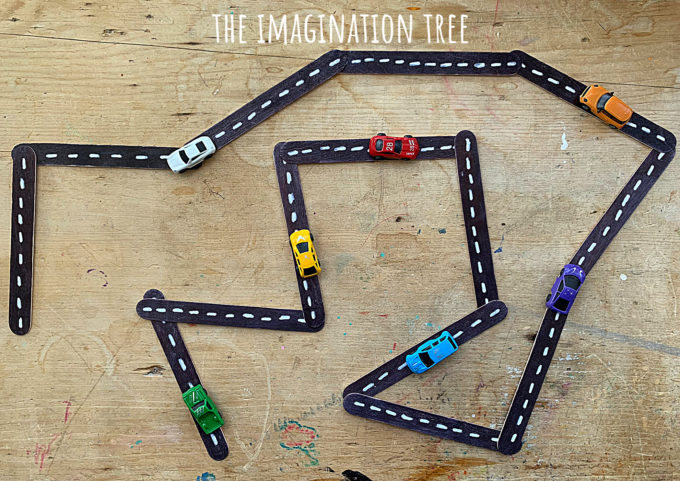
The first and most likely way to play is to build roadways all over the floor or on a table top. Then drive the little cars along. You could add building blocks, small buildings, trees and toy animals to develop the scene into a town or country village.
Cover some small food packaging with plain paper and then draw on windows, doors and other details to build your town that way too!
You could add a little car park by simply drawing a grid onto card. Maybe add numbers or colour code the spaces for the children to match the cars to.
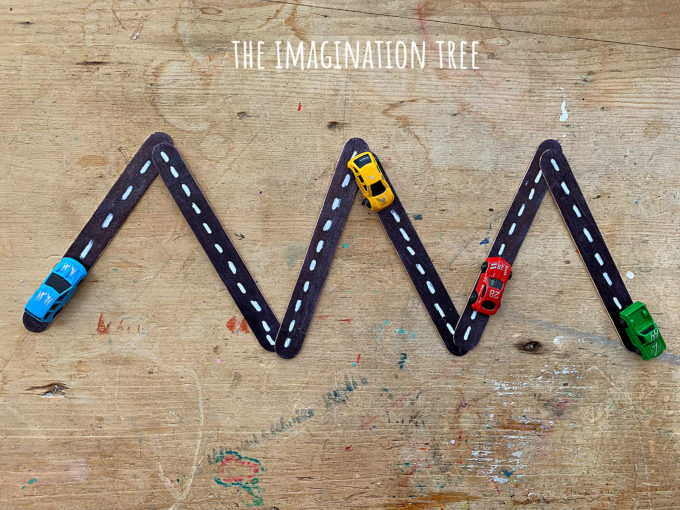
Moving the cars along the mini roads is a great gross motor AND fine motor work out (this is a rare combination and a big win-win in terms of early years development!)
Children will move their whole bodies while laying out the roads in various connections and designs. They will then travel along the space in order to facilitate their play, using small hand muscles to make the cars move as they do so.
Try making the road move in pre-writing patterns such as zig-zags and horizontal then vertical lines, for them to move their hands along. Practising a fine motor movement with the whole body in this way is a great first step in pre-writing!
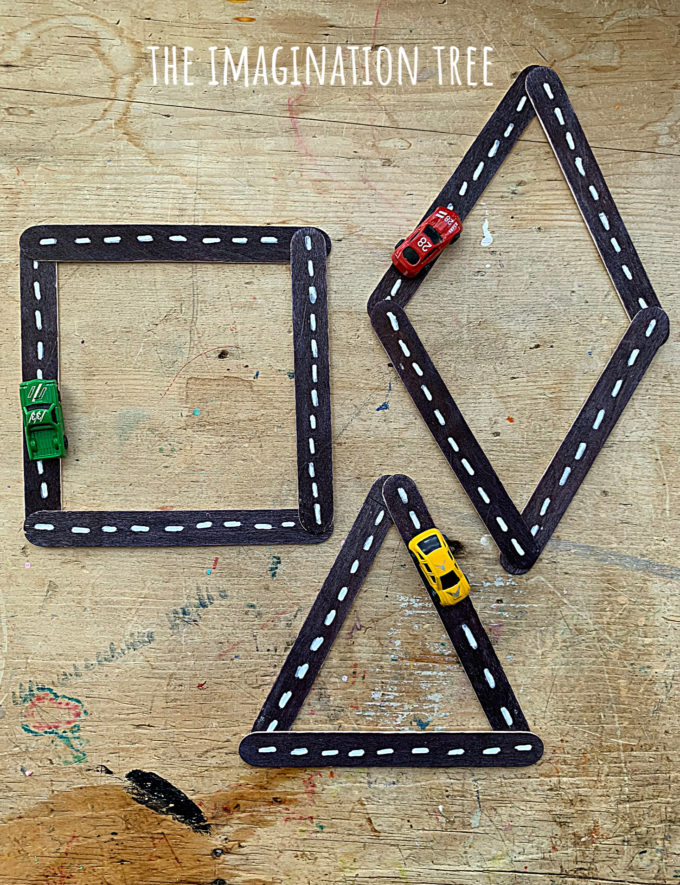
Want to move it on to some fun learning opportunities? I would wait until the next time you bring this DIY mini road set out to play, and start setting it out to create shapes and letters of the alphabet with.
Talk about what you are doing and how your child could try driving around “three sides of the pointy triangle” for eg, using mathematical language and encouraging them to think about what they are doing.
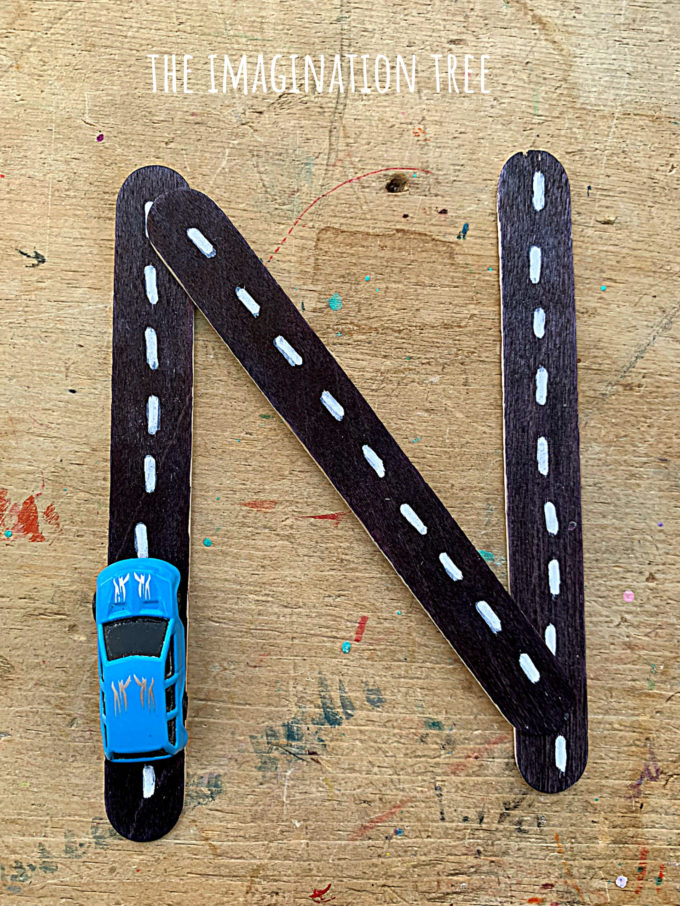
Try narrating play like this as you demonstrate. “Let’s drive around a capital letter N together! This letter’s name is N and the sound it makes is ‘nnnnnn’. It starts down here and goes up, down and up again at the end.”
My 4 year old has a name starting with N and because we talk about the shape and formation of letters casually as we play or notice them in the environment, he started calling it “an Up Down Up” letter 🙂 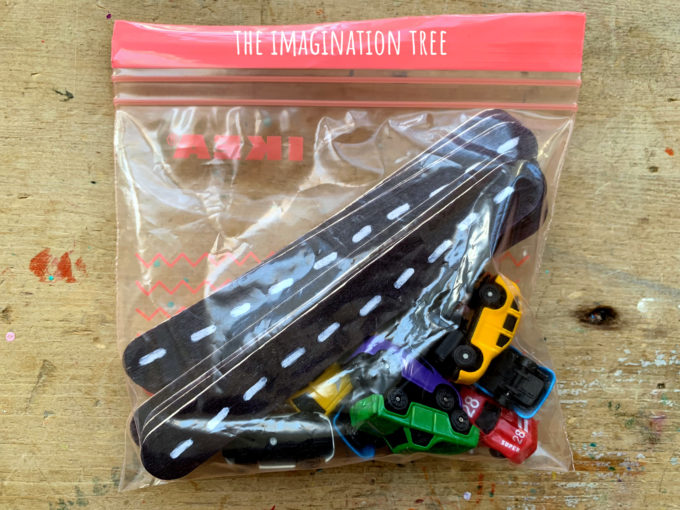
When play is over, simply pop them in a small zip-loc or, even better, a cotton drawstring bag and keep them ready in your bag for another day! They’re great to bring out in a waiting room or at a restaurant while waiting for food. Older kids love them too and are more than happy to see what little play scene they can create.
If you loved this idea for a DIY mini roads play set please do share my blog with your friends and come along to follow me on Instagram where I share many extra ideas for daily play that never quite make it to the blog!
If you have a child who is vehicle mad you may like this fun idea for driving cars on the window with a DIY foam roadway!
And another easy DIY road way set made from cardboard boxes that has curves and corners too!
And my absolute favourite using the same mini cars, is this cardboard road ramps for car play! Hours of endless fun with this gross motor whizzing fun game!
[This post contains some Amazon affiliate links to help you find products I trust and recommend more easily. Thank you for your support in this area!]